Create Beautiful Cards with Paper Scraps: A Video Tutorial Using Stamperia’s Golden Harmony Collection
Hello crafters!
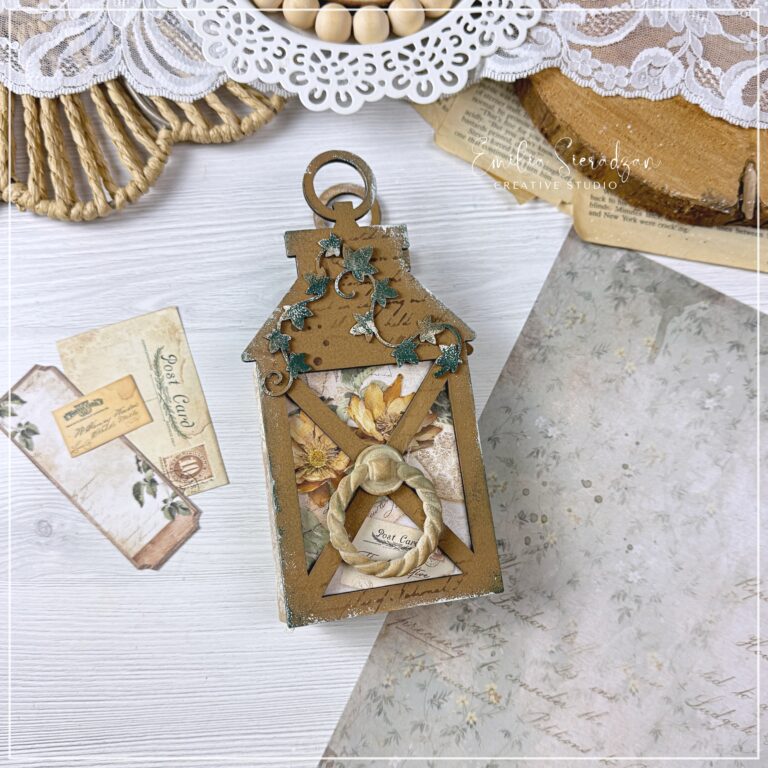
In today’s post, I’m thrilled to share an exciting new video tutorial where I create beautiful, versatile cards for any occasion using only leftover paper scraps from my recent projects. Yes, you heard that right—these cards are crafted using bits and pieces from the Golden Harmony collection, which I had the pleasure of designing for Stamperia! Whether you’re a seasoned scrapbooker or just getting started, this tutorial will inspire you to make the most of your stash and transform scraps into something extraordinary.
Why Paper Scraps?
I don’t know about you, but after every project, I’m left with a ton of paper pieces—too beautiful to throw away but too small for bigger layouts. These bits are perfect for making cards that use up your stash and create something new and unique every time. In this tutorial, I’ll show you how to do just that!
Watch the Video
Be sure to check out the full tutorial in the video linked below!
What’s Special About These Cards?
Each card is unique but follows a similar composition, so while the technique remains the same, the results are always different. In the video, I’ll walk you through:
- Layering Techniques: Learn how to arrange your scraps into visually appealing layers that make your cards pop.
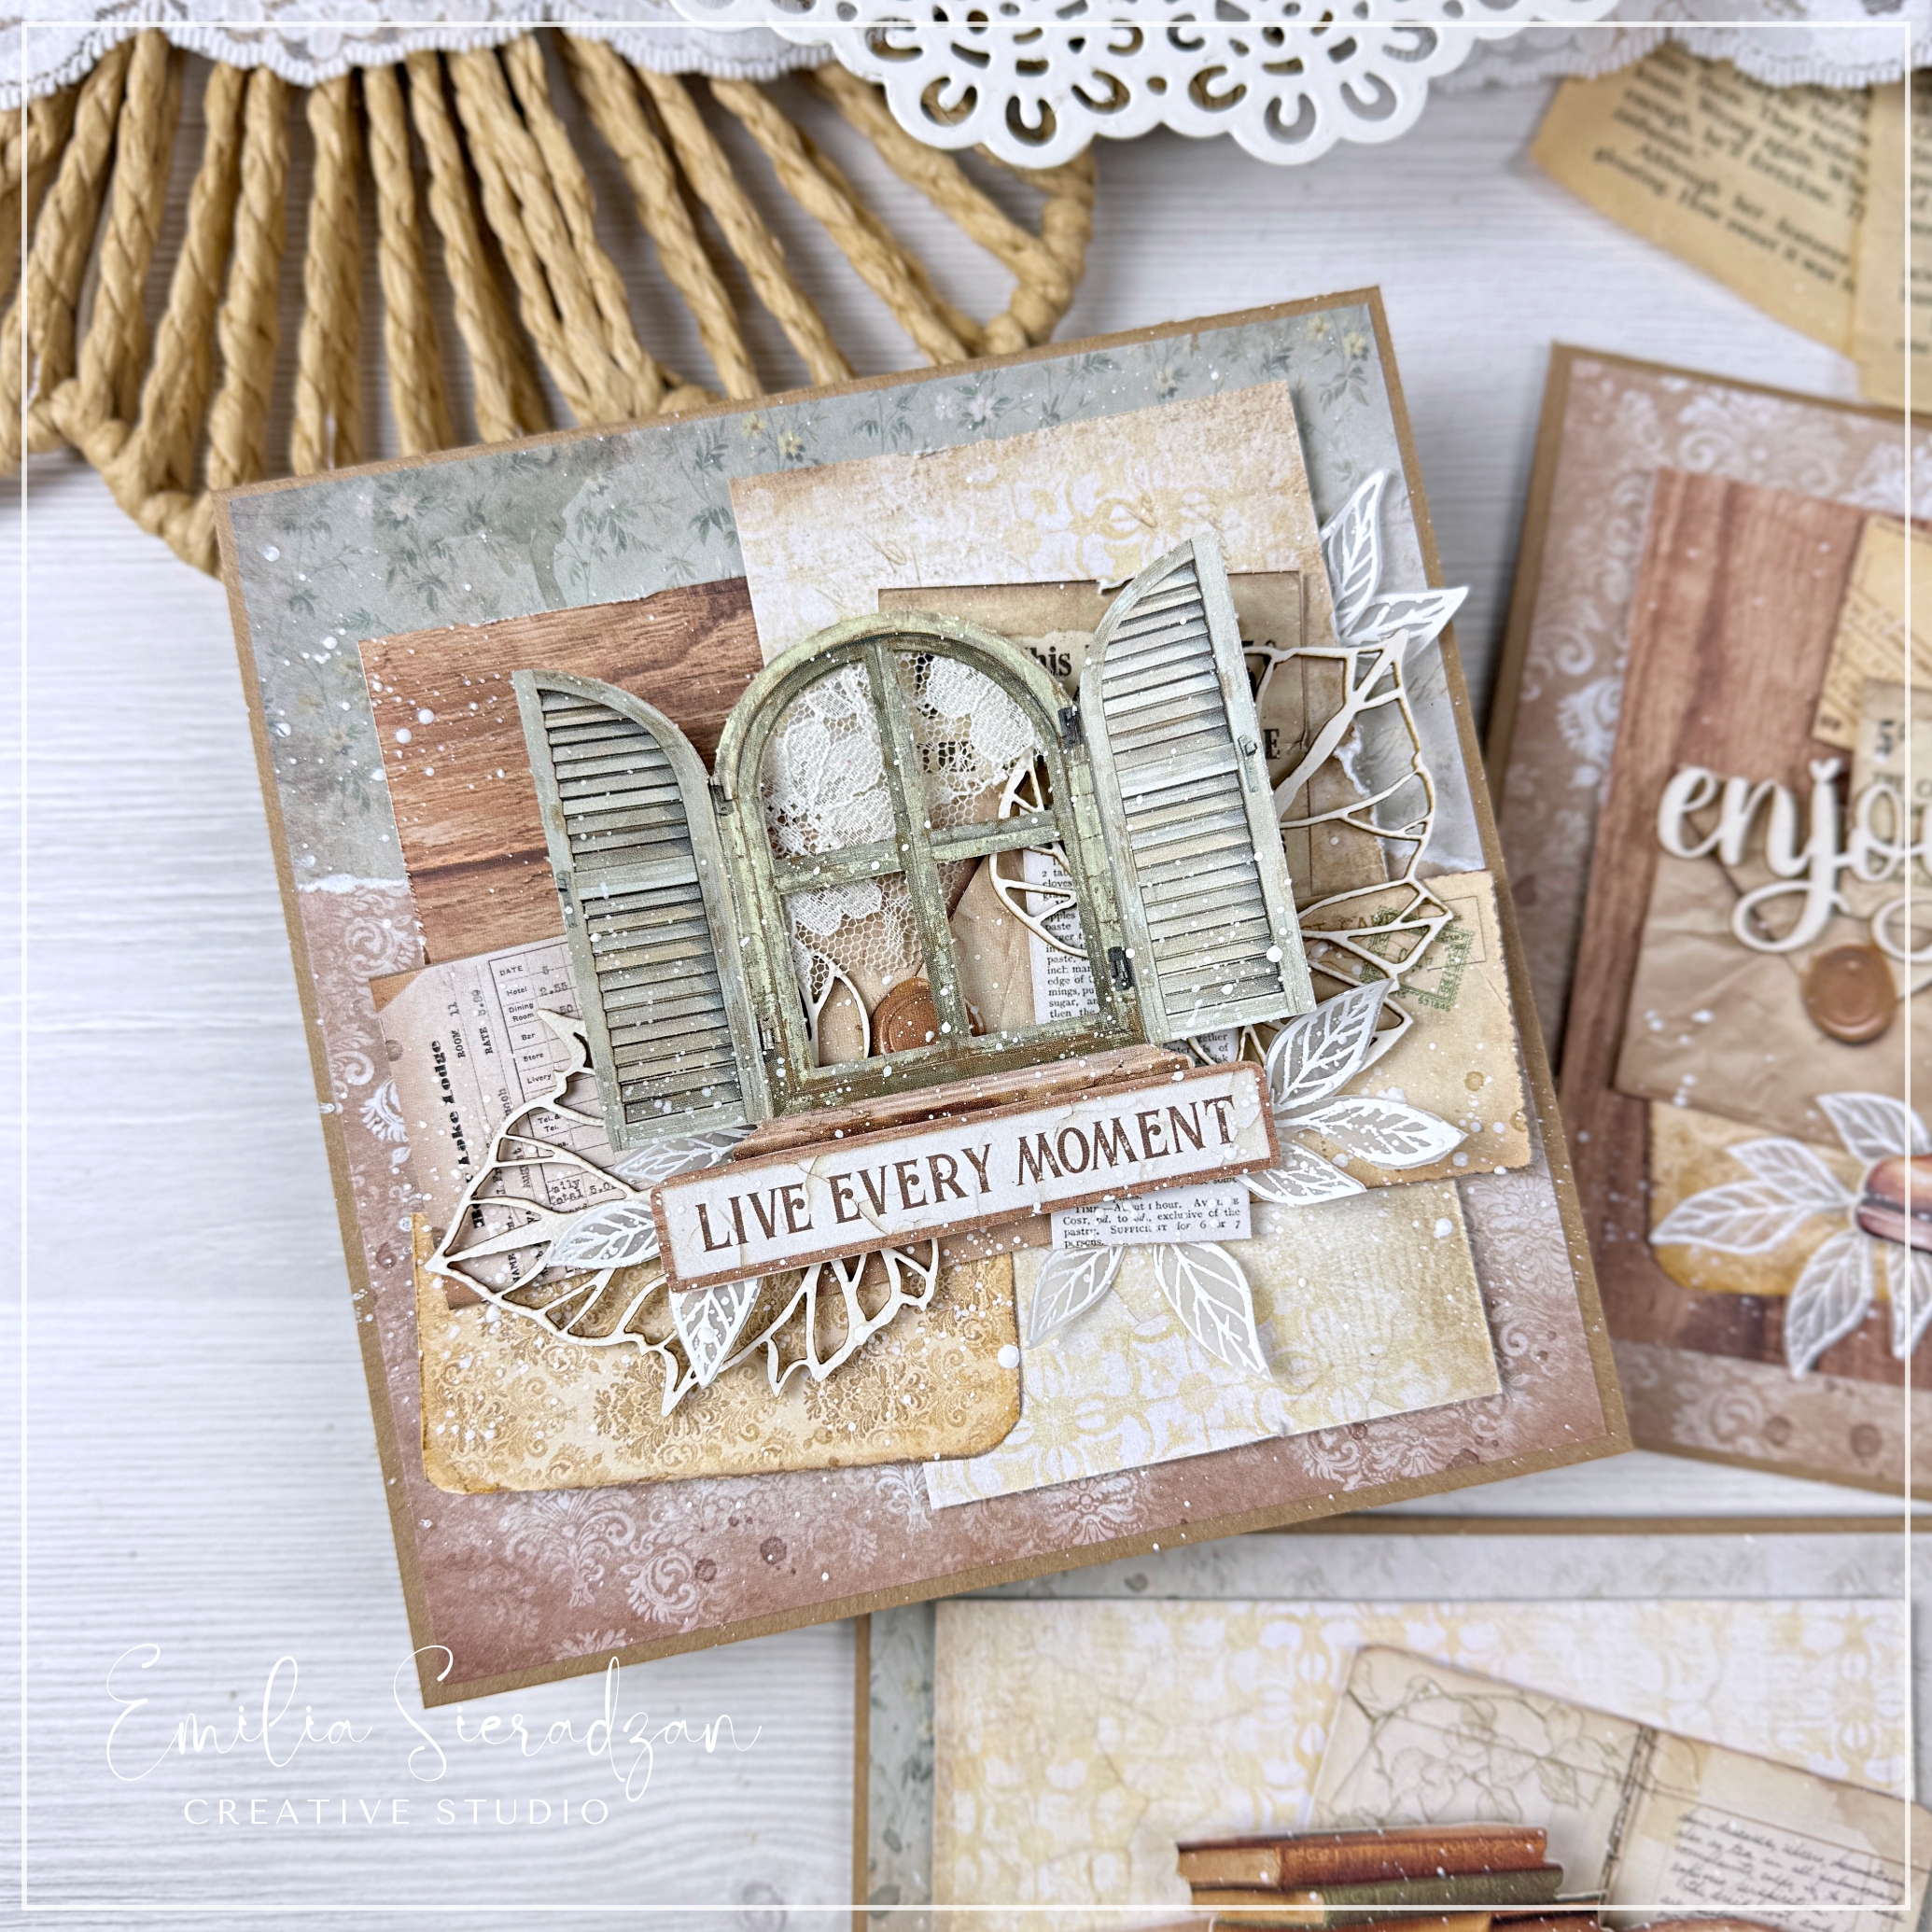
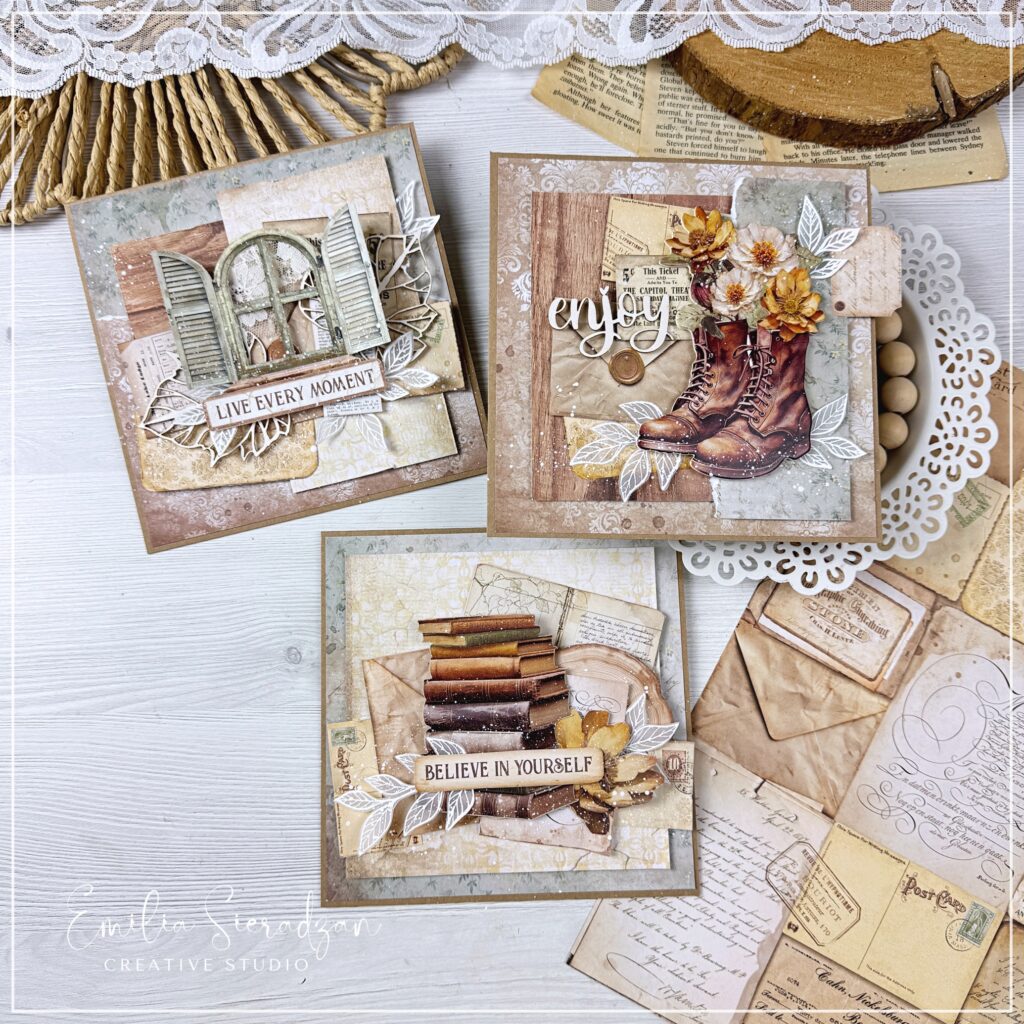
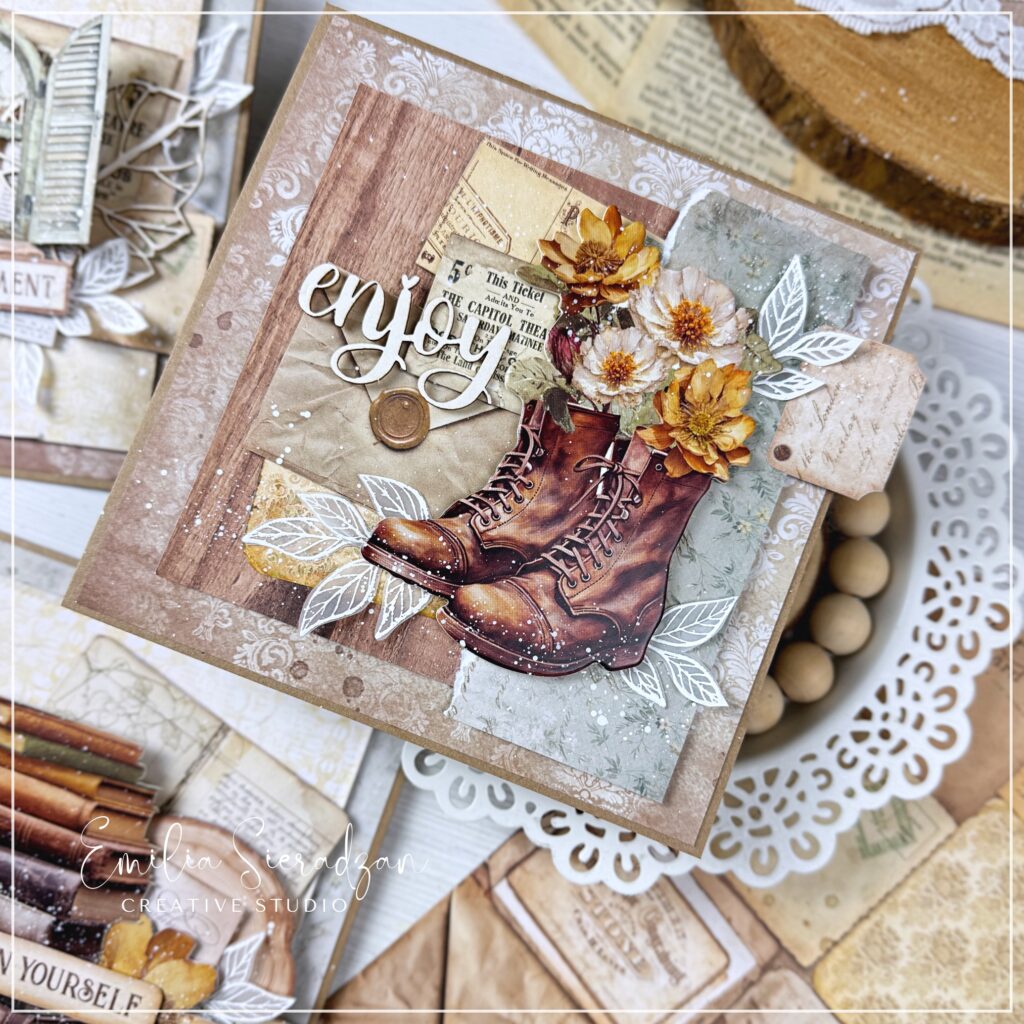
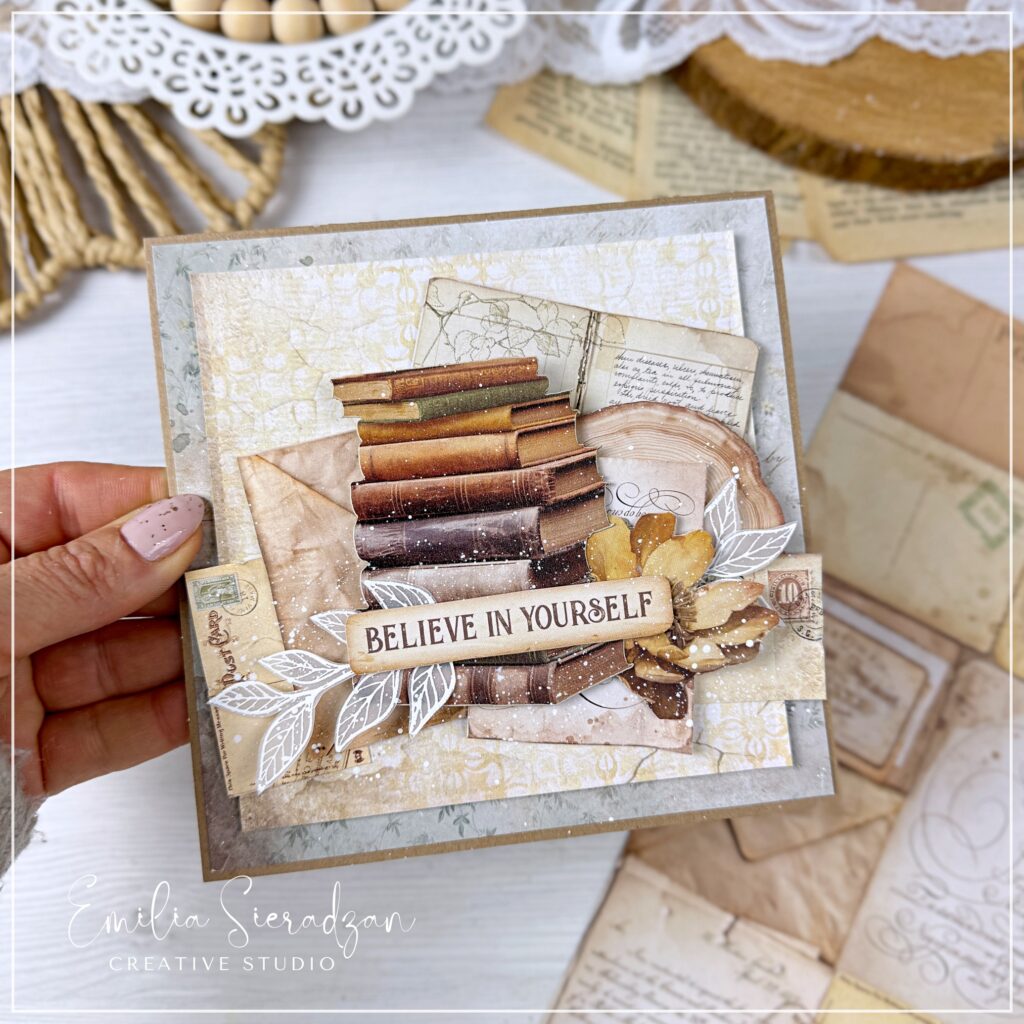
- Main Elements: We’ll use one large focal point per card, such as stacked books, vintage boots with flowers, and an open window frame, to create an eye-catching design.
- Sentiment Placement: I’ll show you how to add meaningful phrases like Live Every Moment, Enjoy, and Believe in Yourself, creating cards that can work for any occasion.
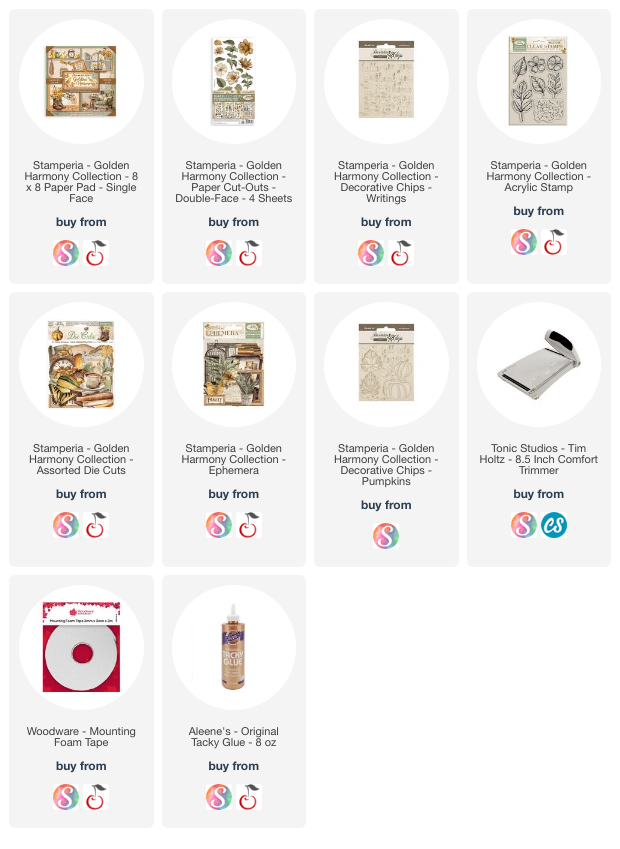
The product list includes affiliate links – which means I’ll get a small commission if you order anything at no extra cost to you – read more about it HERE
Step-by-Step Breakdown
- Gather Your Scraps: Begin by pulling out leftover papers from the Golden Harmony collection or any other coordinating paper scraps you have. We’ll be layering them to create dimension and texture.
- Prepare Your Base: Each card starts with a simple cardstock base. I’m using square cards in this video, but you can customize the size to fit your style.
- Layering: This is where the fun begins! Arrange your scraps in different patterns, overlapping some pieces and tucking others under. Don’t worry about perfection—this technique celebrates the rustic, shabby-chic vibe.
- Add a Focal Point: For each card, I chose a large, vintage element:
- One card features a cosy stack of books.
- The second card highlights a pair of charming vintage boots with flowers tucked inside.
- The third card is framed by a window, evoking a peaceful, dreamy atmosphere.
- Sentiment Strips: Finally, add your sentiments. These can be inspirational, like Live Every Moment or Believe in Yourself. The words tie the design together and make the card adaptable for birthdays, thank-you notes, or just sending a bit of joy.

The Beauty of Variation
Though all three cards follow the same technique, no two look exactly alike! The beauty of working with scraps and using large elements is that it allows for endless variations. Whether you’re using flowers, windows, or stacks of books, your creativity will always shine through, resulting in personalized, heartfelt cards.
Happy crafting! And remember, live every moment, enjoy the process, and always believe in yourself.
Feel free to share your creations in the comments or tag me on social media if you try this project! I’d love to see your take on these cards.
Happy crafting! ✂️✨