How to Create Paper Flowers Using Stamps: A Simple Guide
Paper flowers are a beautiful, versatile addition to your creative projects. Whether you’re crafting cards, tags, or decorations, paper flowers can add a touch of elegance and personalization. In this tutorial, I’ll walk you through a simple technique for making stunning paper flowers using stamps, specifically from the Stamperia Golden Harmony collection (but any stamps you have will work).
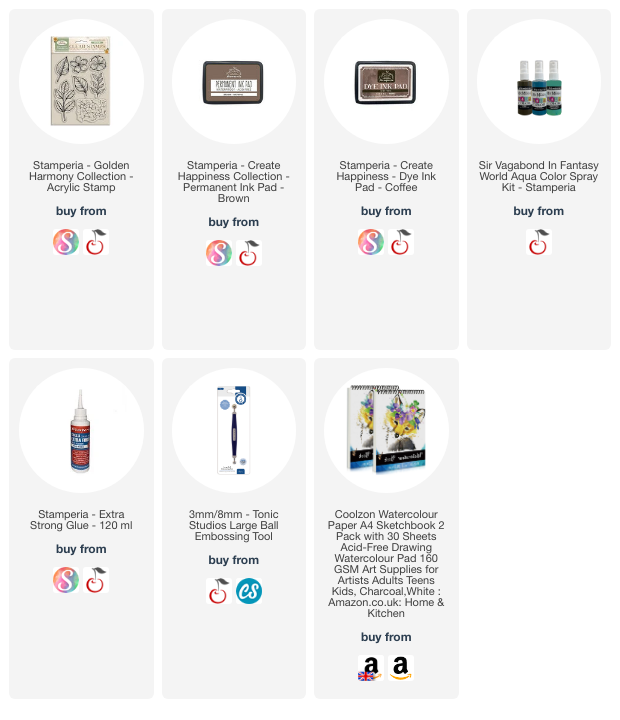
Materials You’ll Need:
- Watercolour paper I use 160gsm but anything between 160-200 is good
- Stamps (I used the Stamperia Golden Harmony collection, but any floral design works)
- Permanent ink (so your lines don’t smudge)
- Watercolour paints, sprays, inks etc
- Scissors
- Wooden beads or pearls or stamens (for the flower centres)
- Glue
- Tools for shaping petals (such as stylus with ball)
Instructions:
- Stamp Your Designs:
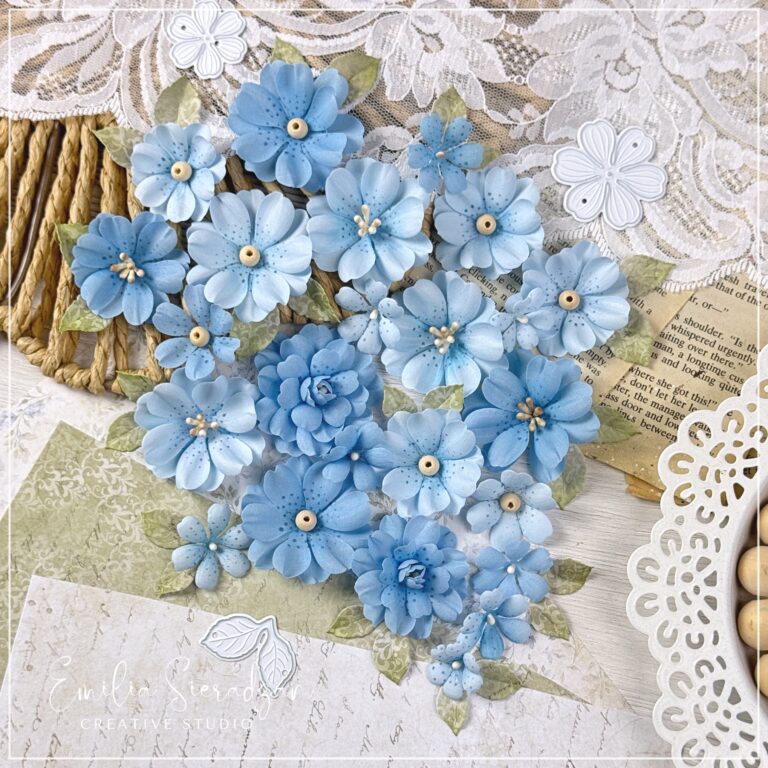
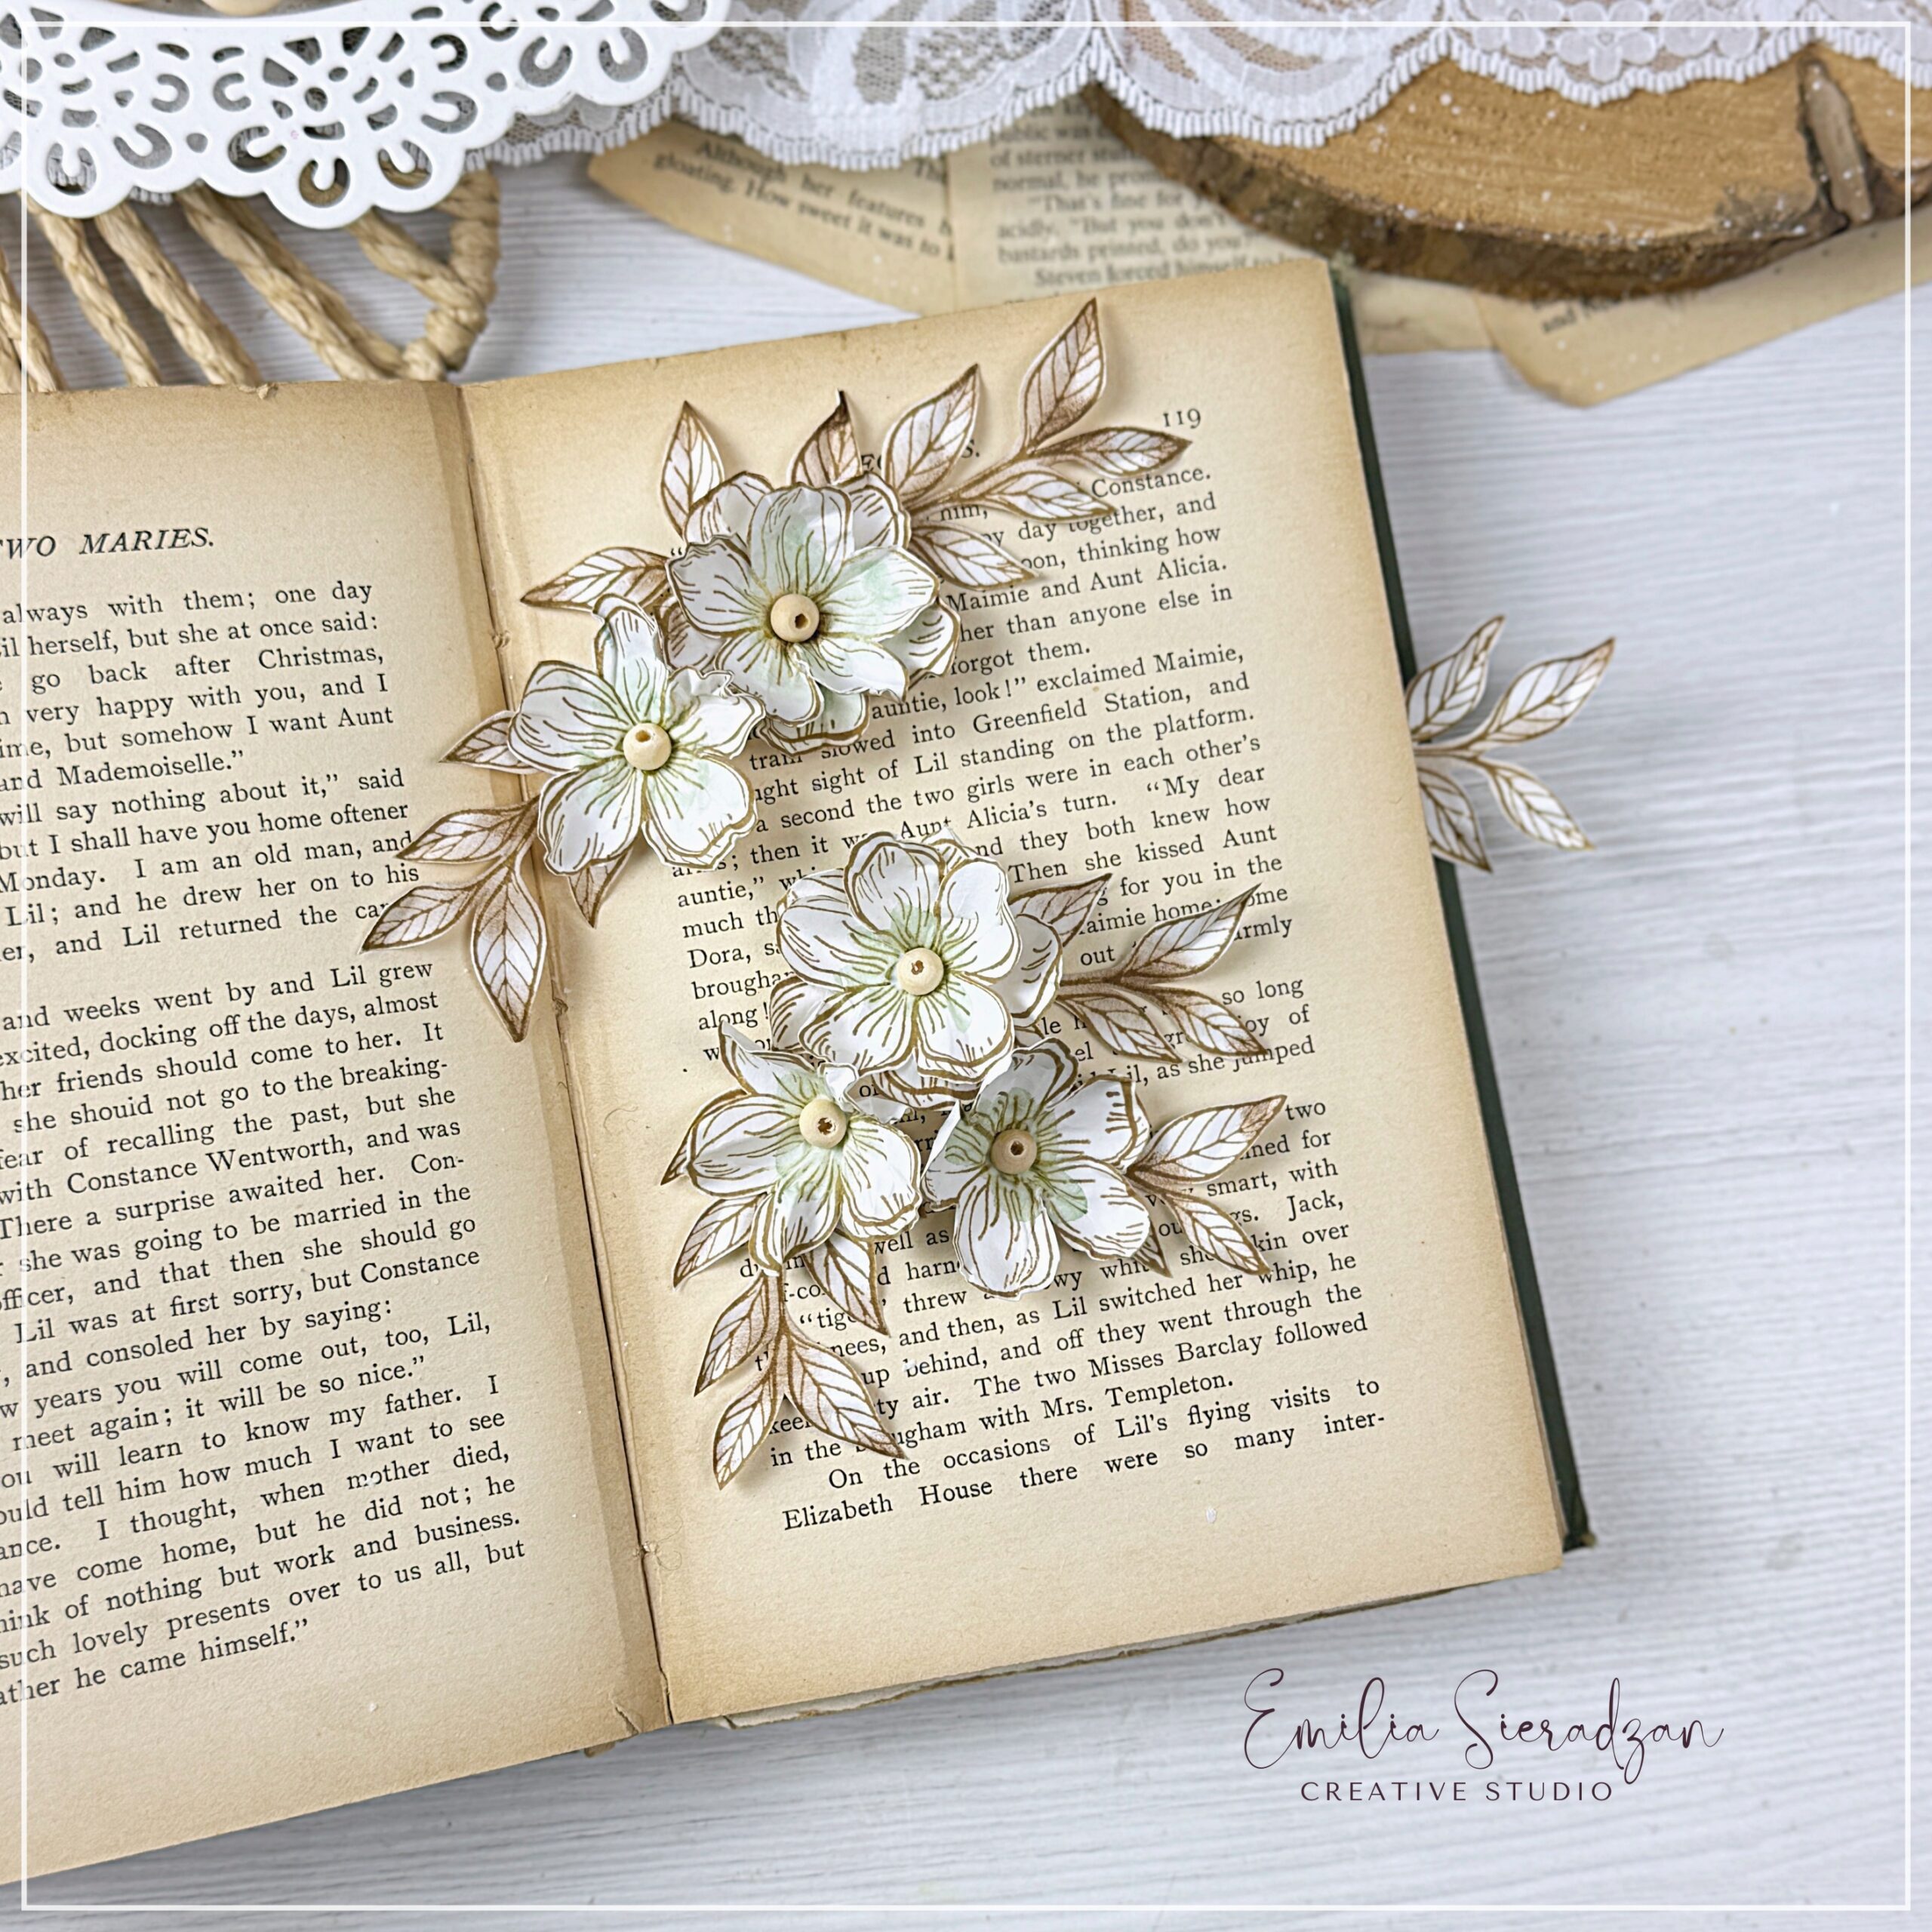
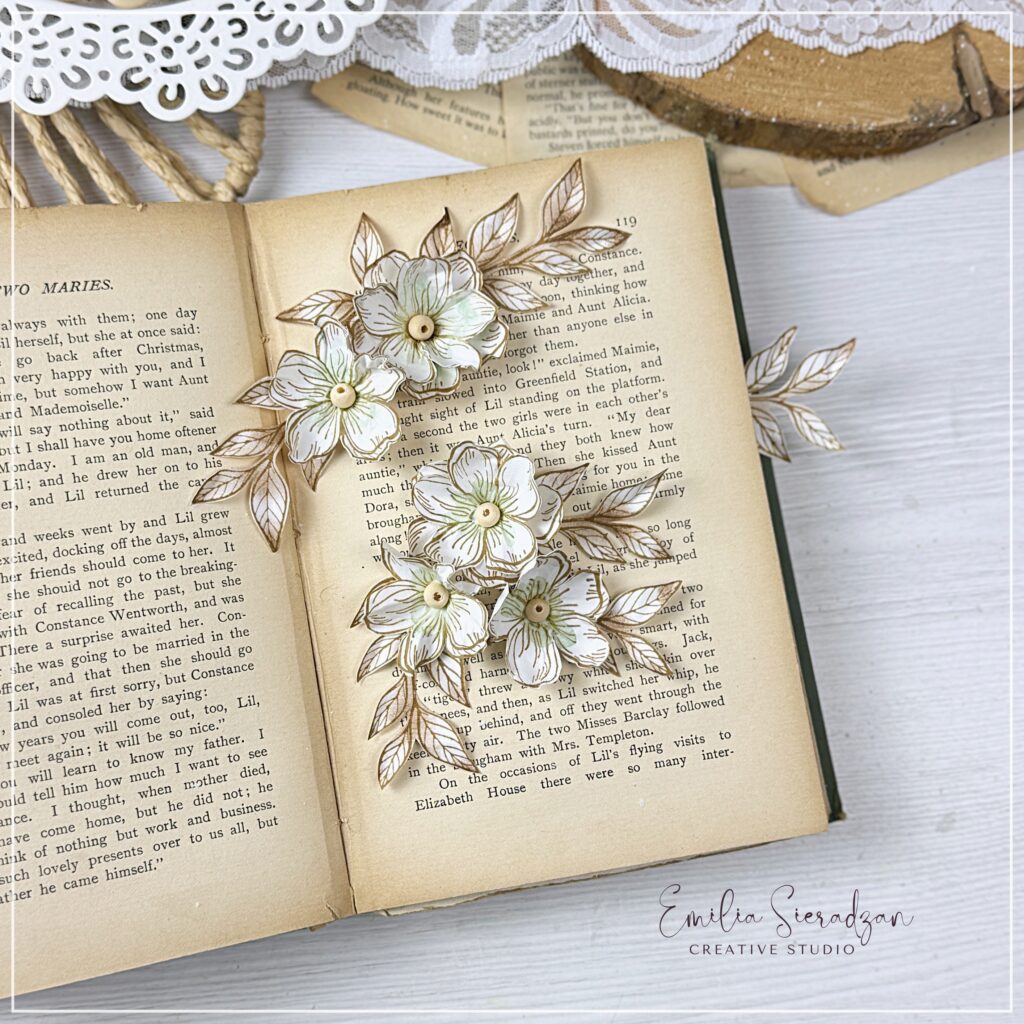
Stamp your floral and leaf designs onto the watercolour paper using permanent ink. This ensures the ink won’t run when you add water later. - Paint the Flower Centers:
Wet the centres of each stamped flower with a little water. While the paper is damp, apply a touch of watercolour paint. This gives the flowers a natural, soft look. - Ink the Leaves:
For a more natural effect, ink the leaves of your flowers. You can use a green or brown ink to add dimension and depth. - Cut Out the Shapes:
Carefully cut out each flower and leaf from the watercolour paper. Do not worry about precise cutting. - Shape the Petals:
Fold the petals of each flower. Twist the entire flower a few times to soften the paper. Leave it folded for about a minute before unfolding. - Smooth and Shape the Petals:
Use a ball tool to smooth out the petals. Focus on pressing gently in the center of each petal to create a natural, curved shape. - Layer the Flowers:
To form a fuller flower, glue two or more layers together. Offset the petals of each layer for a more realistic look. - Add the Center:
Press into the center of the layered flower to bring the layers together, then glue a wooden bead or pearl in the middle. - Shape the Leaves:
Gently crunch the leaves with your fingers to add texture and dimension. - Arrange and Compose:
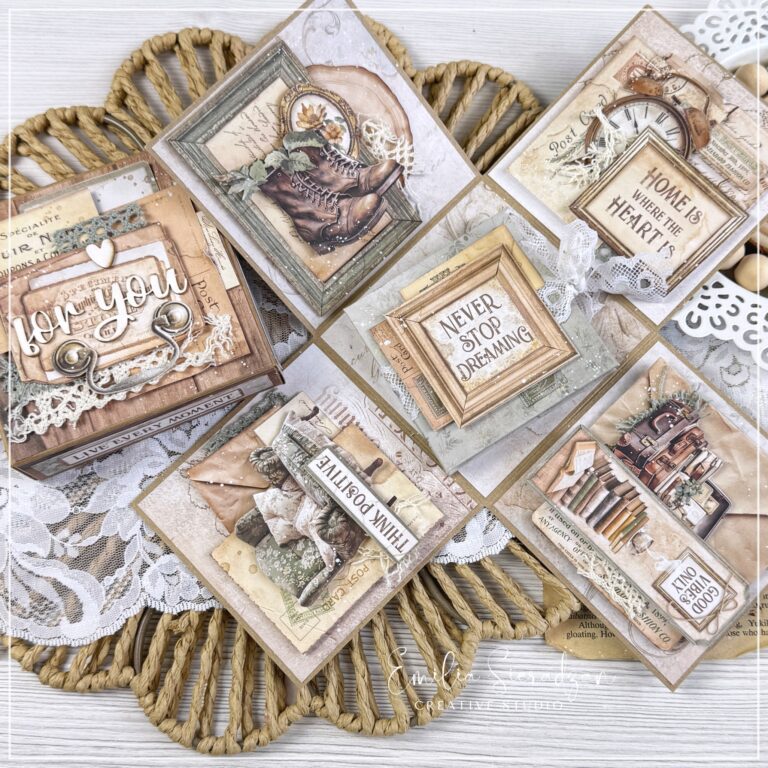
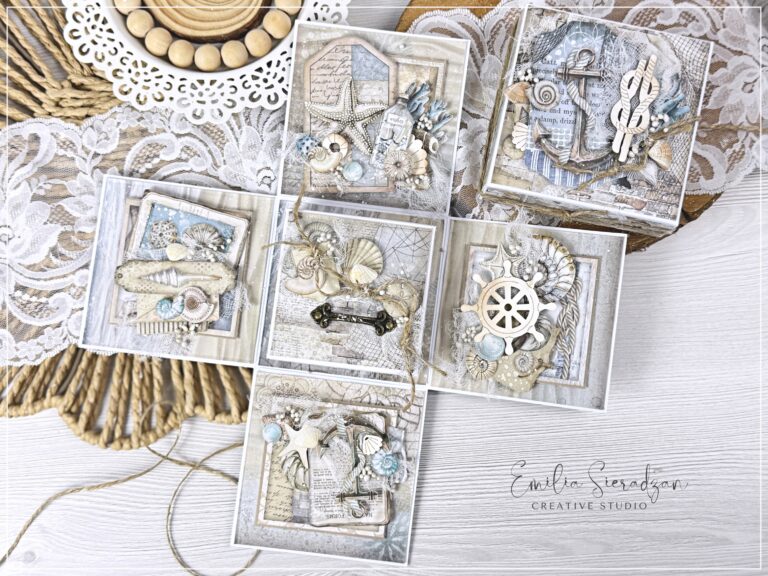
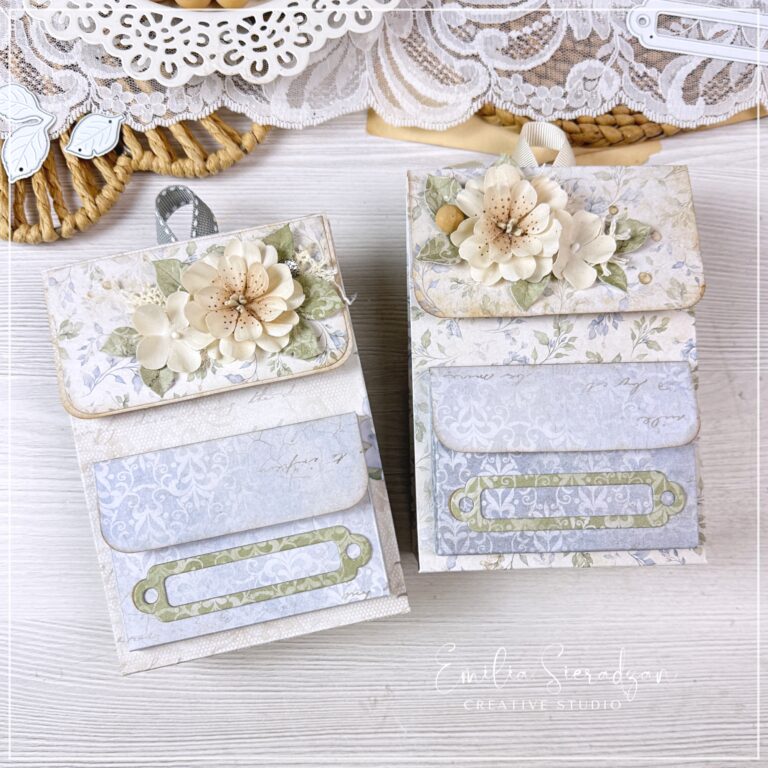
Arrange your paper flowers and leaves into a composition. For a beautiful embellishment, glue these onto cards, tags, gifts, or any other project.
Paper flowers are a fantastic way to add a delicate, handmade touch to your crafts. Using stamps allows you to create intricate designs effortlessly, and watercolour painting brings them to life with soft color blends. Enjoy experimenting with different flower sizes, shapes, and arrangements!
Happy crafting! 🌸
The product list includes affiliate links – which means I’ll get a small commission if you order anything at no extra cost to you – read more about it HERE