DIY Christmas Gift Bag Transformation with Stamperia’s “All Around Christmas” Collection
Last Christmas, I decided to take an ordinary brown gift bags and turn them into something magical usingscrapbooking products. This is one of my fave I created last year but never got a chance to publish it here so I’m doing it today 🙂
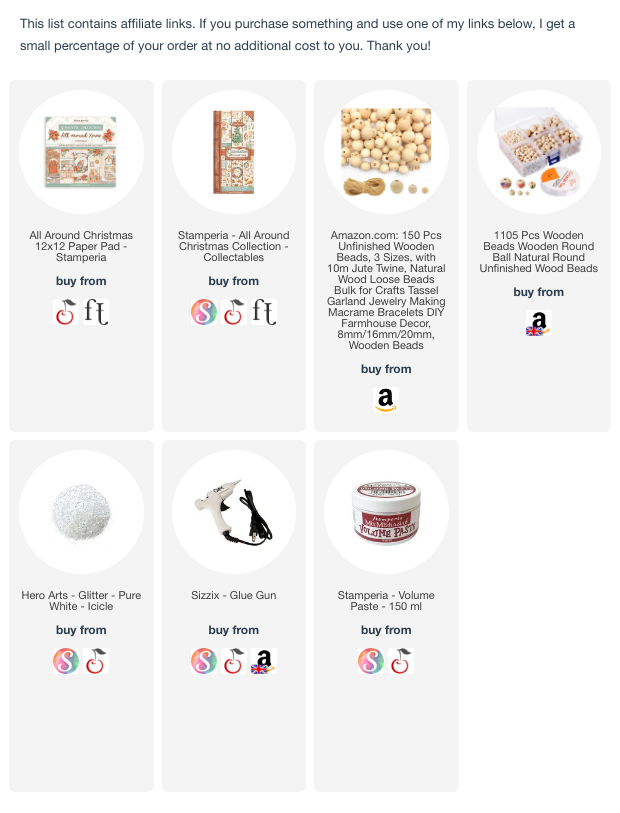
Materials I Used
- Brown gift bag – plain and simple, ready to be transformed.
- Stamperia’s All Around Christmas scrapbook collection – This collection has everything you need for a cosy Christmas vibe, from poinsettias to wreaths.
- Craft glue and double-sided tape – to attach the elements securely.
- A small piece of cheesecloth or fabric – for that snow-dusted effect.
- Gesso or volume paste & white glitter to add a frosty touch.
Step-by-Step Process
- Base and Background
- I started by cutting a piece of scrapbook paper from the Stamperia collection to cover the front of the bag.
- Using craft glue, I adhered it to the front of the bag.
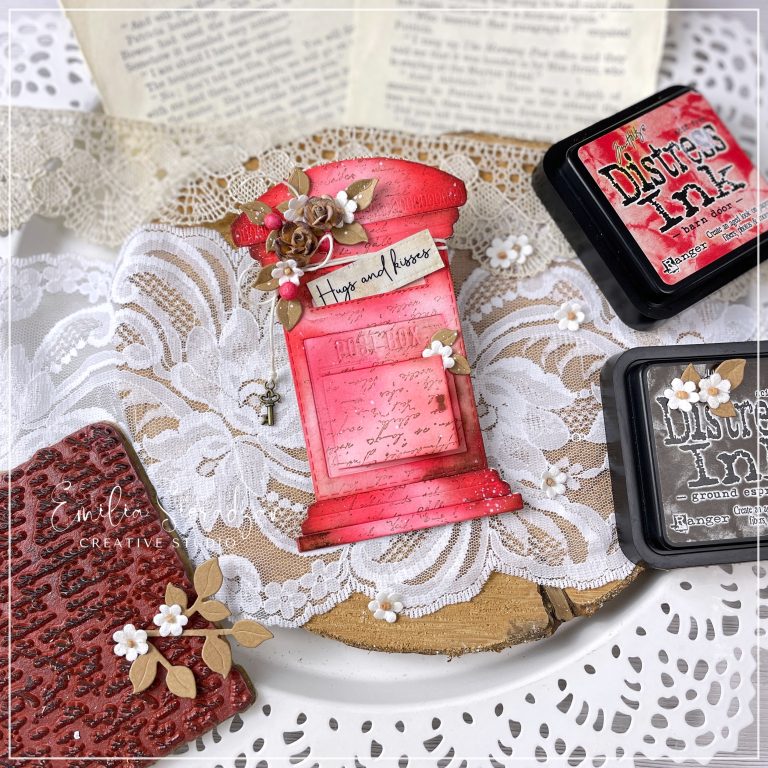
- Creating the Door
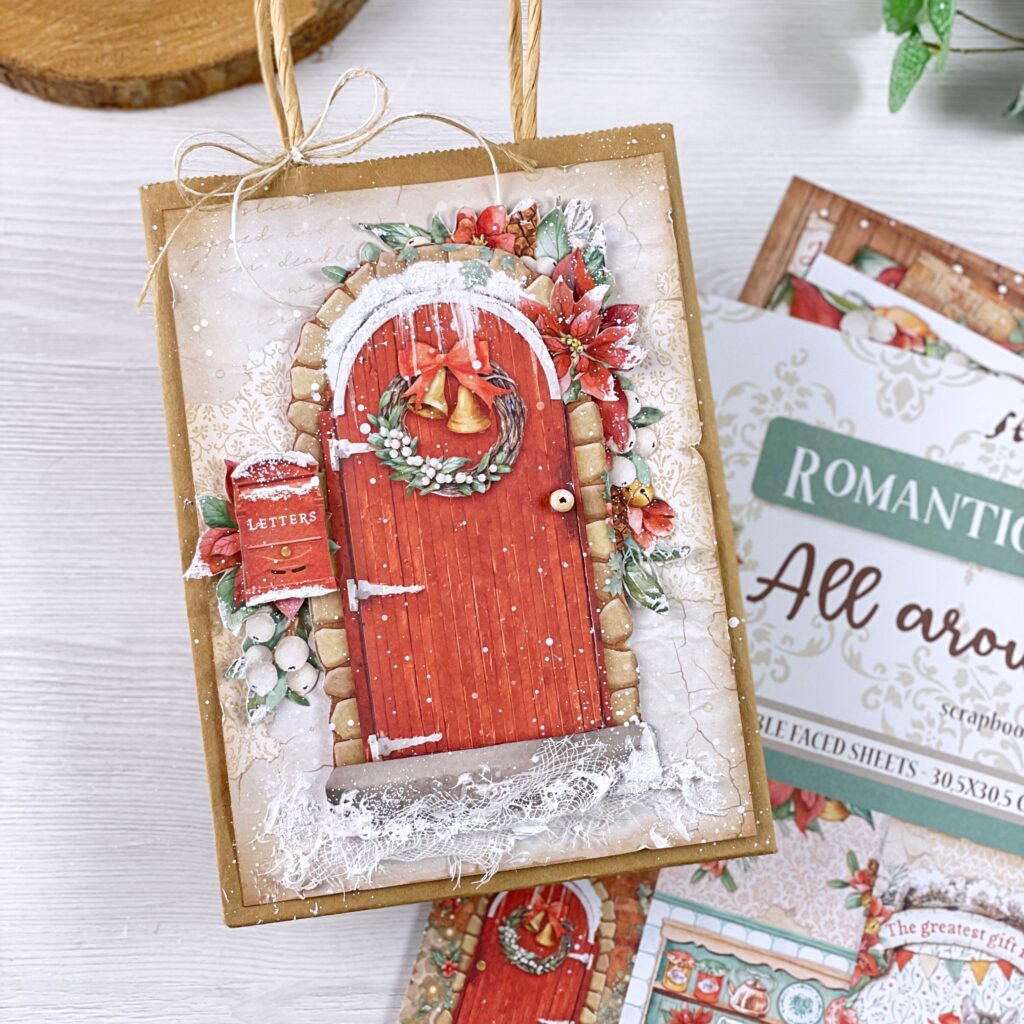
- Next, I cut out a “door” from one of the collection’s sheets. Cutting around the door frame apart one side to create an opening. The red door has a rustic charm with a festive wreath and bells – perfect for a holiday theme!
- I added a small “Letters” mailbox to the side, which I also raised with foam tape. This little detail adds character and charm.
- Adding a Snowy Touch
- At the base of the door, I added a strip of cheesecloth, dabbed with texture paste, to look like freshly fallen snow. This soft texture brought an extra touch of realism to the scene.
- The Secret Message
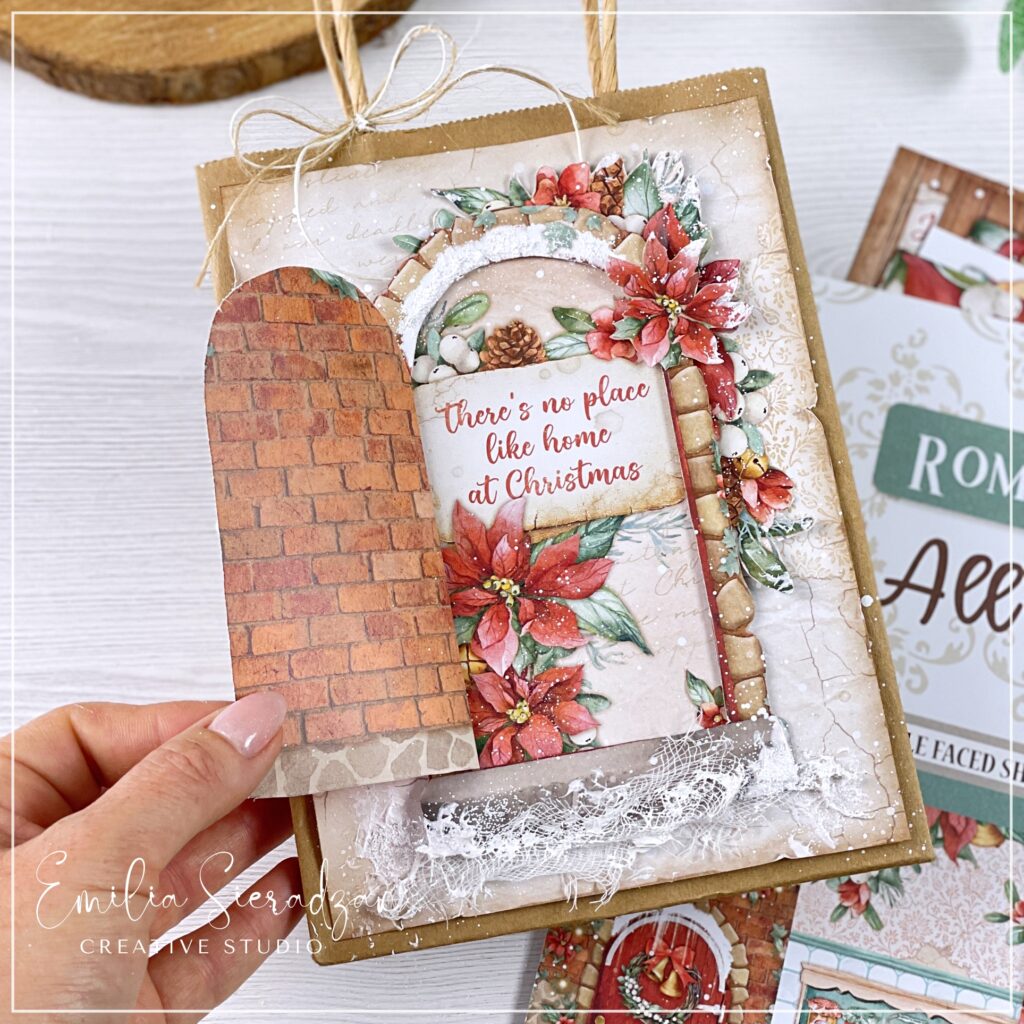
- Here’s my favorite part: the door opens! I created a hidden panel behind the door that reveals a beautiful Christmas message: “There’s no place like home at Christmas.”
- To make this happen, I cut a small hinge from paper and attached it to the side of the door, allowing it to swing open and reveal the message.
- Behind the door, I added more floral elements from the collection – poinsettias, pine cones, and greenery – surrounding the message for a warm, festive touch.
- Finishing Touches
- To complete the look, I tied a simple bow with twine on the bag’s handle. It added a rustic touch and made the bag feel even more homemade and personal.
- I used a bit more white paint to add snow accents to the edges of the door, mailbox, and wreath, as if they’d been dusted by a light snowfall.
The Final Result
The transformed gift bag is now a charming piece of holiday decor itself! It captures the warmth and cosiness of Christmas and makes the perfect packaging for a thoughtful holiday gift. The interactive door adds an element of surprise, which makes it even more special.
Tips for Making Your Own Christmas Gift Bag
- Experiment with textures: Adding fabric or cheesecloth can give a realistic snowy effect.
- Use foam tape for dimension: Elevating certain elements like the door and mailbox gives your project a more three-dimensional look.
- Add an interactive element: Incorporate a hidden message or an opening door to make your project memorable.
- Don’t be afraid to splatter paint: A few white splatters can make any project look like it’s been touched by winter magic.
I loved how this bag turned out – it’s like a little piece of Christmas that holds a gift inside. Whether you’re making this for someone special or as a holiday decoration, I hope this inspires you to add some festive creativity to your own gift-giving!