Creating a Photo Album with Nostalgic Memories – Part 1
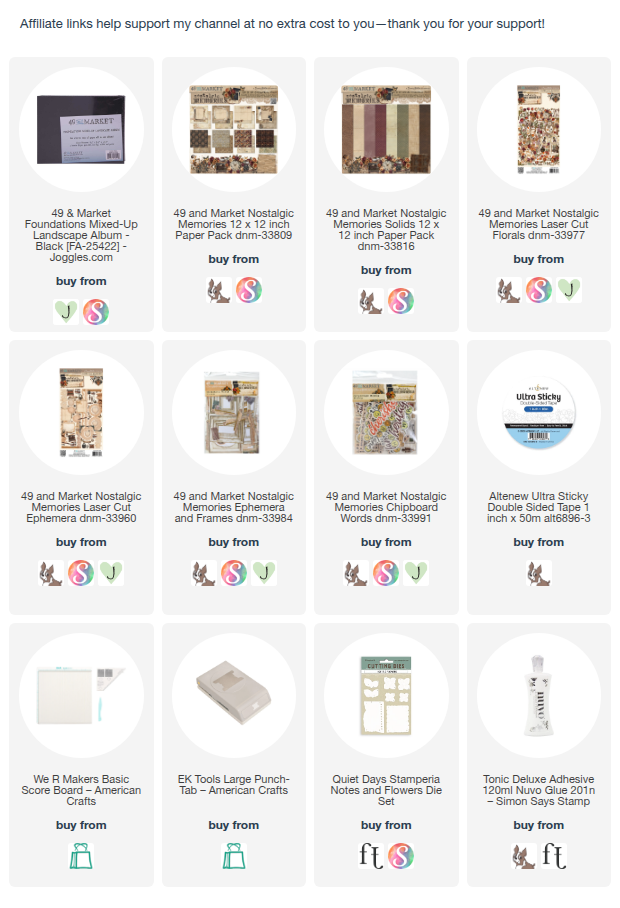
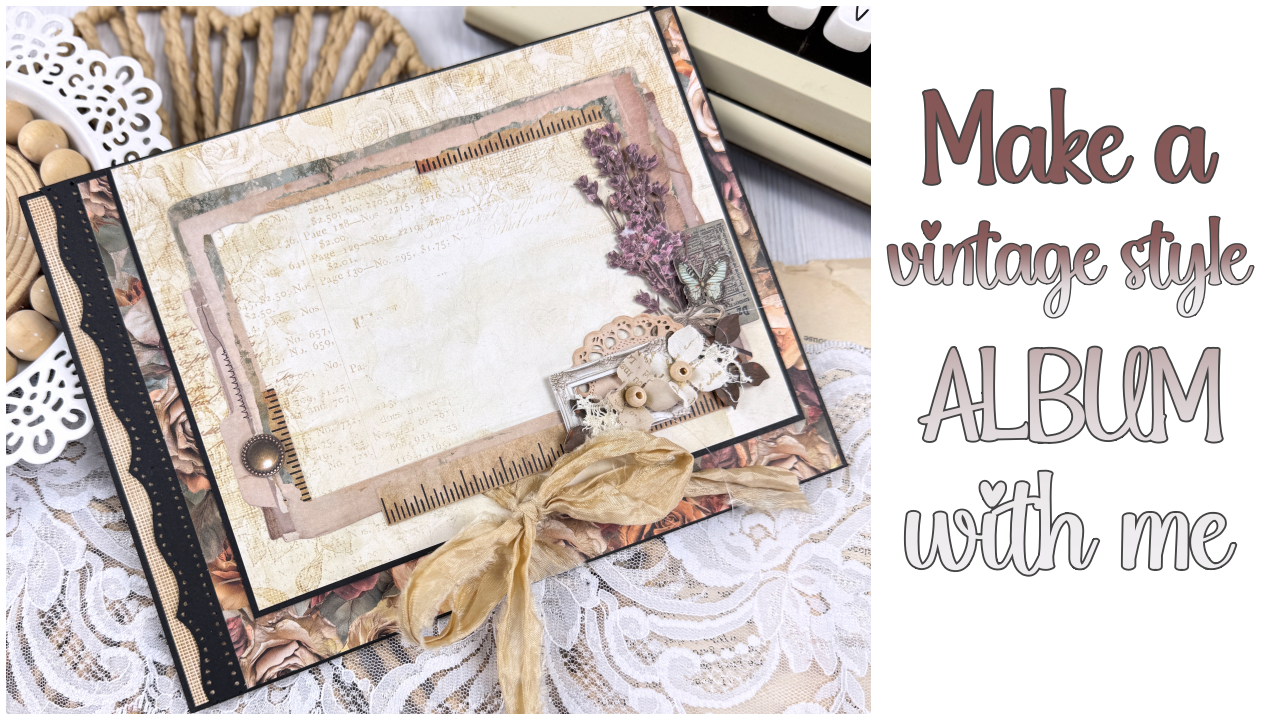
In today’s video, I’m starting a brand-new handmade album series using the beautiful 49 and Market Nostalgic Memories collection. This collection is perfect for memory keeping projects thanks to its soft vintage tones, layered textures, and nostalgic imagery that beautifully capture the feeling of treasured moments.
This is Part 1 of the series, where we begin building the album. I’ll walk you through the tools I typically reach for when creating albums, show how I construct the hinge system that will hold the pages together, and start decorating the first page.
About the Nostalgic Memories Collection
The Nostalgic Memories collection from 49 and Market is designed with a timeless, vintage aesthetic. It features warm neutrals, soft florals, vintage ephemera, and beautiful layered elements that are perfect for scrapbooking and album projects.
Because of its elegant and slightly rustic style, it works wonderfully for documenting family memories, heritage photos, or special everyday moments.
What I Cover in Part 1
In this first video of the series, I focus on the foundation of the album.
1. My Go-To Tools for Album Making
Before starting the album structure, I share some of the tools I regularly use when creating mini albums. These are the essentials I love and use.
- Paper trimmer
- Scoring board
- Bone folder
- Strong adhesive
- Ruler and craft knife
Having the right tools ready makes the album-building process much smoother.
2. Creating the Hinge System
Next, I demonstrate how I build the hinge system for the album.
The hinge system is the backbone of the mini album—it allows multiple pages to be attached securely while still opening smoothly. In this tutorial I show:
- How I measure and score the hinges
- How the hinges are assembled
- How they are attached to the album base
This method is one of my favourite ways to create a sturdy album that still leaves plenty of room for photos and embellishments.
3. Starting the First Page
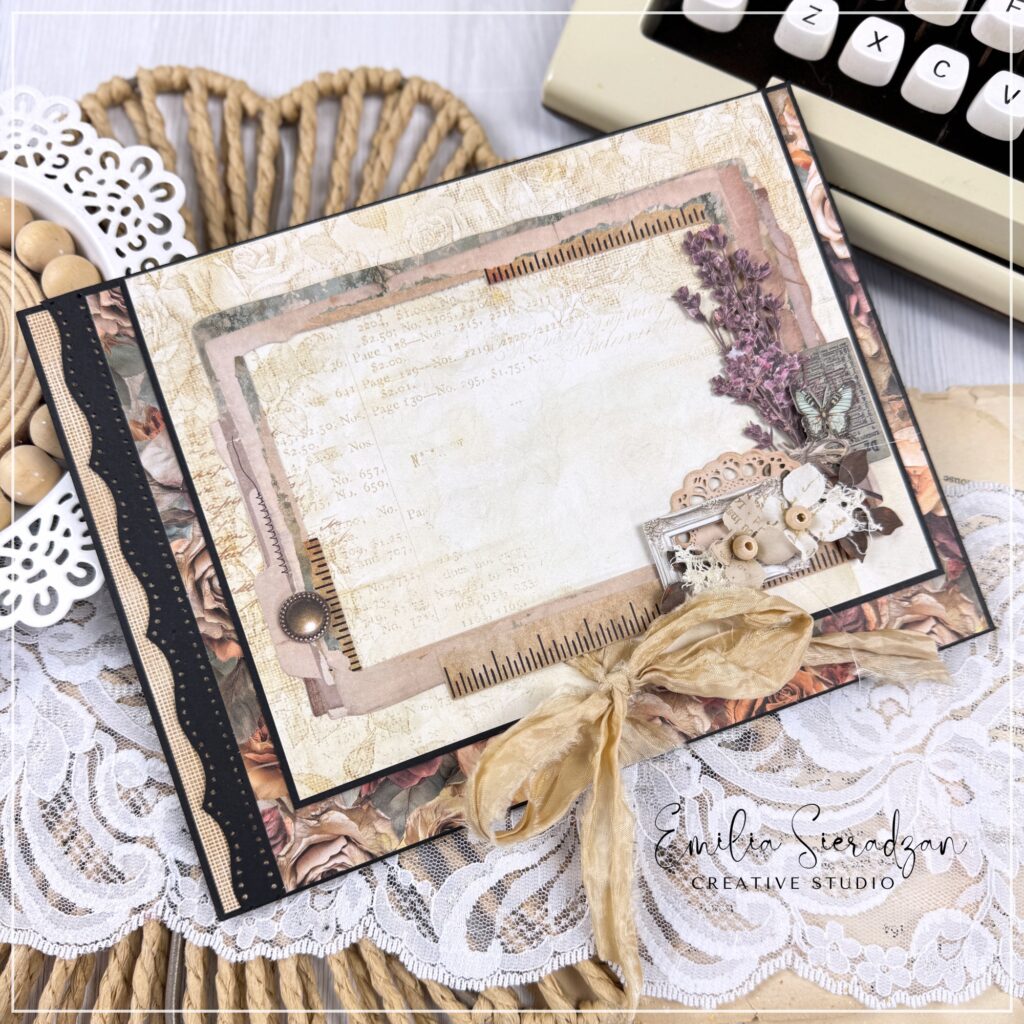
Decorated using papers and elements from the Nostalgic Memories collection. This page sets the tone for the rest of the album and gives you a glimpse of how the collection works together.
What’s Coming in the Next Parts
This is just the beginning! In the next videos in the series we’ll continue building the album by:
- Creating more interactive pages
- Adding pockets and inserts
- Decorating with ephemera and embellishments
- Completing the full album design
By the end of the series, you’ll have a complete album project from start to finish.
And if you enjoyed this project, don’t forget to watch Part 2 of the series coming soon!