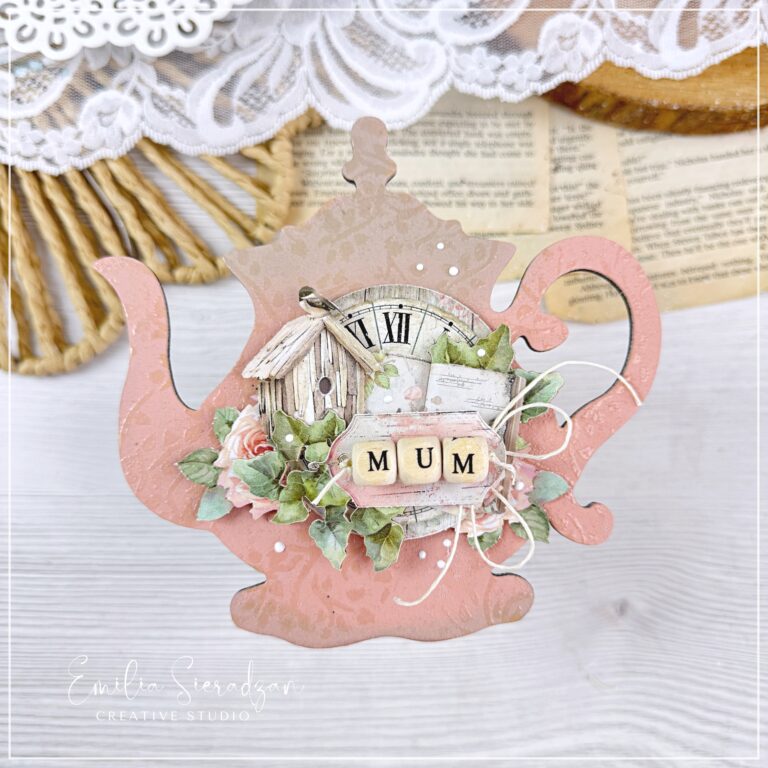
Creating a Masculine Card with Die Cut Name Using Scraps
Crafting a masculine card can sometimes be challenging, especially when using limited supplies and aiming for a sophisticated, yet simple look. In this blog post, I’ll walk you through the process of creating a masculine card featuring a die-cut name using scraps from older Stamperia collections. With minimal embellishments, we’ll achieve a sleek and stylish card that is perfect for any occasion.
Short step by step video:
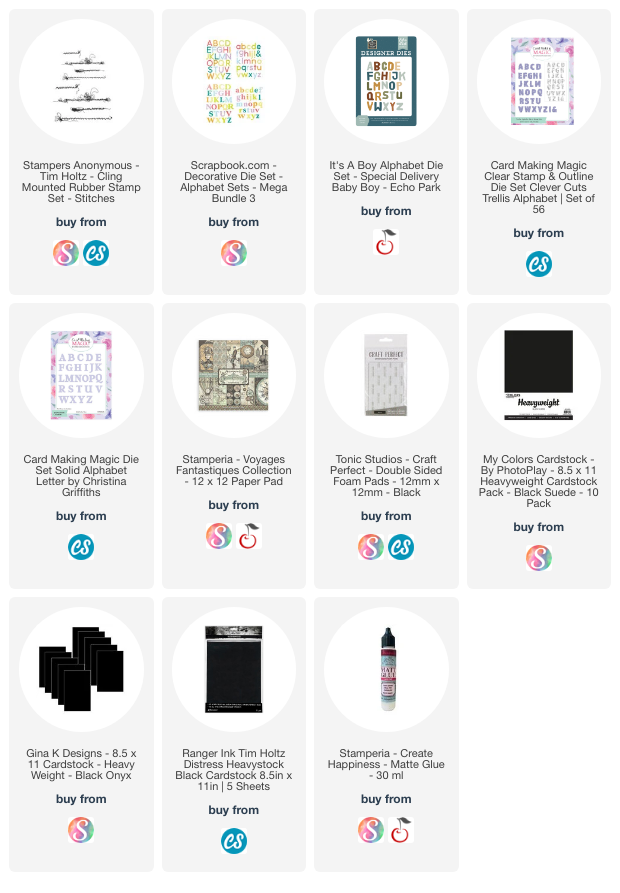
Materials Needed:
- Black card base
- Turquoise / blue tone scrapbooking paper with a subtle pattern (first layer)
- Brown / beige scrapbooking pattern paper (second layer)
- Scrapbooking paper scraps
- Die cut machine and alphabet dies
- One image of a clock
- Two tags / I used one long with a sentiment and a small piece of a second tag, you do not even need a full tag!
- Black thread (for machine stitching or a black pen for faux stitching) or a stamp that imitates stitching
- Double-sided foam pads
- Glue
The product list includes affiliate links – which means I’ll get a small commission if you order anything at no extra cost to you – read more about it HERE
Step-by-Step Instructions
1. Prepare Your Card Base and Layers
Start with a sturdy black card base. This will serve as the foundation for your design and provide a striking contrast to the other elements.
Next, cut a piece of turquoise cardstock slightly smaller than your card base, for me the first layer is usually 5mm smaller than the card base. This will be your first layer. Attach it directly to the card base using glue. This layer will provide a vibrant pop of color.
For the second layer, cut a piece of brown cardstock smaller than the turquoise layer, again for me this is usually 10mm smaller than the first layer. Before attaching it, adhere it to a slightly larger piece of black cardstock to create a thin, black border around it. This adds depth and frames the brown layer nicely. For the second layer use double-sided foam pads to add dimension to the card
2. Add Your Torn Scrapbooking Paper
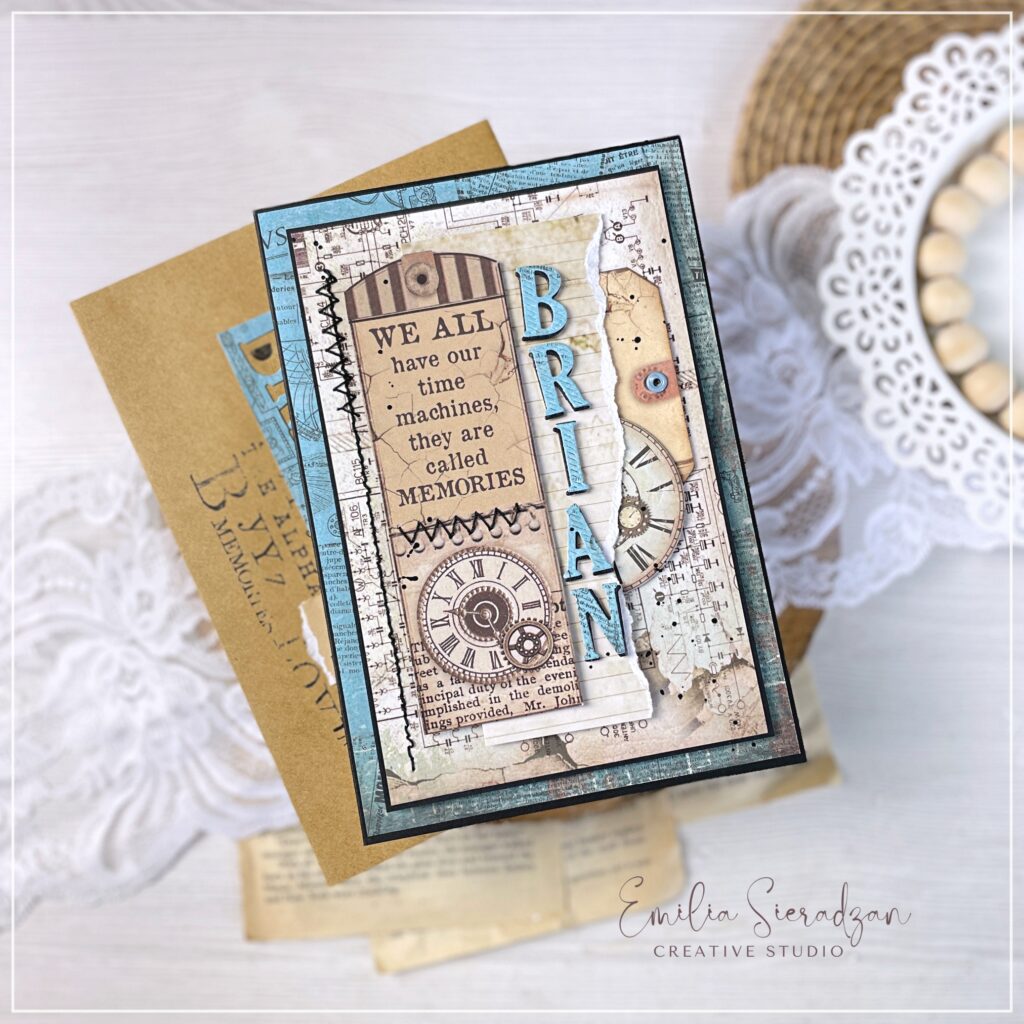
Take a piece of scrapbooking paper from your collection and tear it to the desired size, Mine was slightly larger than the tall tag I’ve chosen for this card, it has a very nice sentiment ‘We all have our time machines, they are called MEMORIES’. The torn edges add a rustic and masculine touch to the card. Attach the torn scrapbooking paper to the centre.
3. Incorporate the Clock Image and Tags
Select an image of a clock and two tags from your scraps. Place the tall tag on top of your scrap paper, the clock underneath the tag, visible only a little and the small tag underneath the scrap paper, arranging them in a visually pleasing manner.
4. Die Cut the Name
Using your die cut machine and alphabet dies, cut out the name you want to feature on the card. For this example, let’s use a name like “Brian” Choose a contrasting color that stands out against the brown layer, I used the same paper that I used for the first layer. Attach the die cut name diagonal to the torn scrapbooking paper, ensuring it’s easily readable.
5. Add Black Machine Stitches
To enhance the card’s texture and give it a finished look, add black machine stitches here and there. If you don’t have a sewing machine, you can achieve a similar effect by using a black pen to draw faux stitches or stitches stamp with black ink. This detail adds a touch of sophistication and ties all the elements together.
Final Thoughts
Creating a masculine card with a die cut name using scraps from older collections is a rewarding and creative process. By using minimal embellishments and focusing on texture and layering, you can achieve a stylish and sophisticated look that’s perfect for any occasion.
Remember, the key to a great masculine card is simplicity and strong, bold elements. Happy crafting!
I hope this tutorial inspires you to dive into your scrap stash and create something unique and personalized. Share your creations with me in the comments below or by tagging me on social media @emiliasieradzan
Thank you!!!