Creating Beautiful Paper Flowers Using Stamps
Hello, creative friends!
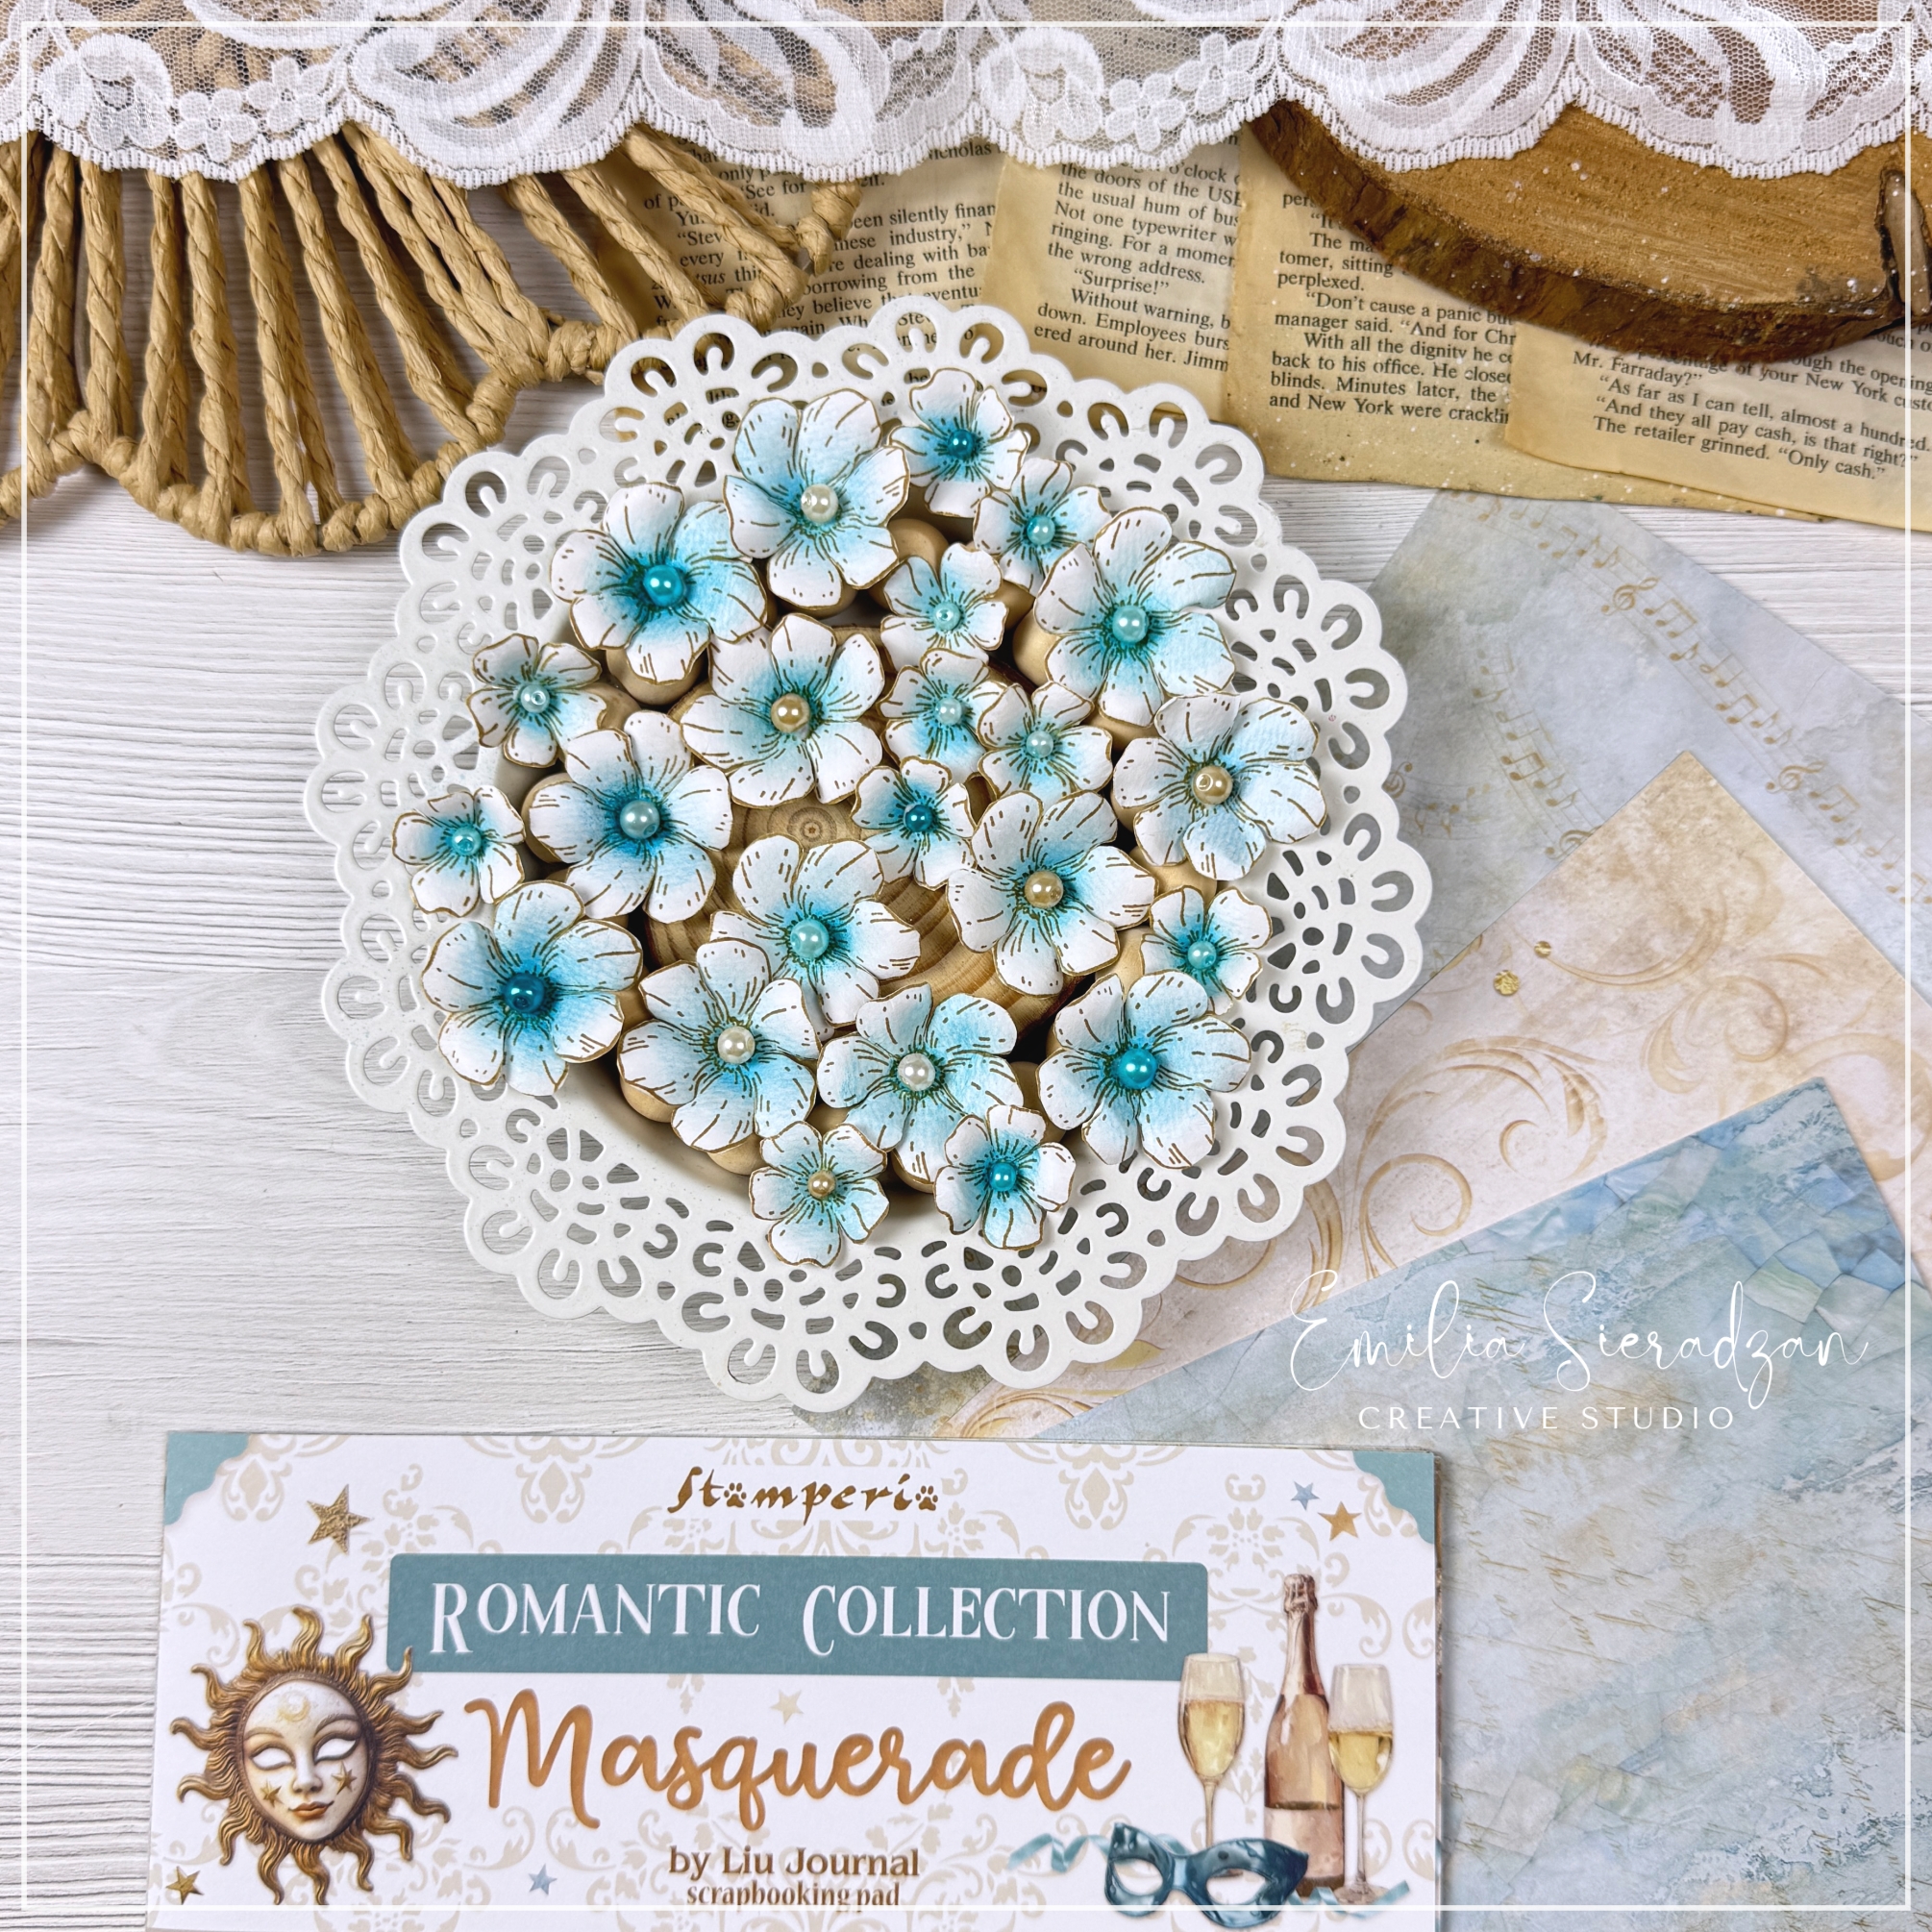
I’m back with another exciting paper flower project that’s sure to ignite your artistic spark. A few weeks ago, I shared a post about crafting paper flowers, and today I’m thrilled to take it to the next level with a new stamp from the stunning Stamperia Masquerade collection.
So, gather your supplies, and let’s dive into the magic of paper flower-making. Don’t forget to watch my short videos for a step-by-step guide—we’ll create these blooms together!
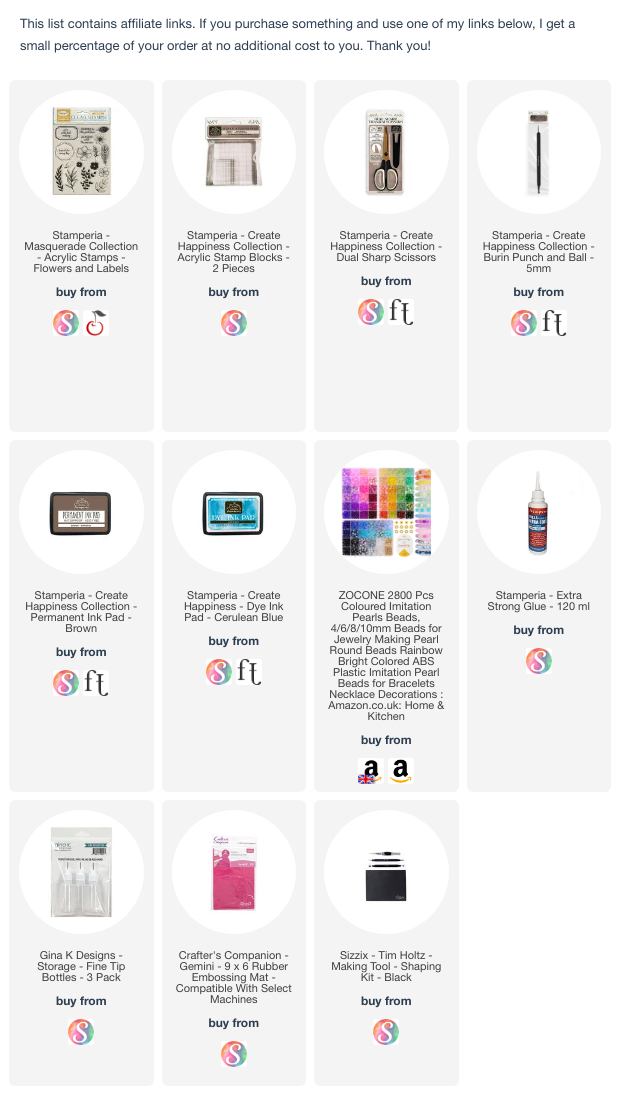
Supplies You’ll Need:
- Stamperia Masquerade stamp (or other similar flower stamp)
- Permanent ink (I like to use brown but you can also use black)
- Watercolor paper (mine is 190gsm, I use any brand)
- inks
- Scissors
- Shaping tools (optional, for added dimension)
- Pearls, beads, stamens (something for the center of the flower)
- Glue
- Water

Step 1: Stamping the Flowers
We begin by stamping the floral design onto watercolor paper using permanent ink. I love using permanent ink because it ensures the lines won’t smudge when we add color and water. Make sure your paper is sturdy enough to handle watercolors or other mediums.
Step 2: Adding Color
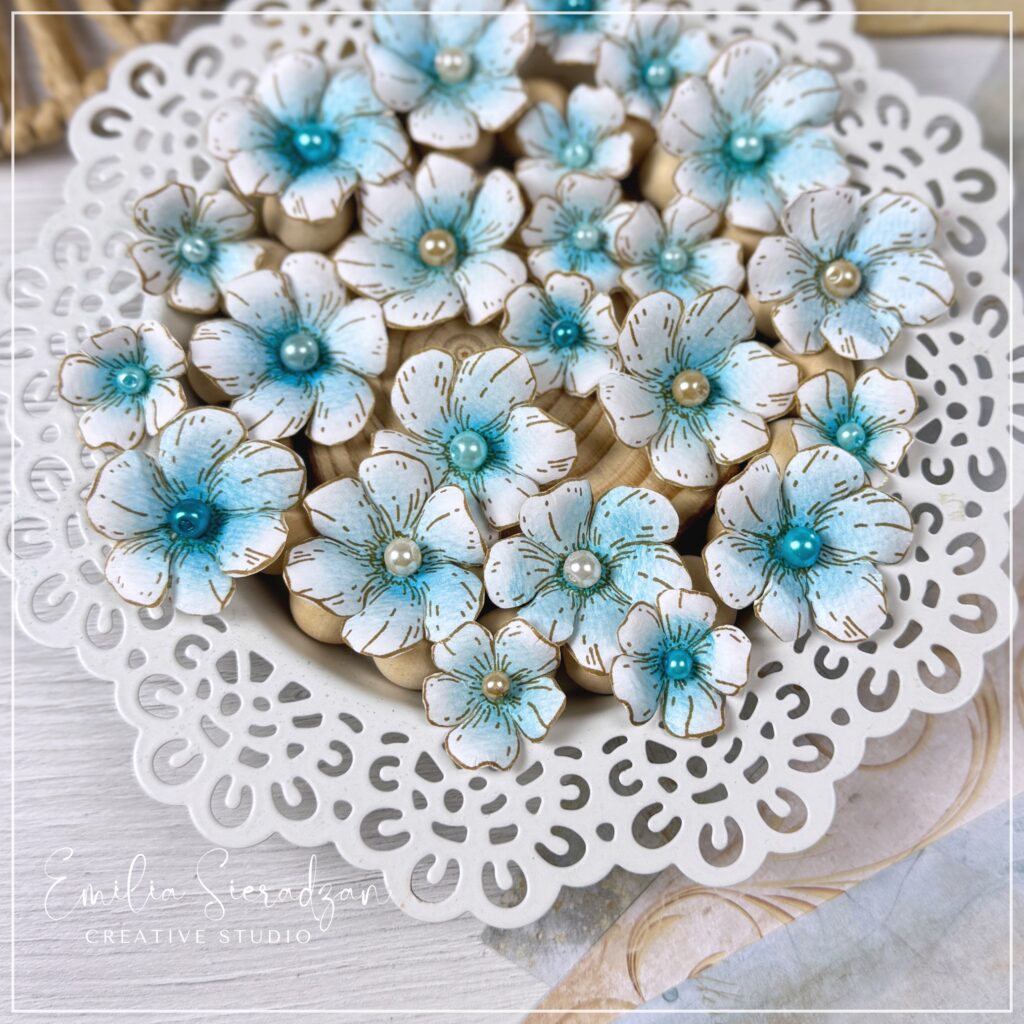
Once the ink has dried, it’s time to add color to the flowers. This is where your creativity can truly shine. Whether you prefer soft pastels or bold, vibrant hues, the choice is yours. I’m using ink in gorgeous shade of blue.
Step 3: Cutting Out the Flowers
Carefully cut out your stamped and colored flowers. Don’t worry if it’s not perfect—imperfections add character!
Step 4: Shaping the Flowers
Before shaping spray your flowers with water, leave for a few seconds, move them to a paper towel and start shaping while the flowers are dump. Use shaping tools to gently curve the petals for a more realistic look. You can also curl them slightly with your fingers or the edge of a pencil. This step adds a three-dimensional effect to your flowers, making them pop off the page.
Step 5: Assembling the Flowers
Today I’m making 1 layer flowers but you can of course stick 2 layers, when doing it try not to overlap the petals with the previous layer.
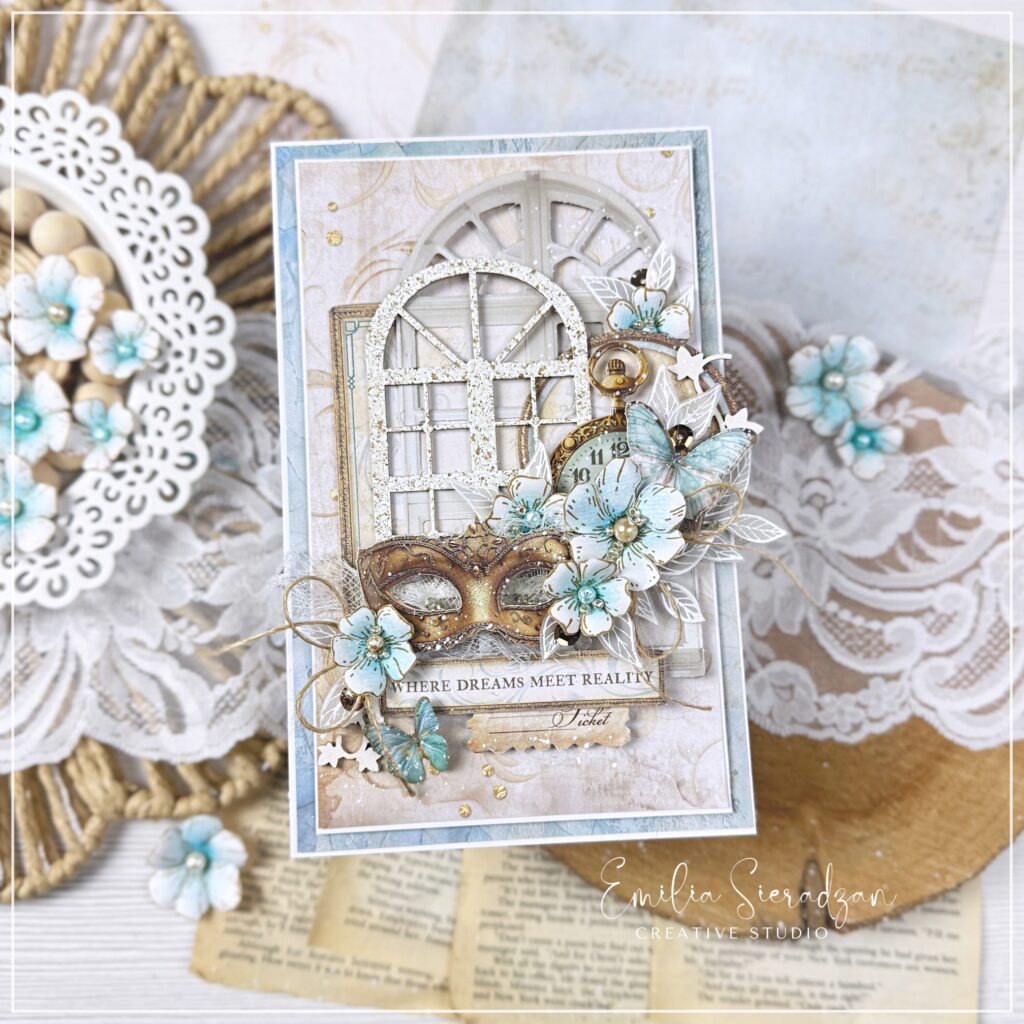
Step 6: Showcasing Your Masterpiece
Once your flowers are complete, use them to embellish cards, scrapbooks, gift tags, or even create a stunning floral bouquet. The possibilities are endless! I used them on the card:
Crafting with the Stamperia Masquerade collection has been such a joy, and I’m sure you’ll love it too. Whether you’re a seasoned crafter or just starting, paper flowers are a wonderful way to express your creativity and add a personal touch to your projects.
Happy crafting!