DIY Coffee Lover Tag Tutorial
Hello, crafty friends!
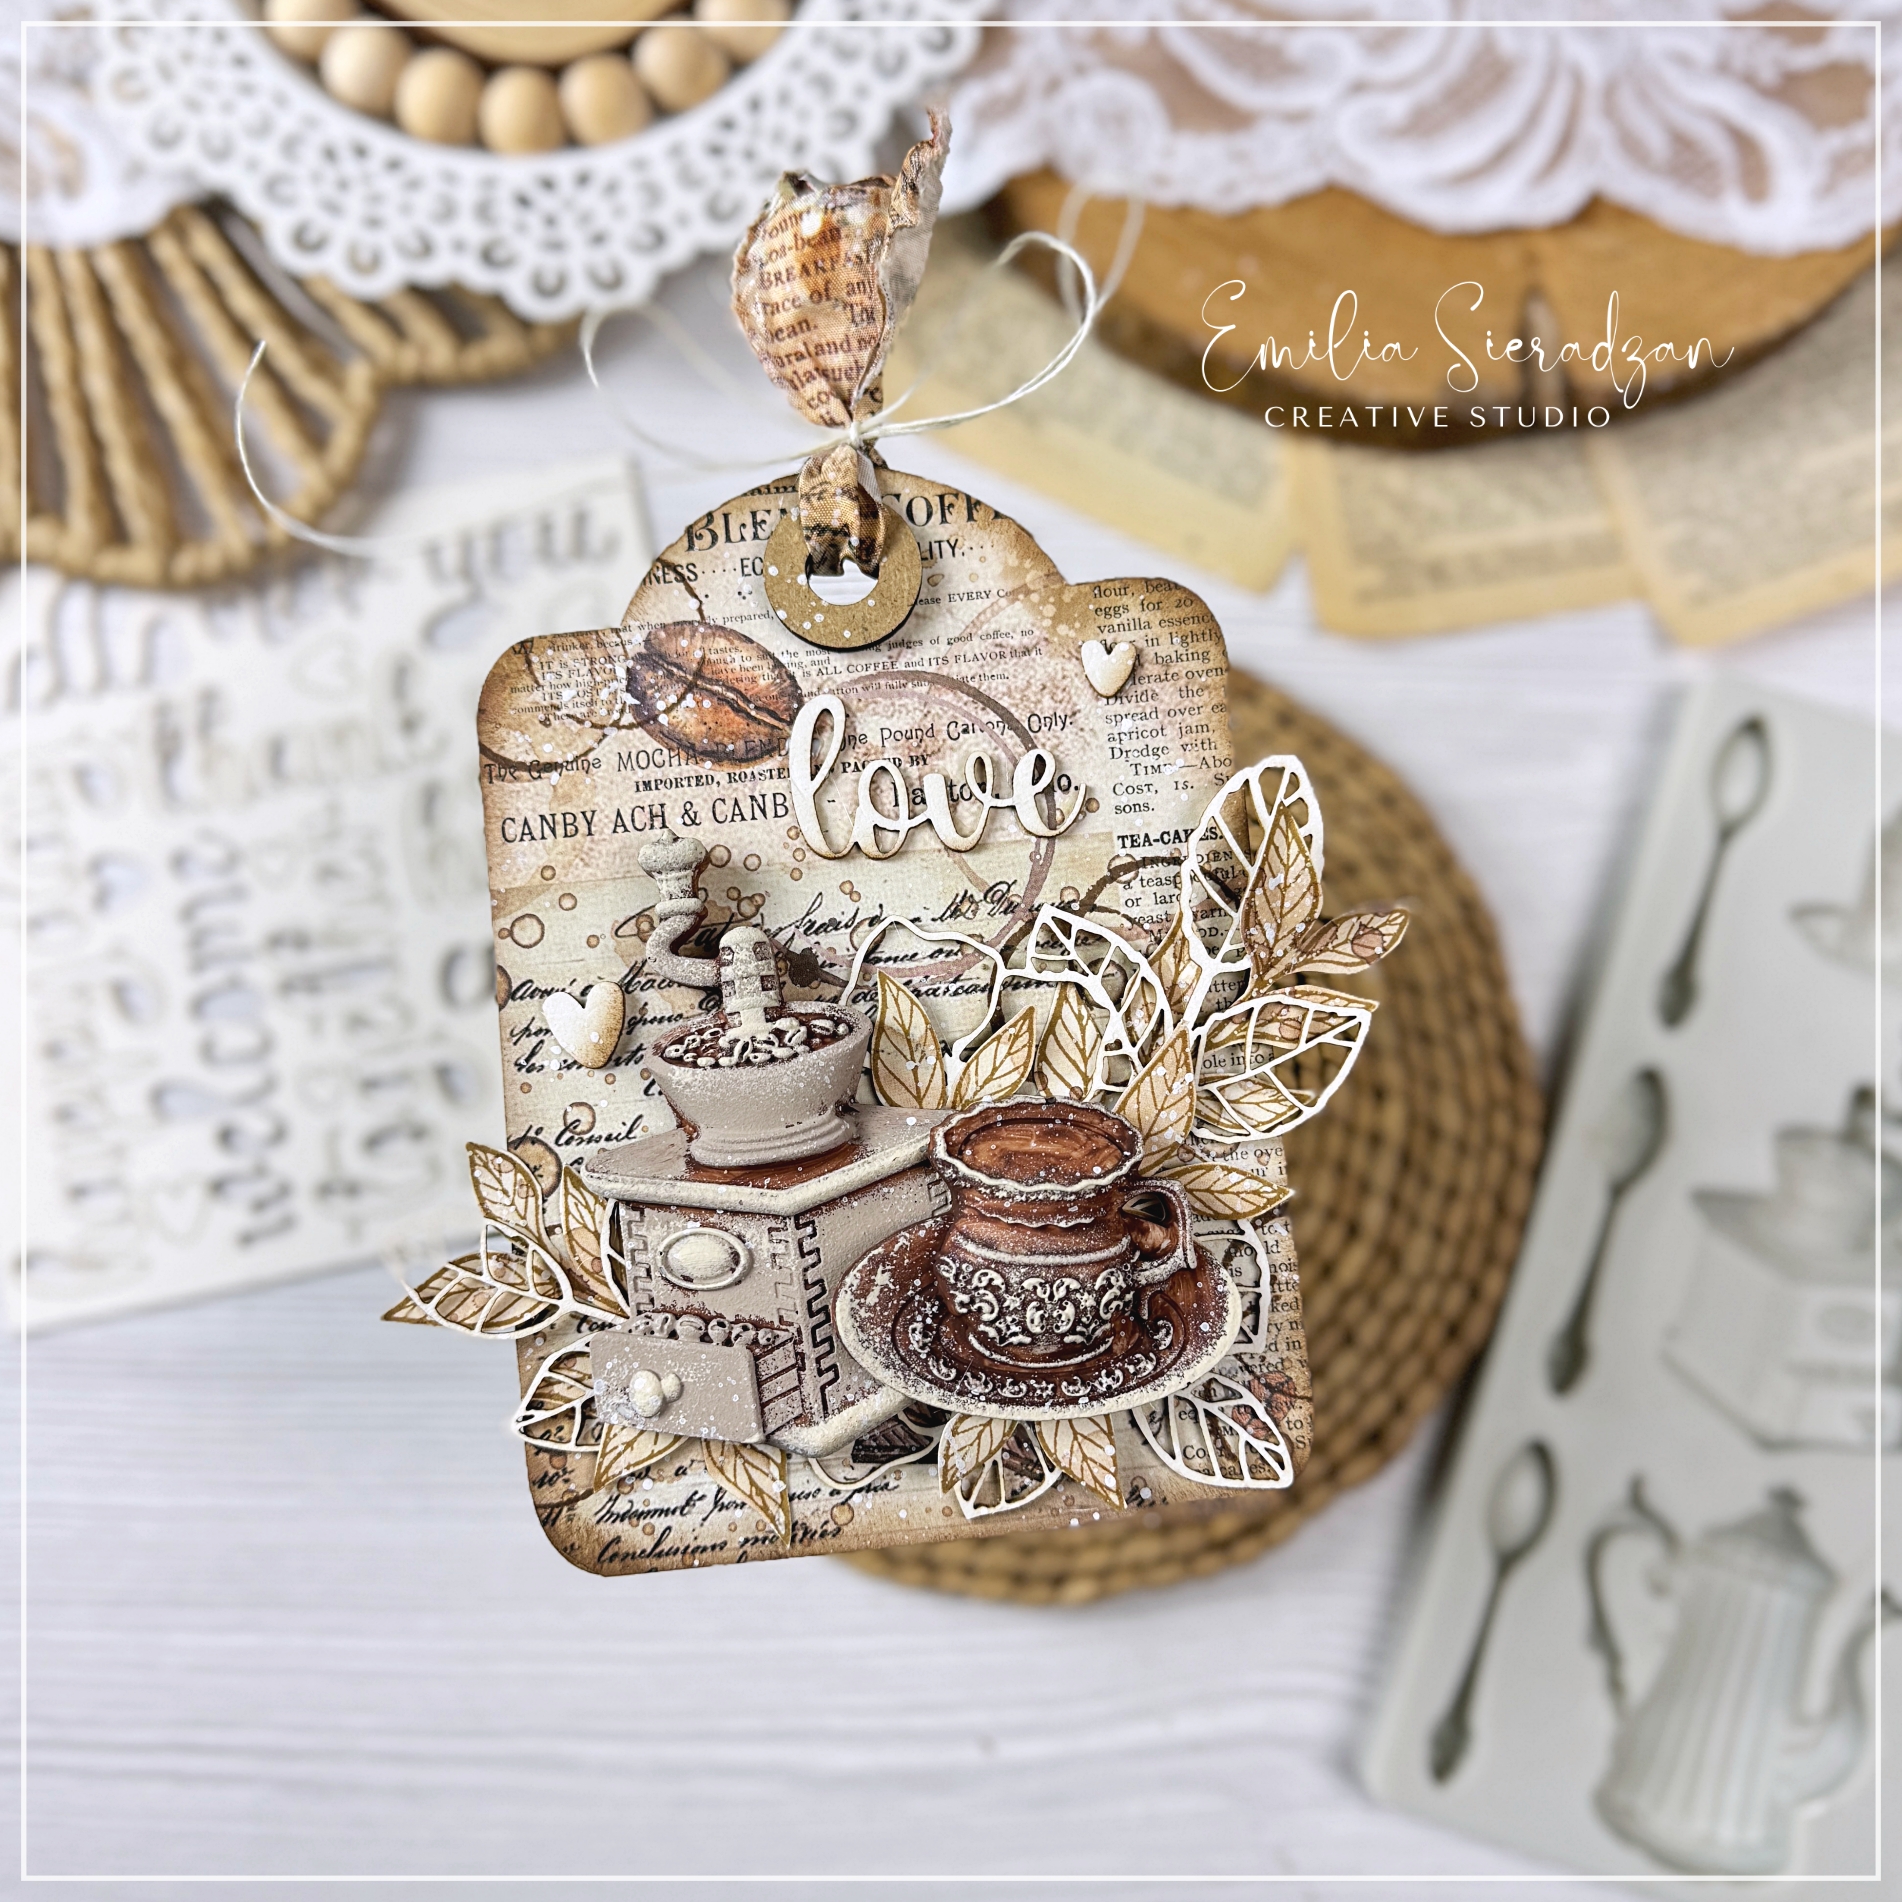
I’m so excited to share my latest project with you all—a beautiful, vintage-inspired tag that’s perfect for any coffee lover! Using an MDF tag from Stamperia (my design) and their Coffee & Chocolate collection, I’ve created a little piece of art that captures the cosy, warm vibes of a coffee break. ☕️

In this project, I wanted to blend the rich textures and earthy tones of coffee with intricate details. The MDF tag base from Stamperia provides a sturdy foundation, and the Coffee & Chocolate collection offers endless inspiration with its vintage coffee illustrations, textured papers, and delicate motifs. The final piece is a charming and layered tag that will make any coffee enthusiast smile.
Watch the Full Video Tutorial 🎥
If you want to see the full process in action, check out my video tutorial! In the video, I show each step in detail, so you can easily follow along and create your own coffee lover tag. Whether you’re a seasoned crafter or a beginner, this project is simple and fun.
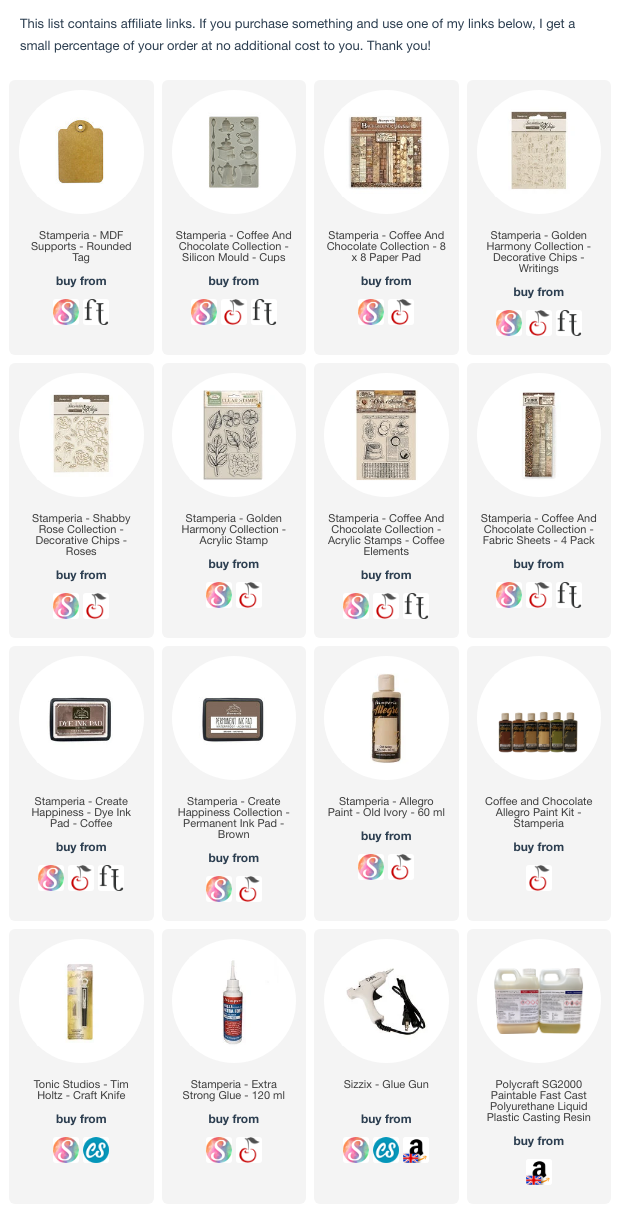
Materials You’ll Need
- Stamperia MDF Tag: The MDF tag provides a solid surface that works well with various mixed media techniques.
- Stamperia Coffee & Chocolate Collection: This collection is packed with beautiful, coffee-themed papers, die cuts, and other elements. I used moulds, papers and fabric from this collection.
- Textured embellishments: Think lace, chipboard elements, vintage paper scraps, and delicate leaves to add dimension and interest.
- Inks & paints: Perfect for adding an aged look.
- Glue, scissors, and other basic crafting tools
Creating the Coffee Lover Tag: Step-by-Step
I’ve created a full video tutorial that walks you through the steps, but here’s a quick rundown of how I made this beautiful tag:
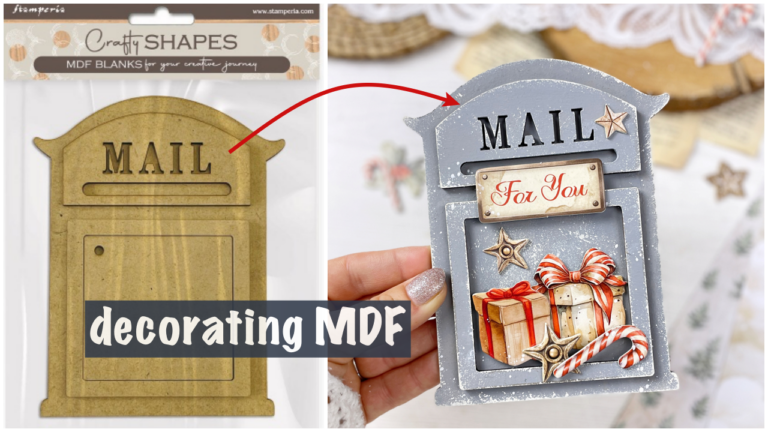
- Prepare the MDF Tag: Start by covering the MDF tag with a piece of patterned paper from the Coffee & Chocolate collection. Use glue or Mod Podge to secure it, then trim the edges to fit.
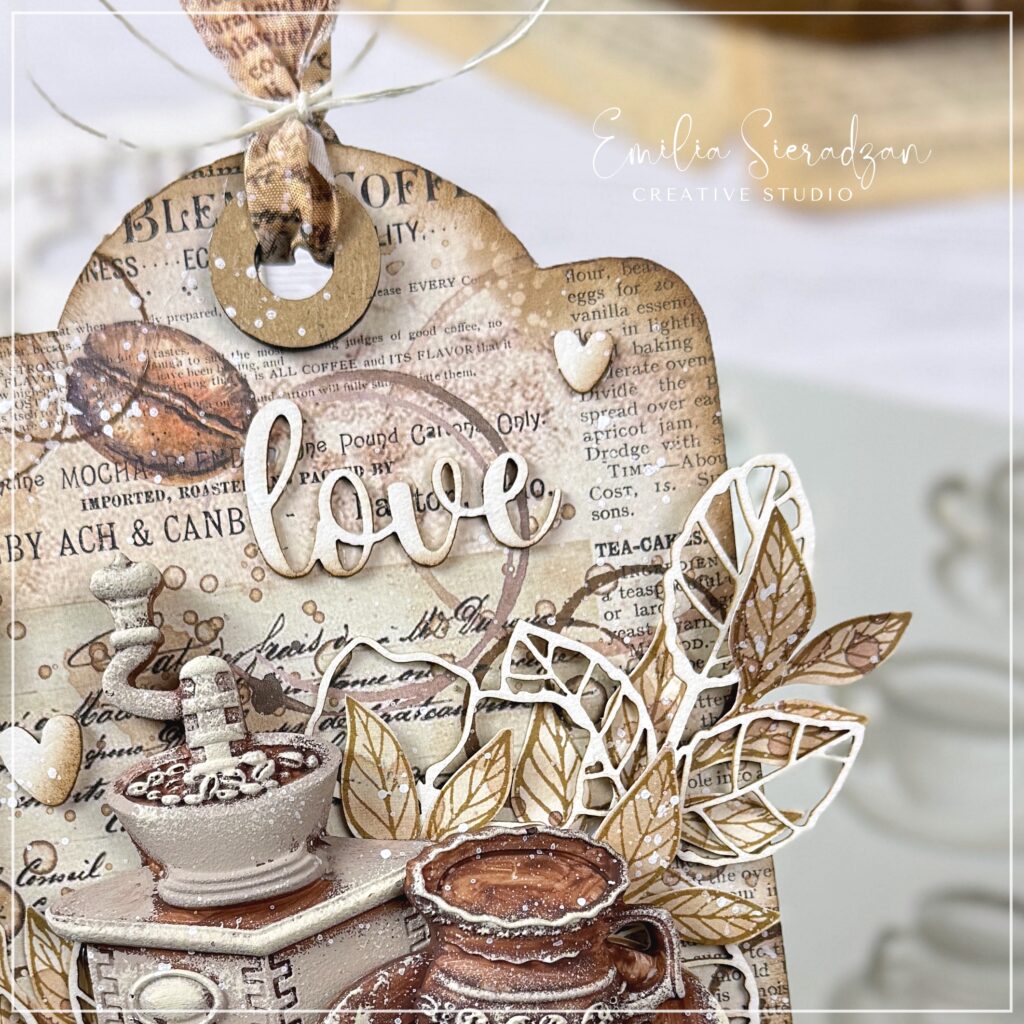
- Add Background Texture: To create that vintage feel, I used ink around the edges, giving the tag a warm, aged appearance. You can also add some stamped text or subtle stencilling to bring out the background.
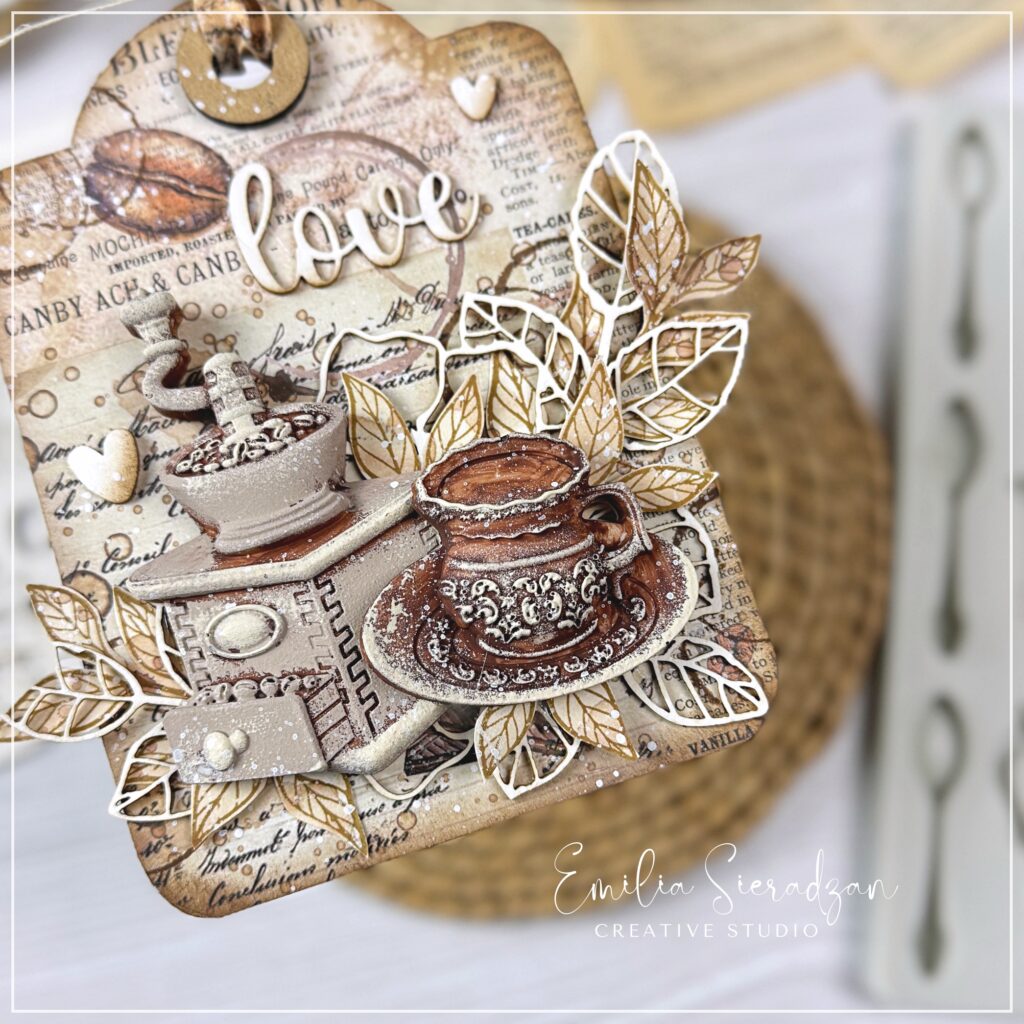
- Layering the Elements: Next, I arranged chipboard and stamped leaves. The cup & grinder are positioned to create a focal point.
- Finishing Touches: A few finishing touches—like adding tiny hearts and the word “love”—bring warmth and personality to the tag.
Final Thoughts
This coffee lover tag is a delightful project that combines textures, layers, and the comforting theme of coffee. It’s a perfect addition to any gift or a charming decor piece for your coffee station.
Happy crafting, and enjoy the journey of making your cosy tag! ☕✨