How to Create a Simple yet Adorable Gift Tag Using Stamperia’s Crafty Shapes and Golden Harmony Collection
Are you ready to add a personal touch to your gifts this season? Whether for a birthday, or just because, a handmade gift tag is a perfect way to make your presents stand out. In this tutorial, I’ll walk you through how to create a beautiful and simple tag using the Stamperia Crafty Shapes – Tag and products from the Golden Harmony collection. Even if you’re a beginner, this tag design is quick, easy, and sure to impress!
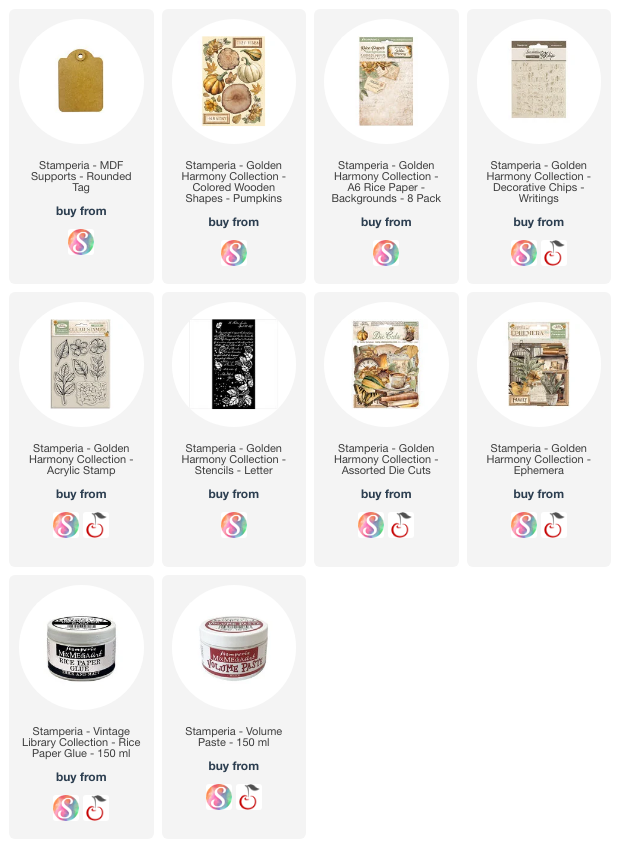
Materials You’ll Need:
- Stamperia Crafty Shapes – Tag
- Primer / white gesso
- Golden Harmony collection or any collection you like
- Volume paste
- Adhesive strong glue
- Paintbrush
Note: While I’m using items from the Golden Harmony collection, feel free to use products from any other collection you have on hand! The technique remains the same.

Step-by-Step Guide to Create the Tag:
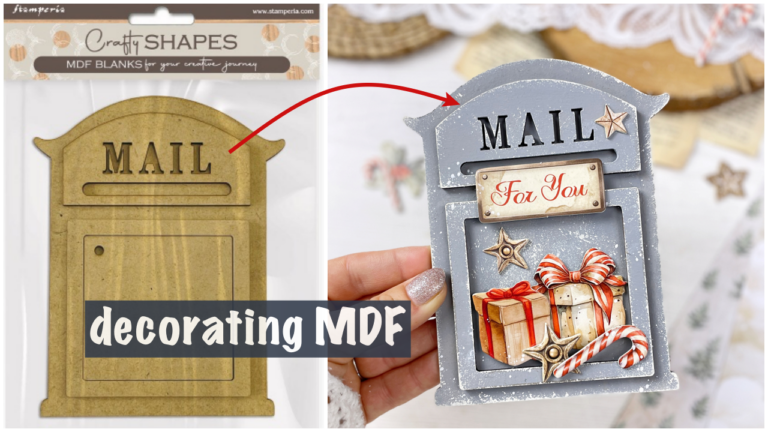
1. Prepare Your Tag Base
Start by choosing your Crafty Shape – Tag in my case but you can use any other shape as the base. This is the perfect blank canvas for building your composition.
2. Apply the Rice Paper Background
Prepare your tag by adding one layer of primer or white gesso, when this is dry adhere rice paper from the Golden Harmony collection. Use rice paper glue to apply the rice paper to the tag, smoothing it out to avoid air bubbles. Remove the excess of the rice paper with a nail file or scissors. This soft, textured background will give your tag a delicate and artistic feel.
3. Create Texture with Stencil and Volume Paste
Once your rice paper background is set, it’s time to add some texture! Place the Golden Harmony stencil over your tag and gently apply volume paste with a palette knife. This step adds depth and a lovely raised texture to your design. Let the paste dry completely before moving on. You can use a heat gun to speed up the drying process.
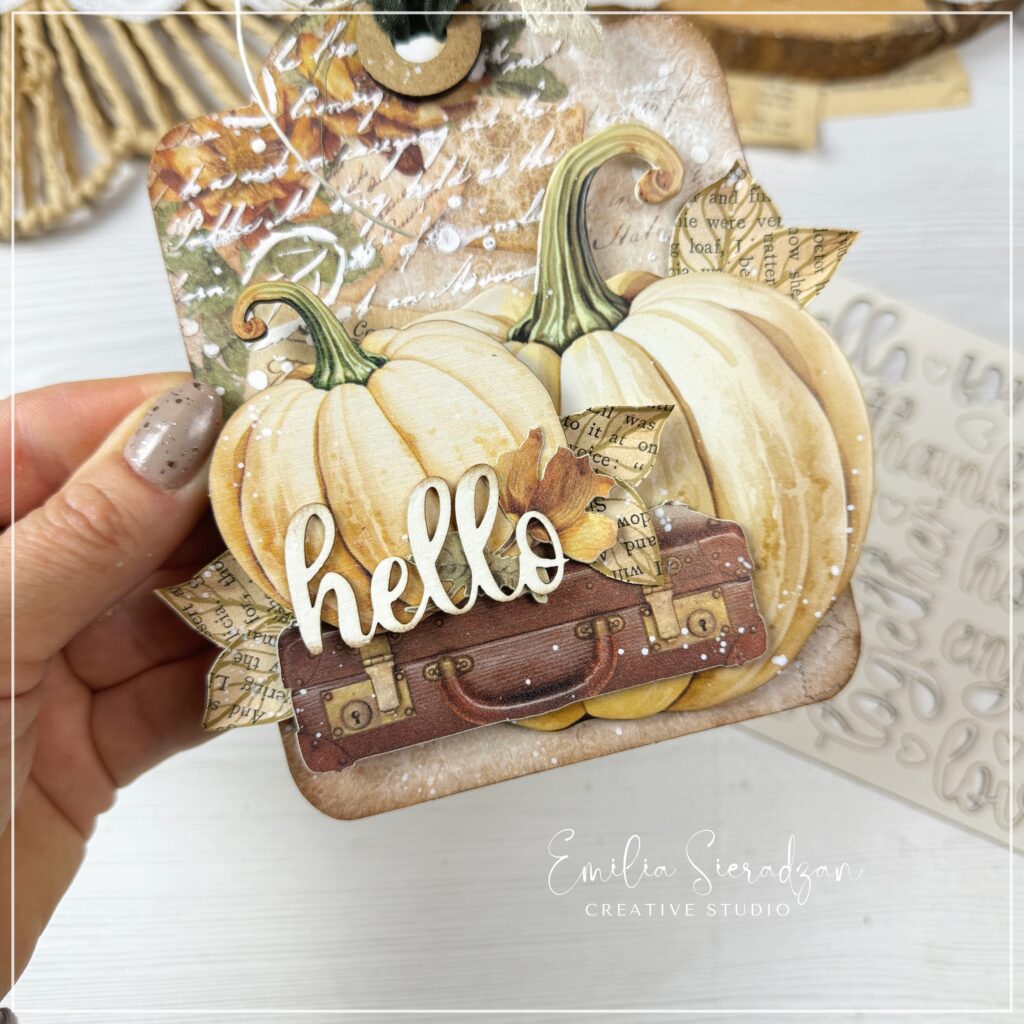
4. Assemble the Composition: Pumpkins and Suitcase
Now for the fun part—assembling your decorative elements! I chose two adorable, light-colored pumpkins and a suitcase from the Golden Harmony collection. Arrange these elements on the tag in a balanced way that pleases you. Don’t be afraid to play around with the layout before you glue them down! To finish of the composition I added a sentiment – chipboard word – hello.
The pumpkins, with their subtle hues, give the tag a warm, autumnal touch, while the suitcase adds a vintage vibe. You can mix and match different elements to suit the occasion or person you’re gifting to.
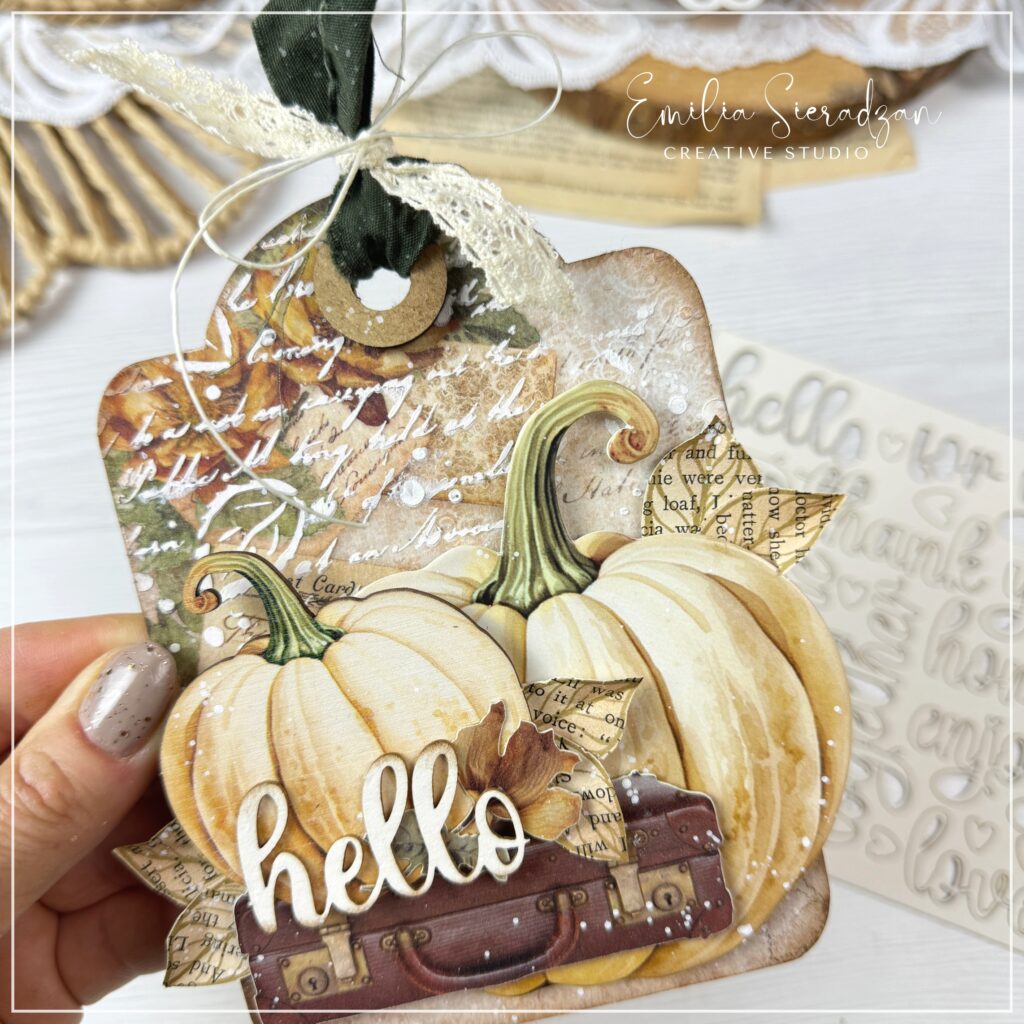
5. Final Touches
After your main elements are attached, step back and admire your work! You can add extra embellishments like metallic paint, glitter, or small flowers to make it pop. On the top of the tag, I added pieces of fabric, lace and twine.


Why You’ll Love This Project
- Beginner-friendly: The steps are straightforward, making this tag easy to create even for beginners.
- Customizable: Using products from any collection, you can swap out the pumpkins and suitcase for other items based on your theme.
- Textured & Layered: The combination of rice paper, stenciled volume paste, and 3D elements gives the tag an elegant, multi-dimensional feel.
This handmade gift tag is perfect for any occasion and adds a special touch to your presents. Have fun experimenting with different collections and elements to make each tag uniquely yours!
Happy crafting! ✨
The product list includes affiliate links – which means I’ll get a small commission if you order anything at no extra cost to you – read more about it HERE