How to Make Fabric Flowers for Cardmaking & Scrapbooking with Tim Holtz Cutting Dies
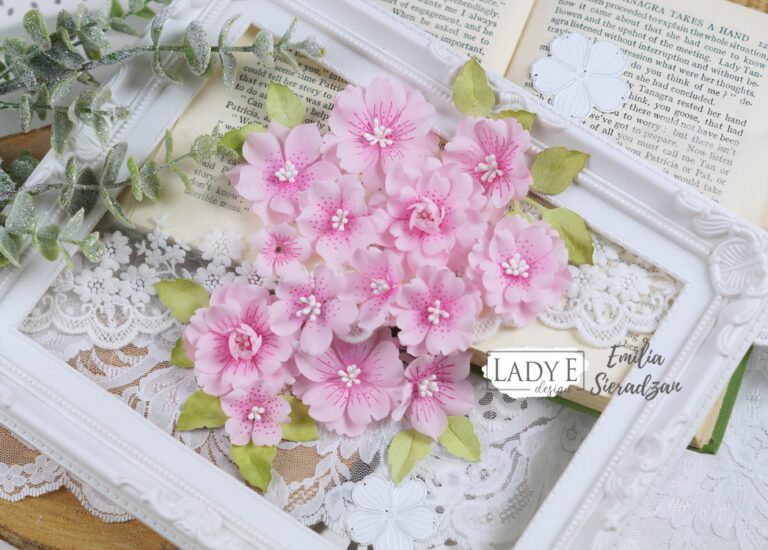
If you love adding handmade floral embellishments to your craft projects, you’re in the right place! I’ve been creating my own flowers for over seven years, and in that time, I’ve designed thousands of unique blooms for my cards, albums, and scrapbooking projects. There’s something incredibly rewarding about making your own flowers—you can customize the colors, textures, and styles to perfectly match your project or the paper collection you are planning to use.

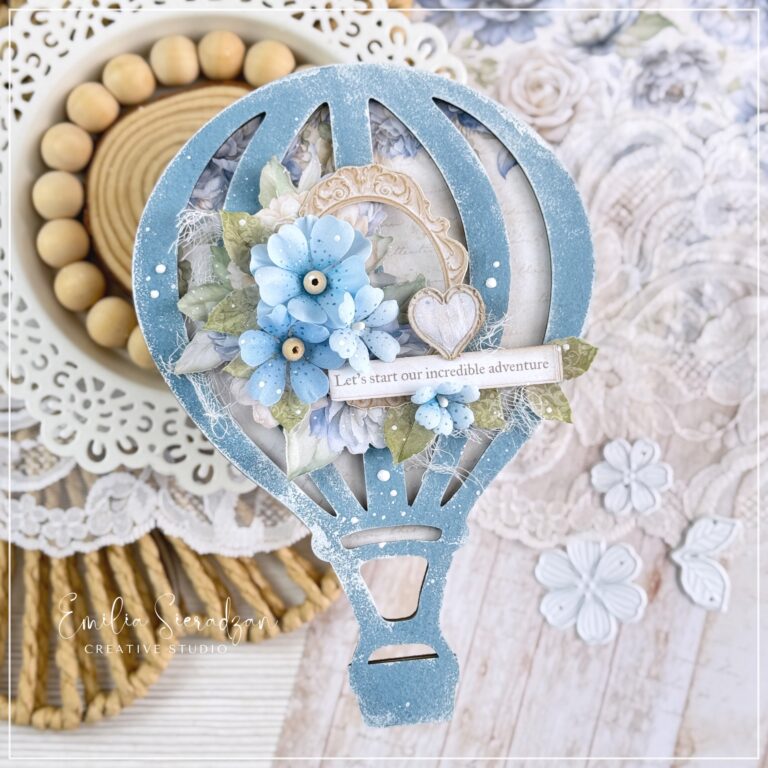
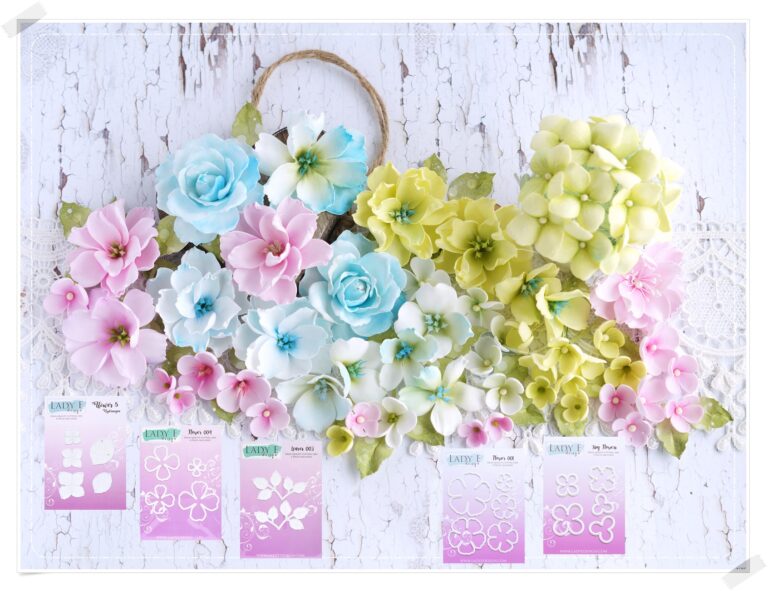
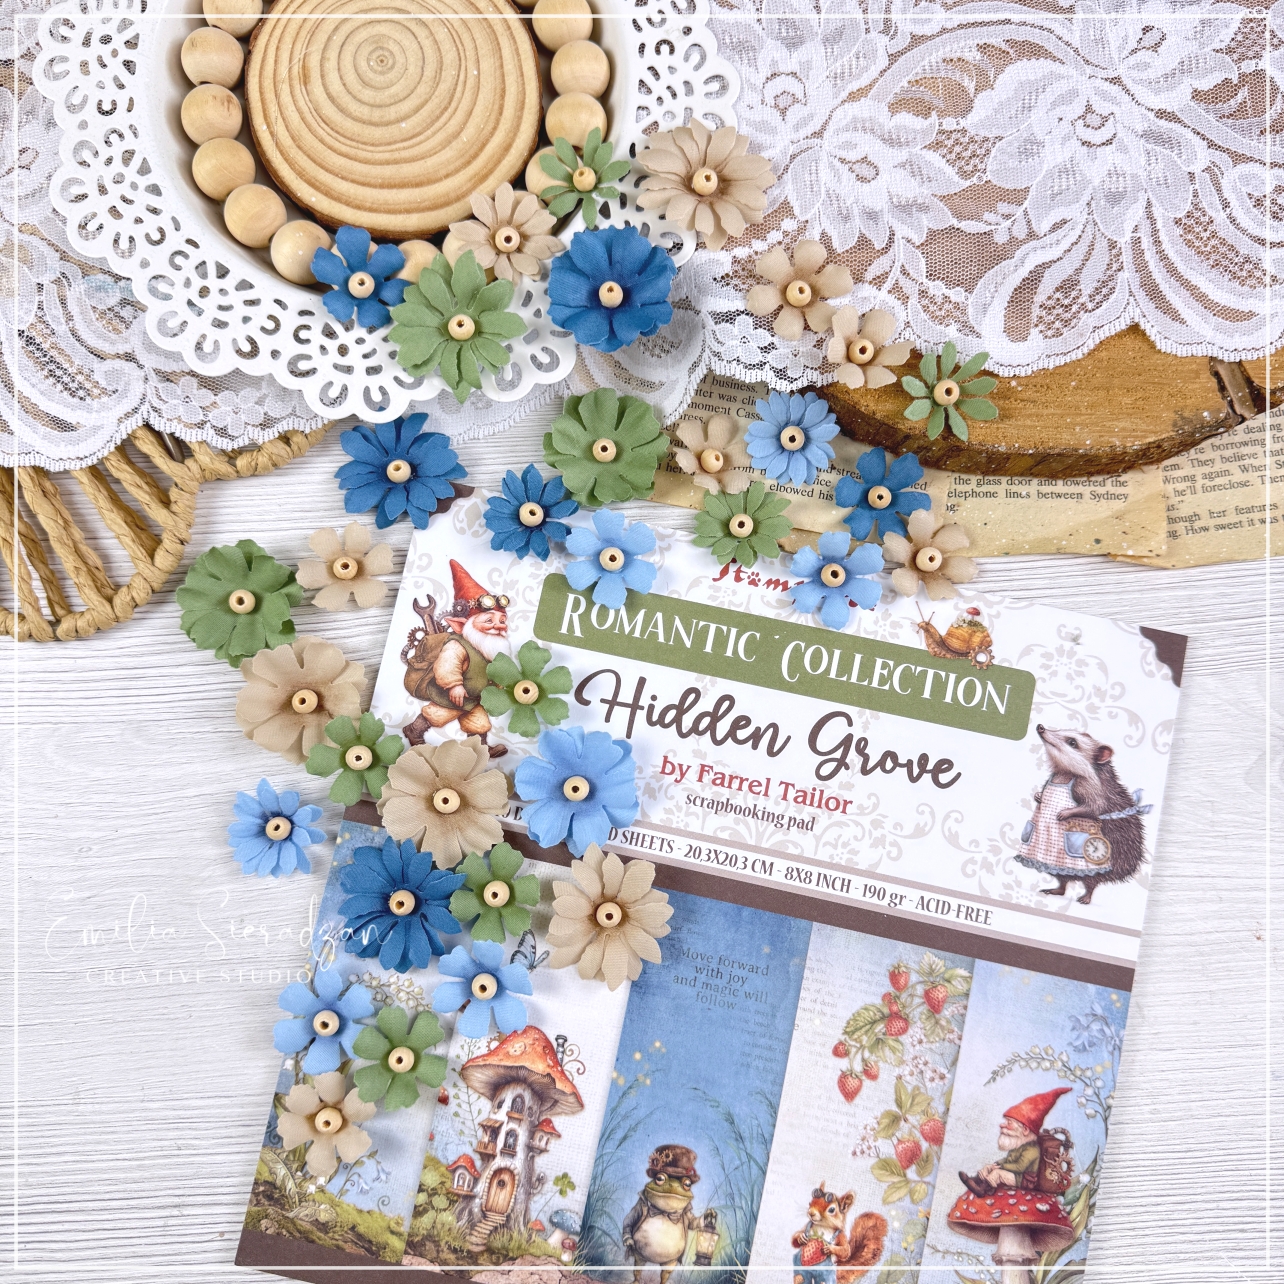
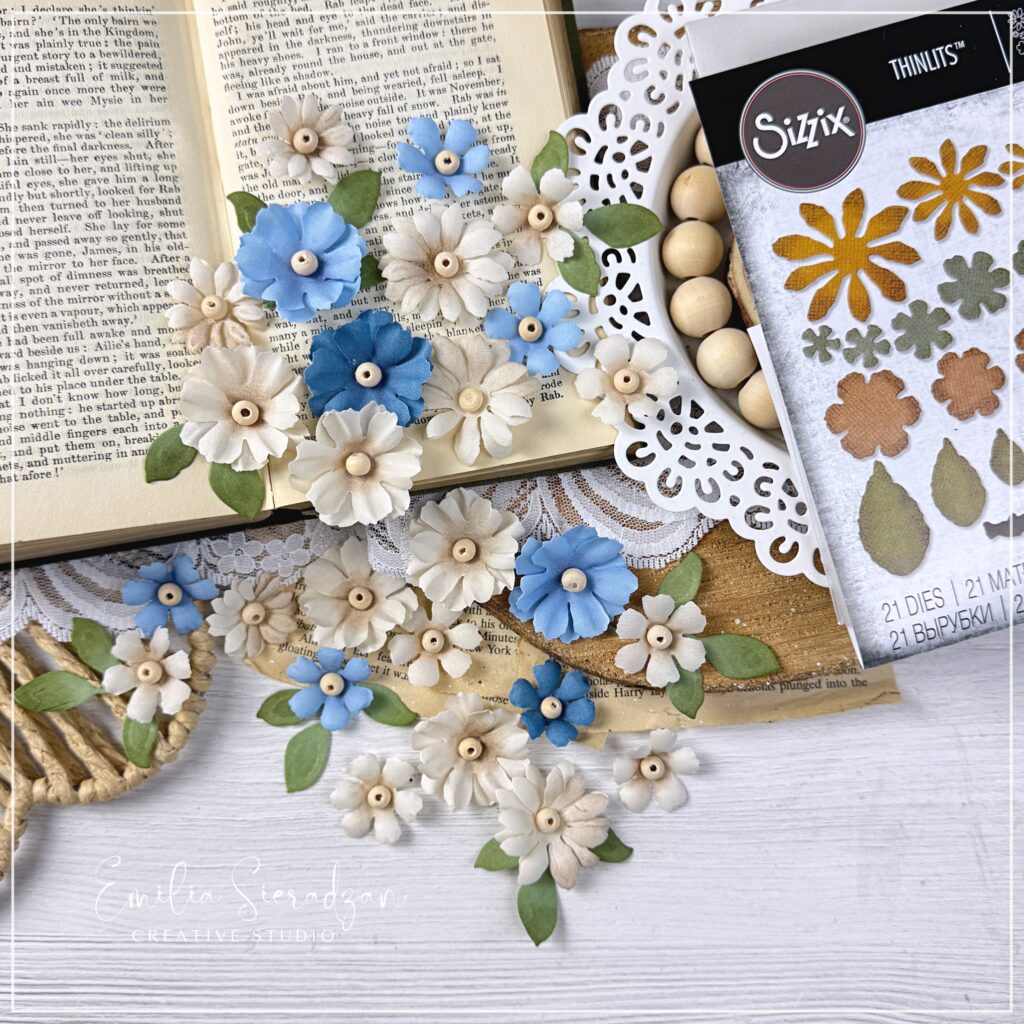
Today, I’m excited to share with you a simple yet stunning technique for making fabric flowers using the Tim Holtz Tattered Floral cutting die set. Whether you’re a beginner or an experienced crafter, this tutorial will help you create beautiful flowers that elevate your designs.
Why Make Your Own Fabric Flowers?
- Custom Colors & Textures – Match your flowers exactly to your project theme & scrapbooking collection.
- Cost-Effective – Handmade flowers are often more affordable than store-bought ones.
- Unique & Artistic – Add a personal touch to your crafts with one-of-a-kind designs.
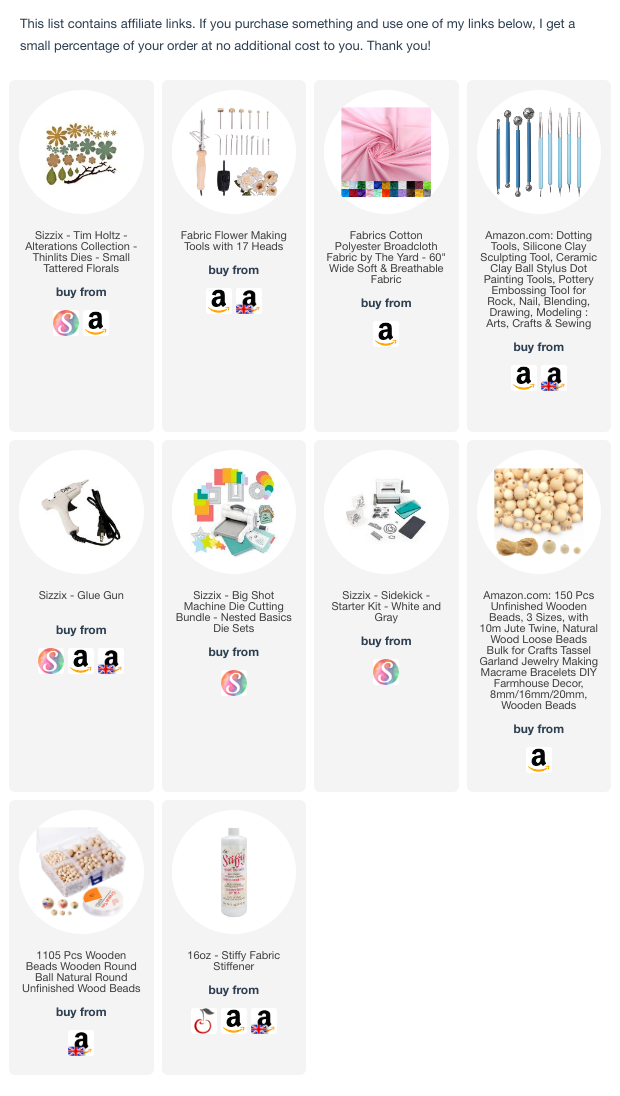
Materials You’ll Need:
- Tim Holtz Tattered Floral die set
- Fabric (cotton stiffened) – how to stiffen the fabric video tutorial here
- Die-cutting machine (such as Sizzix Big Shot)
- Hot glue gun or fabric glue
- Small beads or pearls for flower centers
- Scissors
- shaping tools
Step-by-Step Tutorial:
Watch My Full Flower-Making Series!
I have a full series of flower-making tutorials where I go in-depth on:
Make sure to check out the full series and follow along for more expert tips and techniques. Whether you’re embellishing a scrapbook page, designing a handmade card, or adding florals to a mixed media project, these handmade flowers will bring your crafts to life!
I’d love to see your creations! Share your handmade fabric flowers with me and let’s inspire each other to create even more beautiful projects. Happy crafting!