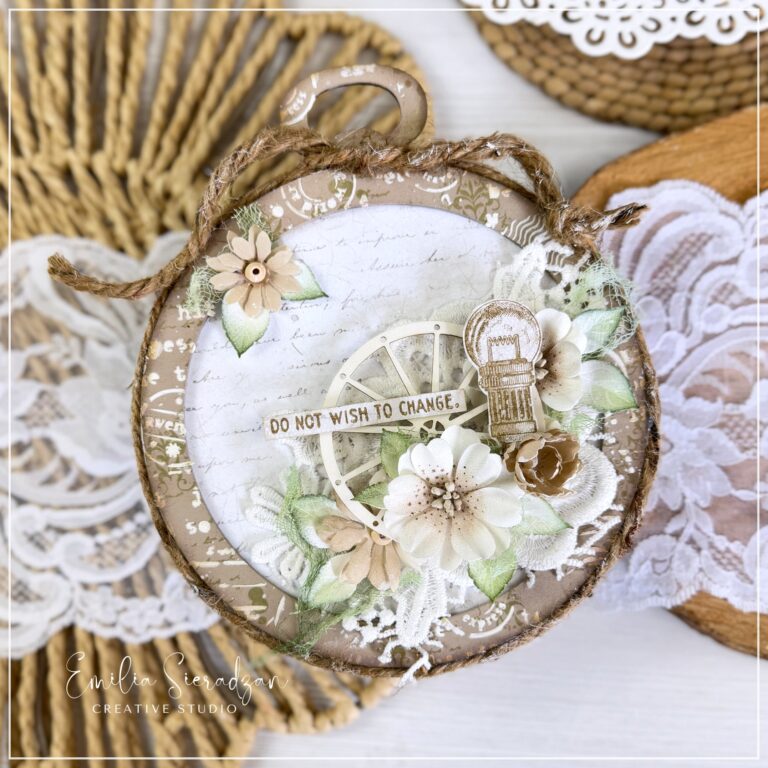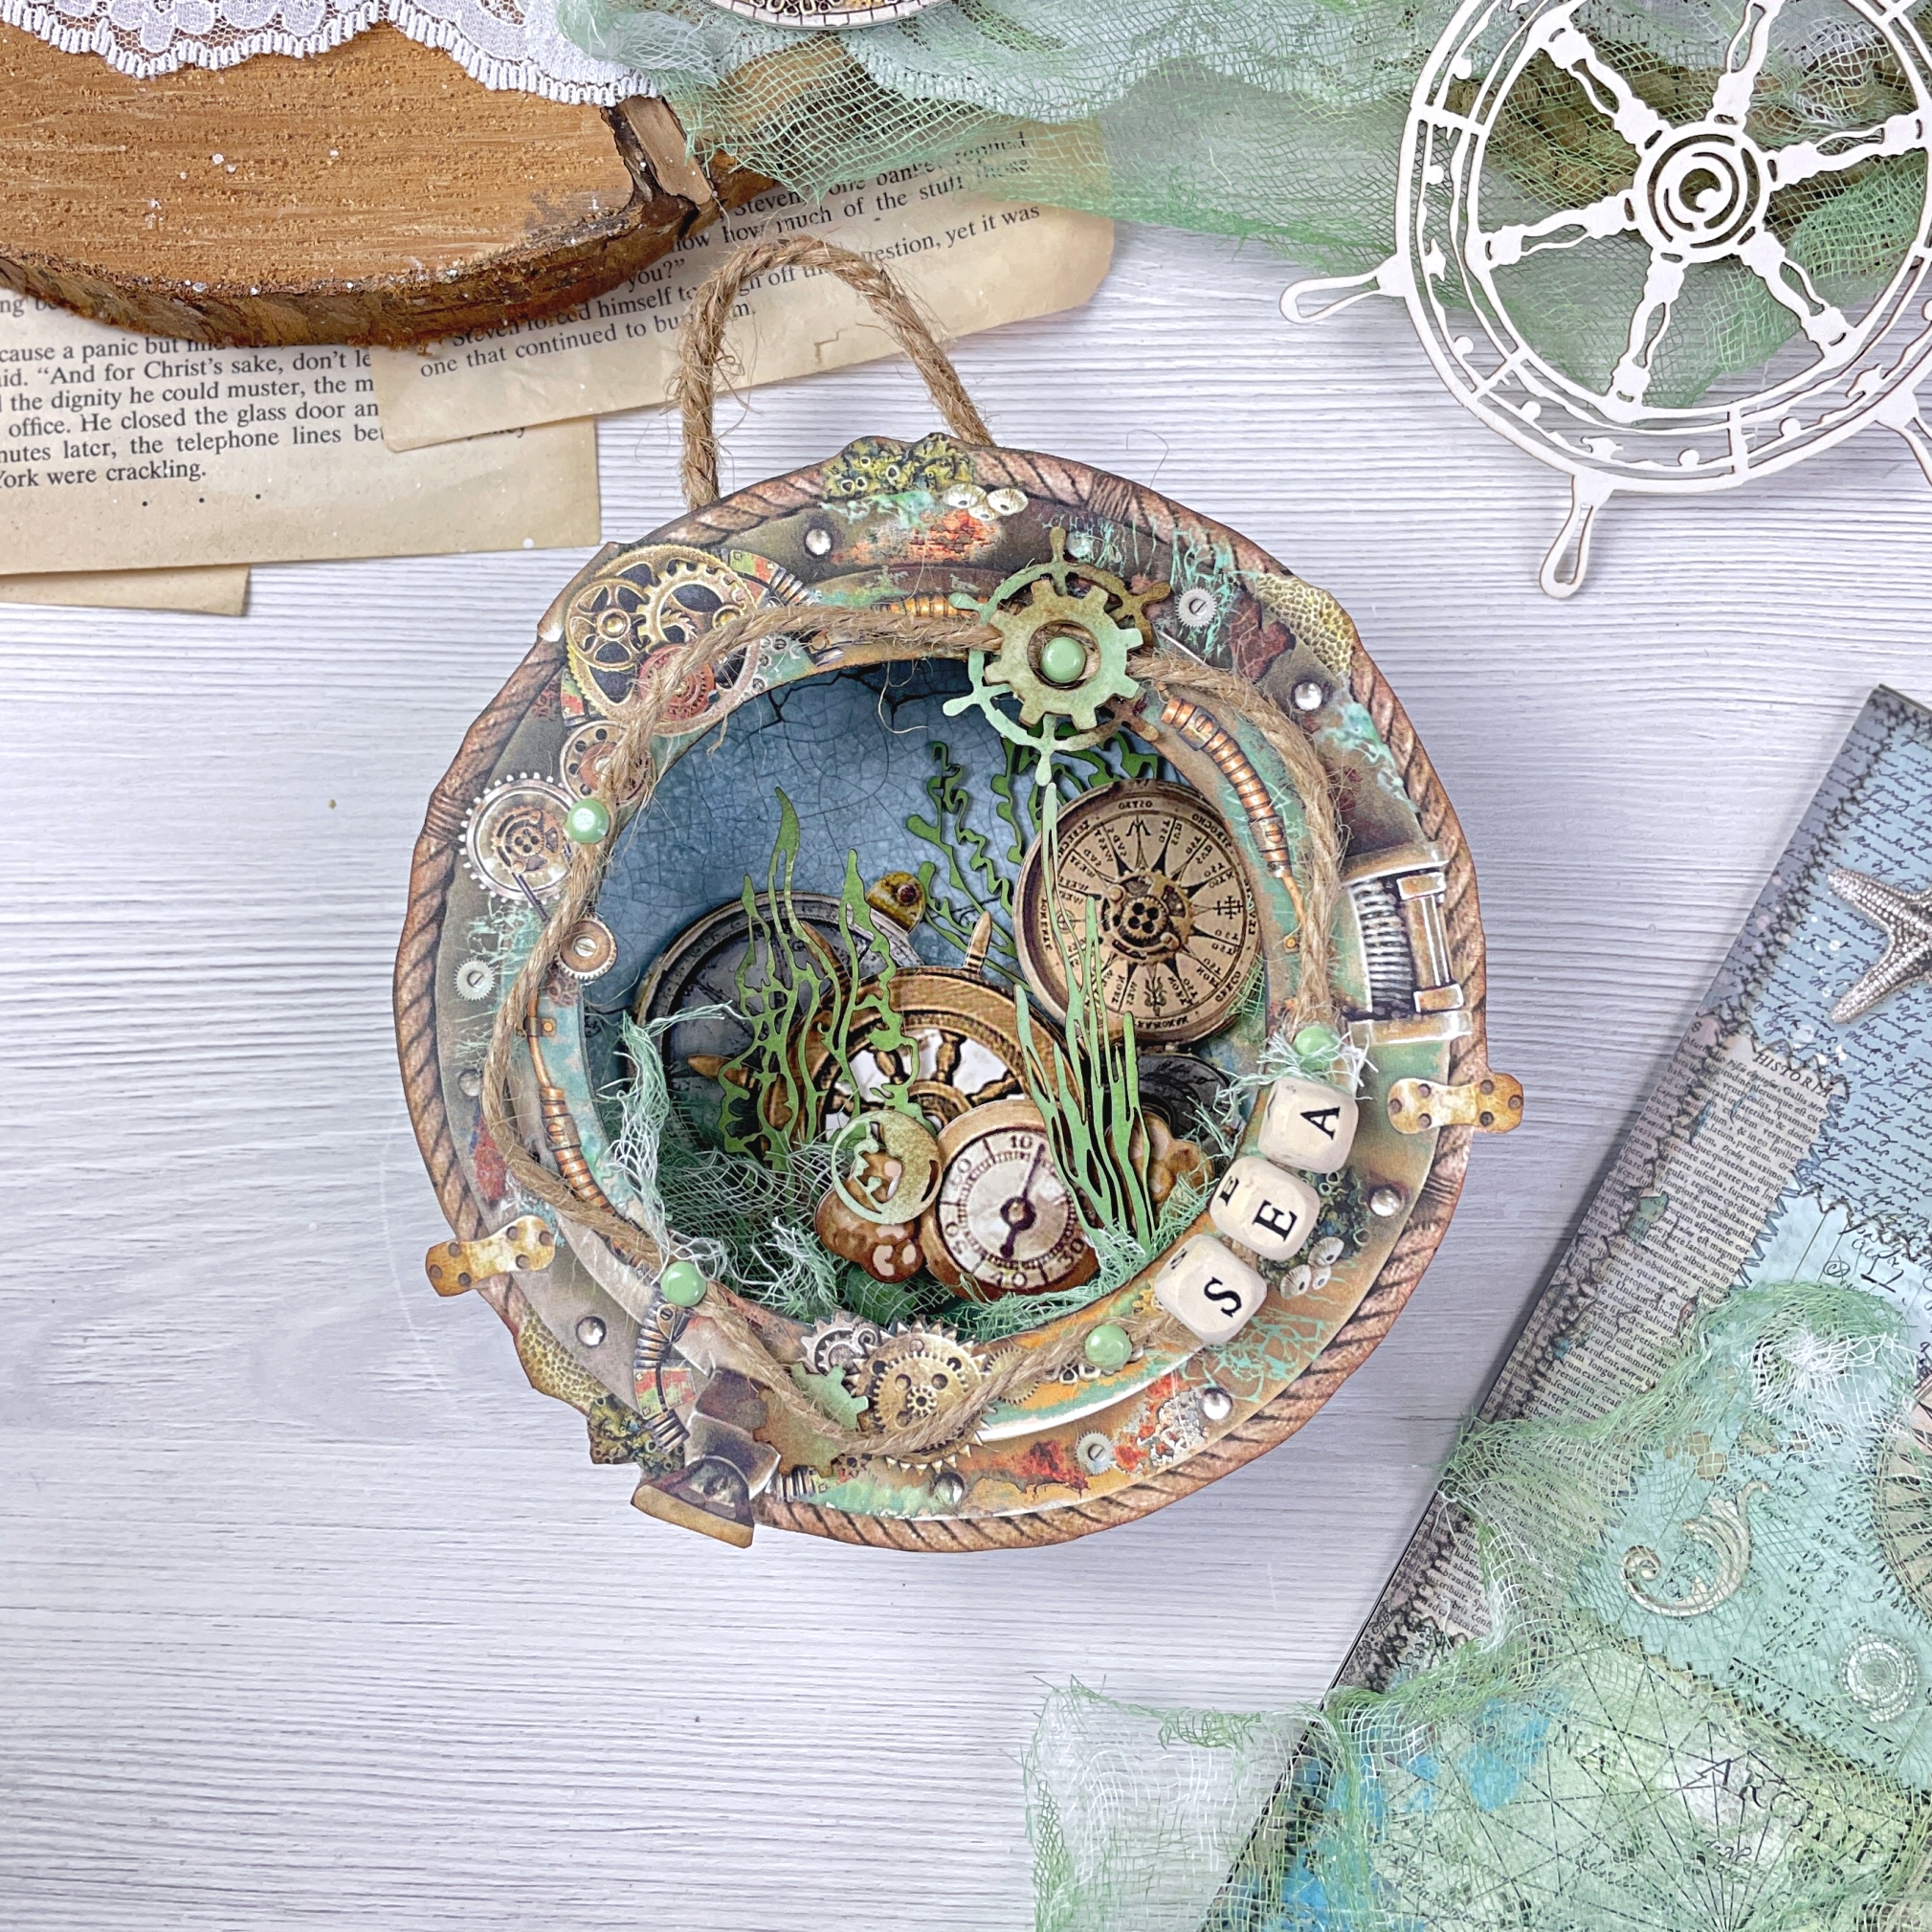
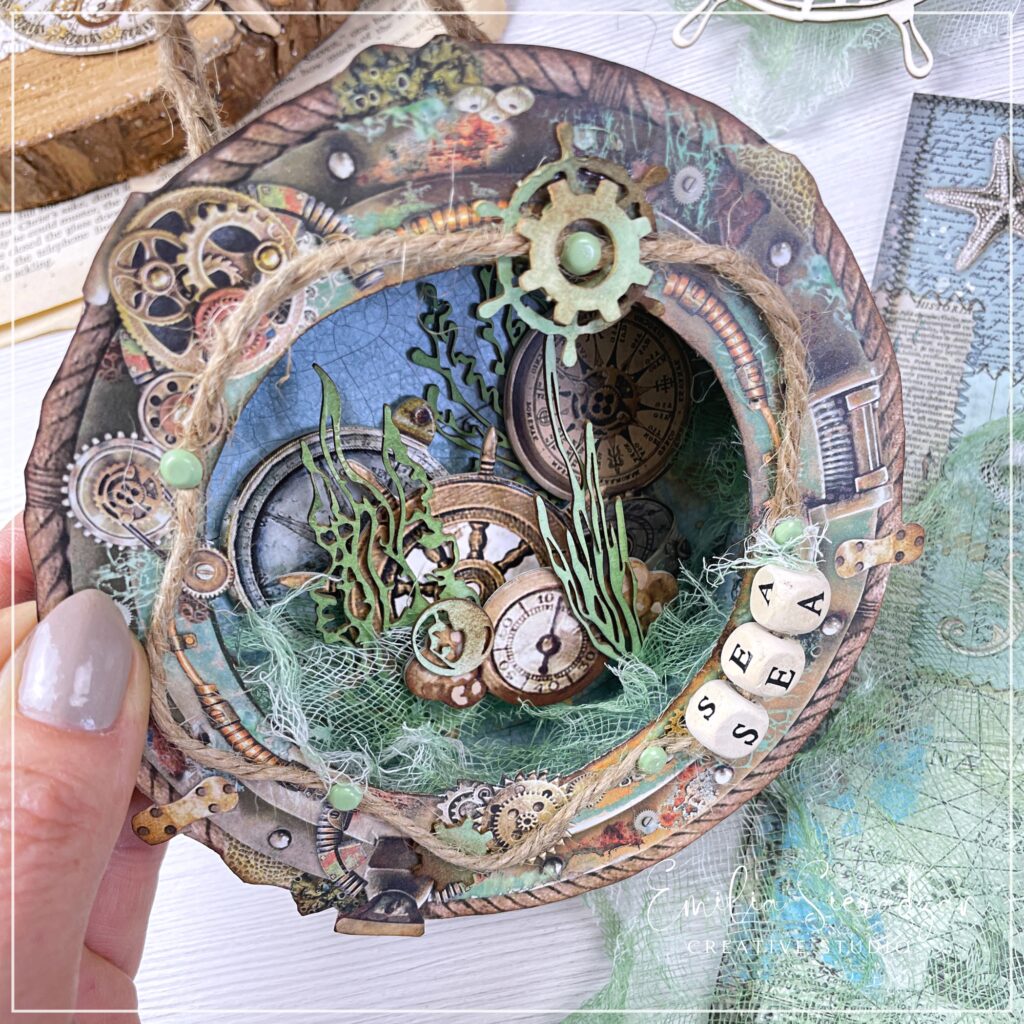
Turn an Old Tape Roll into a ‘Window to the Sea’ 3D Decor with Stamperia Paper Elements
Hi it’s Emilia Sieradzan here and today, I have a delightful project to share with you. We’re going to transform an ordinary, old tape roll into a charming ‘Window to the Sea’ 3D decor. This little piece of art is perfect for adding a touch of ocean magic to any space. It’s fun, simple, and a wonderful way to upcycle materials you might already have at home.
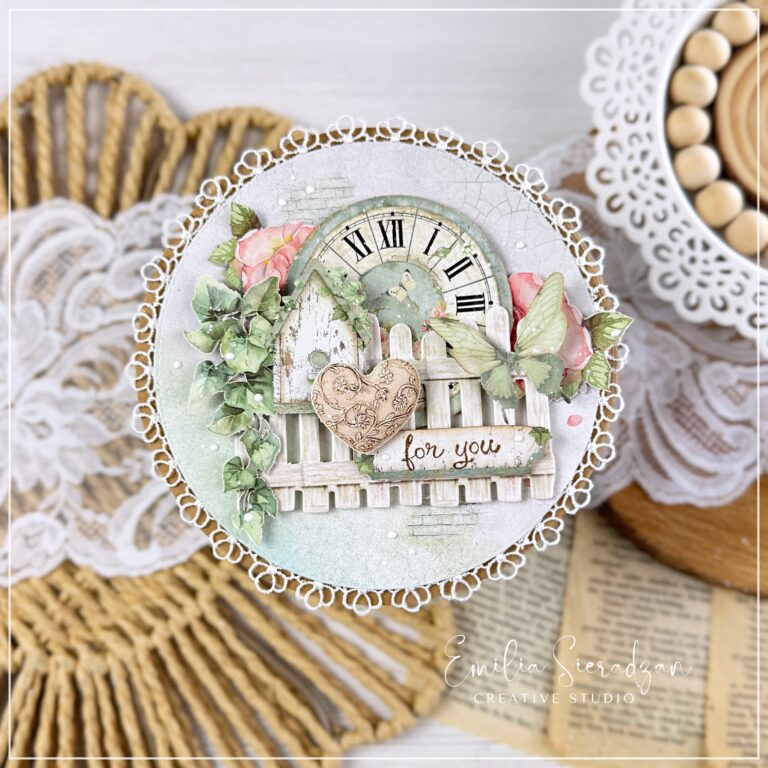
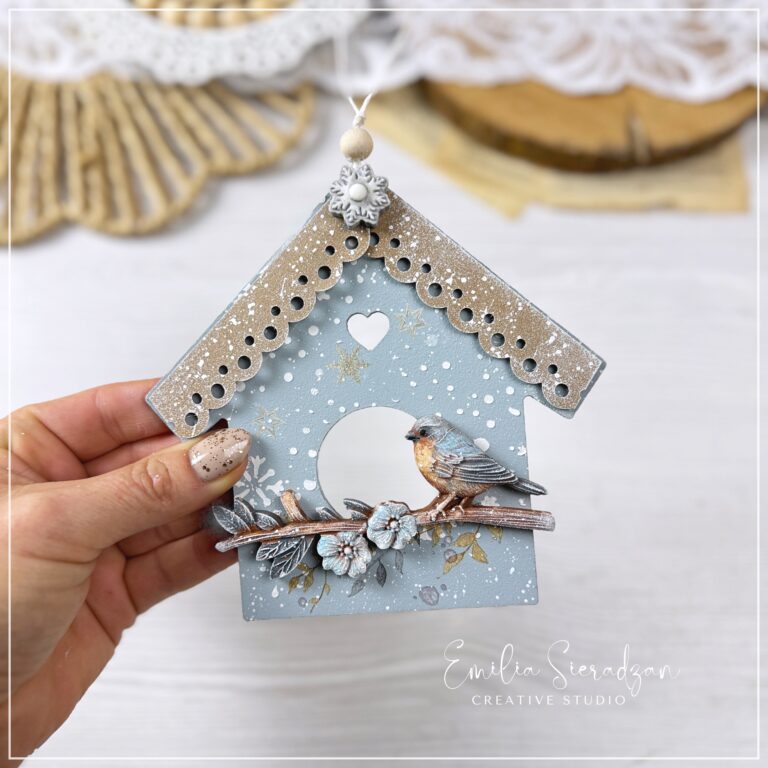
This gorgeous decor was inspired by the element I cut out of the Stamperia paper 🙂
Materials Needed:
- An old tape roll (any size)
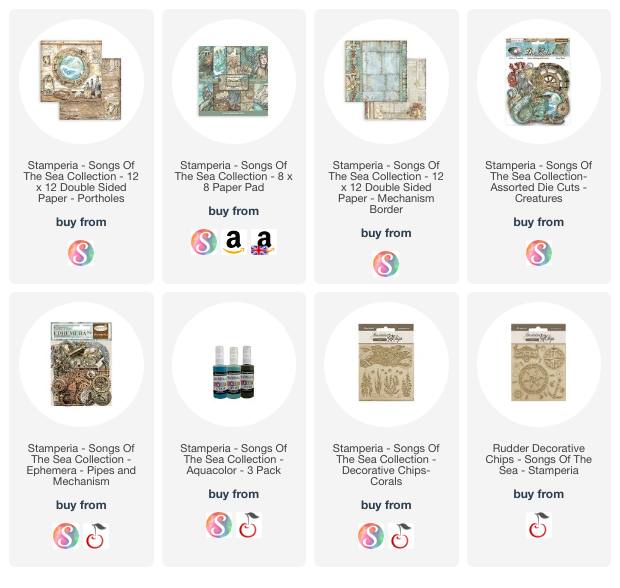
- Stamperia paper elements, chipboard pieces, die cut elemetns etc
- I used Stamperia ‘Songs of the Sea’ collection but you can use any sea themed papers
- cheesecloth, watercolour spray or paint
- Scissors
- Glue
- Letter beads (to spell out “SEA”)
- Twine
- Any additional embellishments (cheesecloth, tiny shells, glitter, sequins, etc.)
Here is my short step by step video:
Step-by-Step Instructions:
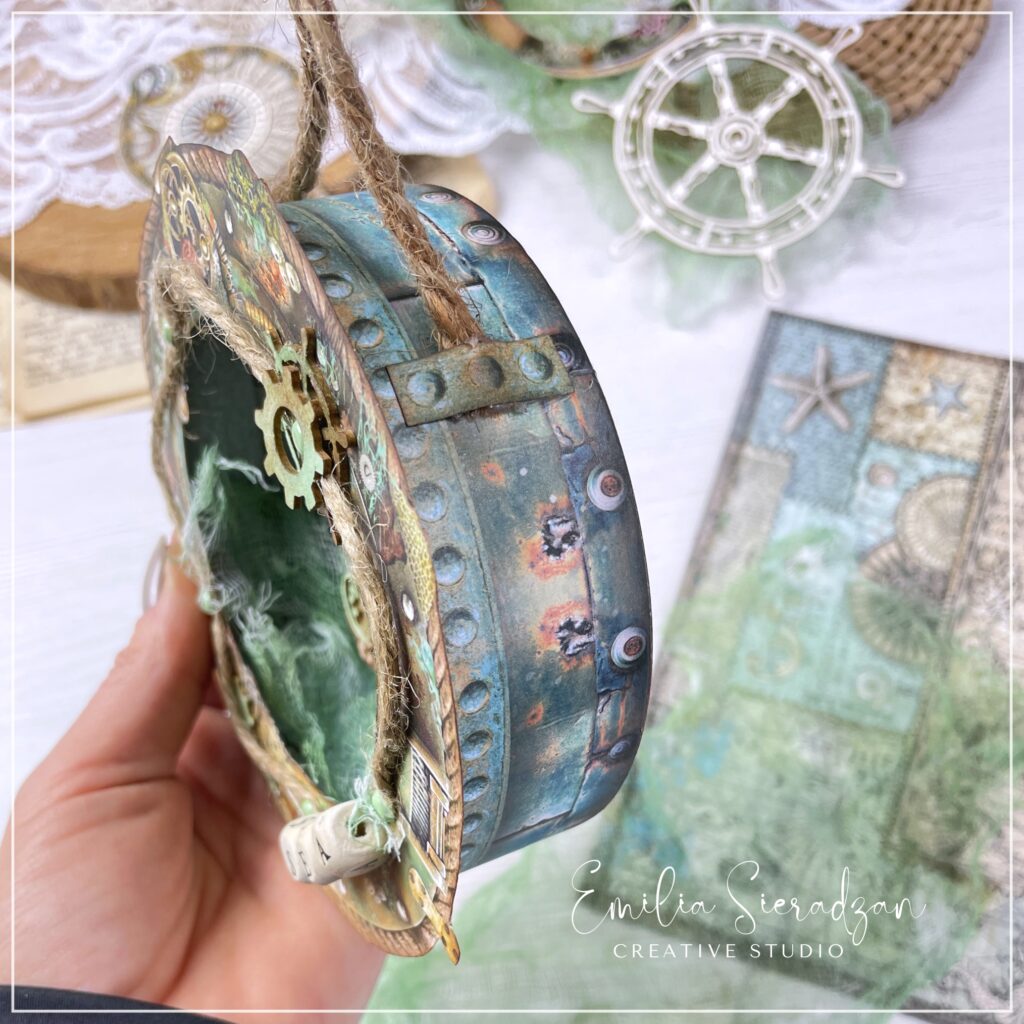
- Prepare Your Tape Roll:
- Start with a clean, empty tape roll. If there is any adhesive residue, make sure to remove it.
- Measure the width and circumference of the tape roll. Cut a strip of plain colored paper to these dimensions.
- Glue the paper strip around the tape roll, covering it completely. This will be your base.
- Create the Background:
- Select a background paper with an underwater theme from your Stamperia collection. This will set the scene for your little ocean world.
- Cut the paper to fit the inside back of the tape roll. Glue it securely in place. Now you have the backdrop for your undersea adventure!
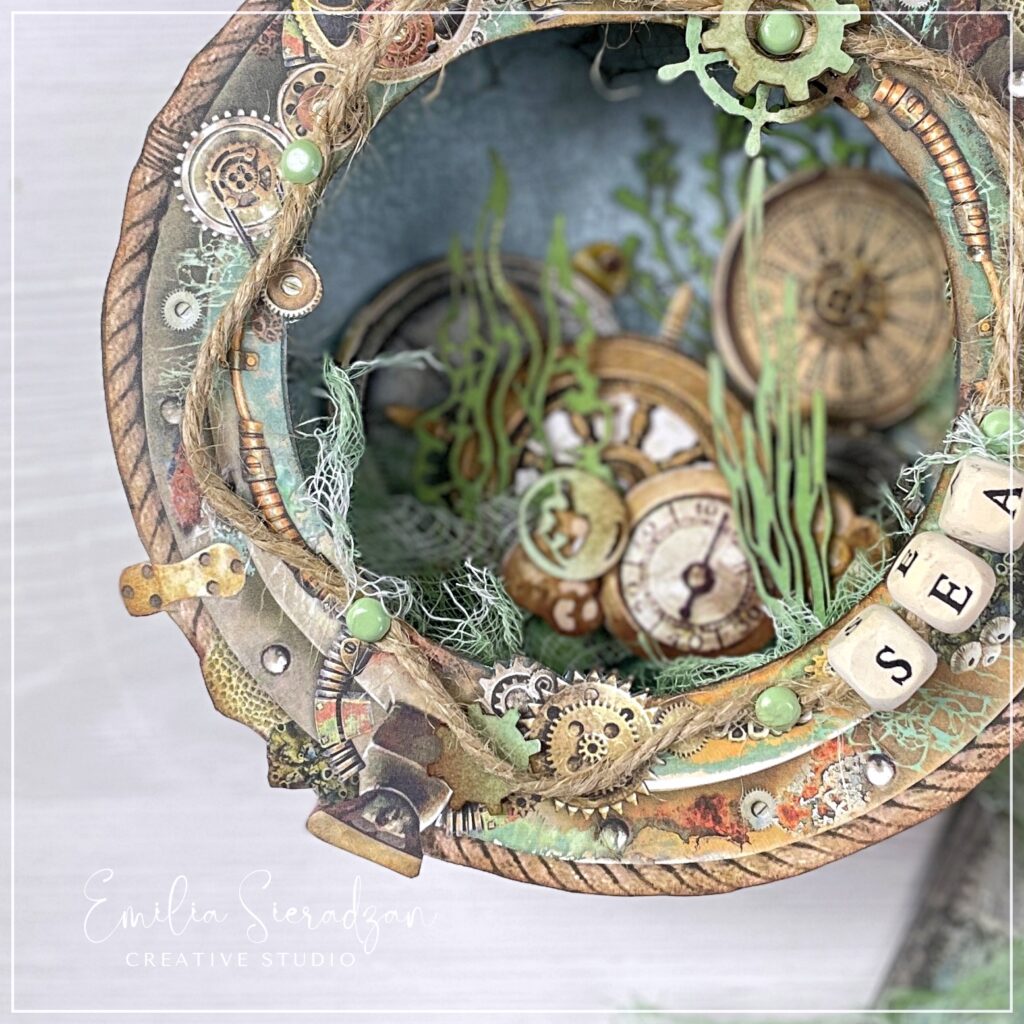
- Build Your Underwater World:
- Using various Stamperia paper elements, start building your 3D scene. Think about layers and depth to create a dynamic look.
- Cut out sea creatures, coral, and other underwater features. Arrange them inside the tape roll, adhering each piece with glue. You can use small pieces of foam tape to add dimension.
- Add the SEA Letter Beads:
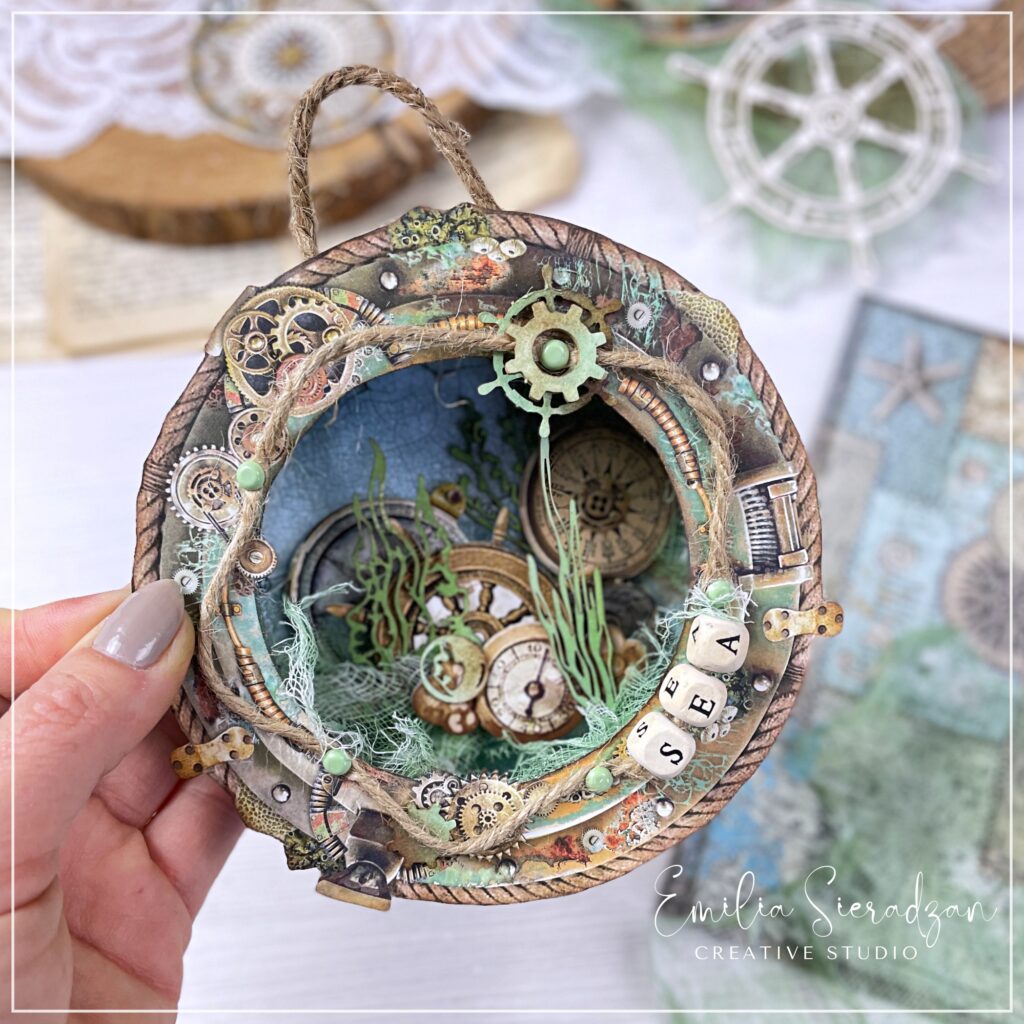
- Take your letter beads that spell out “SEA” and position them on the front of the tape roll. Glue them in place. This will be a lovely focal point and tie the theme together.
- Embellish and Personalize:
- Now for the fun part—embellishments! Add tiny shells, glitter, or sequins to enhance the underwater feel.
- You can also use other small embellishments like starfish, pearls, or anything else that fits the sea theme.
- Finishing Touches:
- Once everything is glued and in place, let your decor piece dry completely.
- Check to ensure all elements are securely attached and make any final adjustments as needed.
Displaying Your Creation:
Your ‘Window to the Sea’ 3D decor is now ready to be displayed! You can place it on a shelf, hang it on the wall, or even give it as a unique handmade gift. It’s a beautiful way to bring a bit of the ocean into your home and showcase your creativity.
I hope you enjoyed this tutorial and are inspired to create your own little window to the sea. Don’t forget to share your creations with me on social media using #PapercraftingWithEmilia or tag me in your post @emiliasieradzan
Feel free to leave a comment below if you have any questions or need further guidance. I love seeing your projects and hearing about your crafting adventures!
Happy crafting!