Coffee-Themed Card Tutorial | Cardmaking in 7 Steps
I love coffee-inspired projects! Today’s card brings warm, comforting vibes into a layered, elegant design. This tutorial is part of my “Cardmaking in 7 Steps” series, where I break down the creative process into simple, approachable stages you can follow for any project.
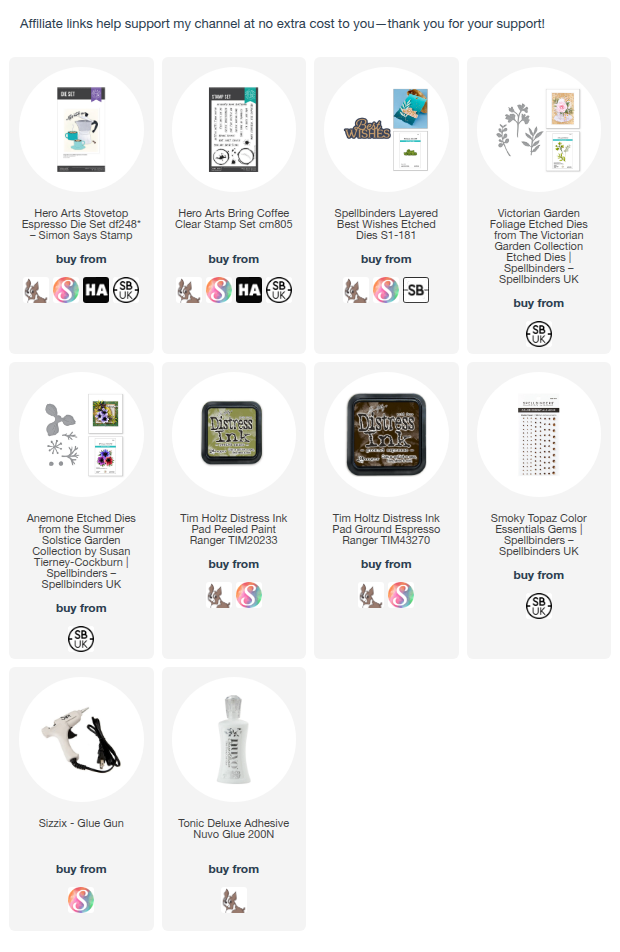
In this video, I’m featuring beautiful products from Hero Arts and Spellbinders to create a soft, vintage-style coffee card that’s perfect for sending warm wishes.
Step 1: Focal Point – Coffee Maker & Cup
Every card starts with a strong focal point, and for this design, the coffee maker and the coffee mug are from Stovetop Espresso die set. These elements immediately set the tone and theme of the card, creating that inviting café feel. I kept the colours soft and slightly distressed for a cosy, lived-in look.

Step 2: Card Base – A2 Size
I’m working with a slightly larger than A2 card base ( I wanted to have a border around my frame). For the card base I used a Truffle card.

Step 3: Background – Die-Cut Frame with Stamping
To add interest without overpowering the focal point, I created a subtle background using a die-cut frame. I paired it with light stamping for texture and depth. The dotted frame detail adds a delicate, finished edge that ties everything together.
Step 4: Layers – Leaves & Large Flower
Layers are where the magic happens. I added die-cut leaves and a large flower I created using Anemone set, behind the focal elements to create dimension and softness. The greenery brings freshness, while the flower adds an elegant, almost vintage touch.
Step 5: Texture – Sizal
Texture can completely transform a card. Here, I tucked in some sizal fibers behind the focal arrangement. It adds that organic, slightly rustic feel and enhances the cosy coffee theme without being too bold.
Step 6: Sentiment – “Best Wishes”
For the sentiment, I chose “Best Wishes”, which makes this card versatile for many occasions. The layered die-cut sentiment adds dimension while still blending seamlessly into the design.

Step 7: Finishing Touches – Coffee Beans & Gems
The final details bring everything to life. I added die-cut coffee beans for a playful nod to the theme, along with a few gems for a subtle sparkle. These small accents elevate the card and make it feel complete.
Be sure to check out the full video tutorial to see each step in action and pick up tips along the way. And if you’re following the series, I’d love to hear how you’re applying these steps to your own projects!
Happy crafting! ☕💛