Soft Neutrals & Botanical Layers with the New Poppy Song Dies
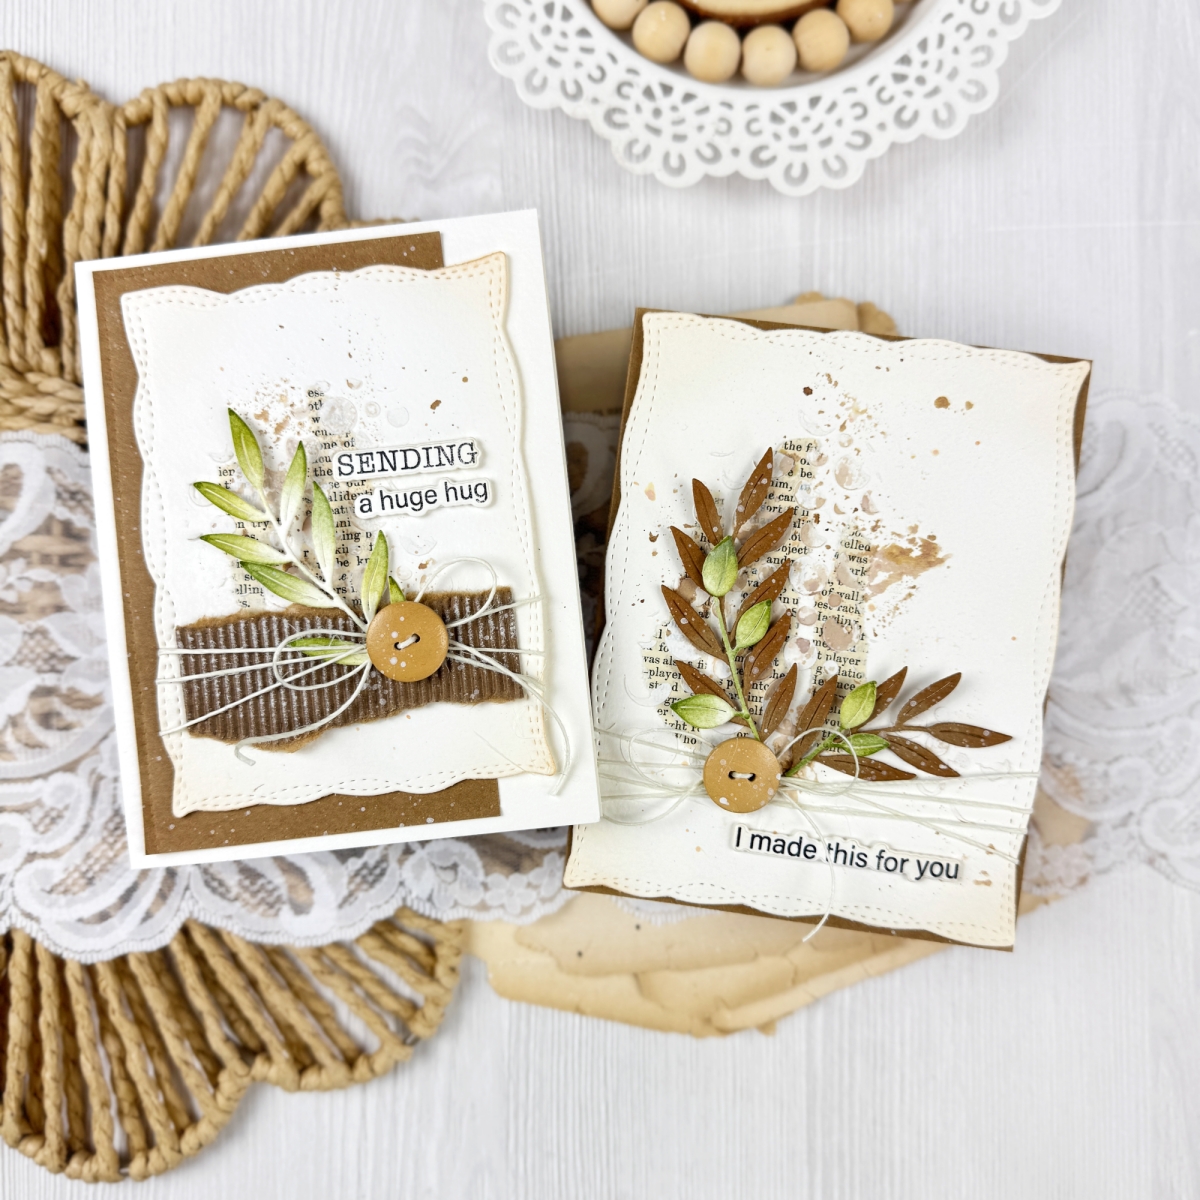
There’s something so calming about creating with soft neutrals, delicate textures, and botanical details—and today’s cards are exactly that. I’m sharing two handmade cards featuring the beautiful new Poppy Song cutting dies, and I’ve also created a step-by-step reel for one of them so you can easily recreate the look.
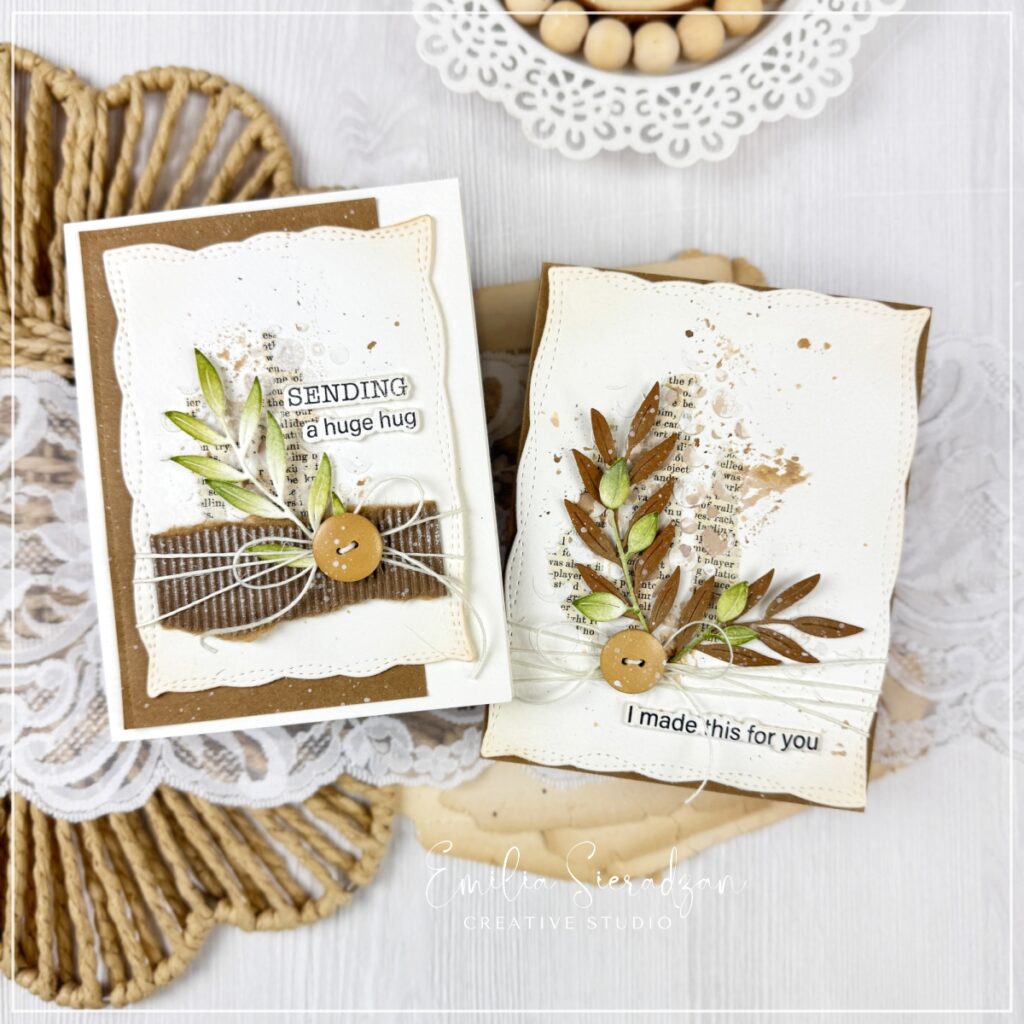
Card One: “Sending a Huge Hug”
For my first card, I leaned into a warm, neutral palette with touches of soft green to bring the foliage to life.
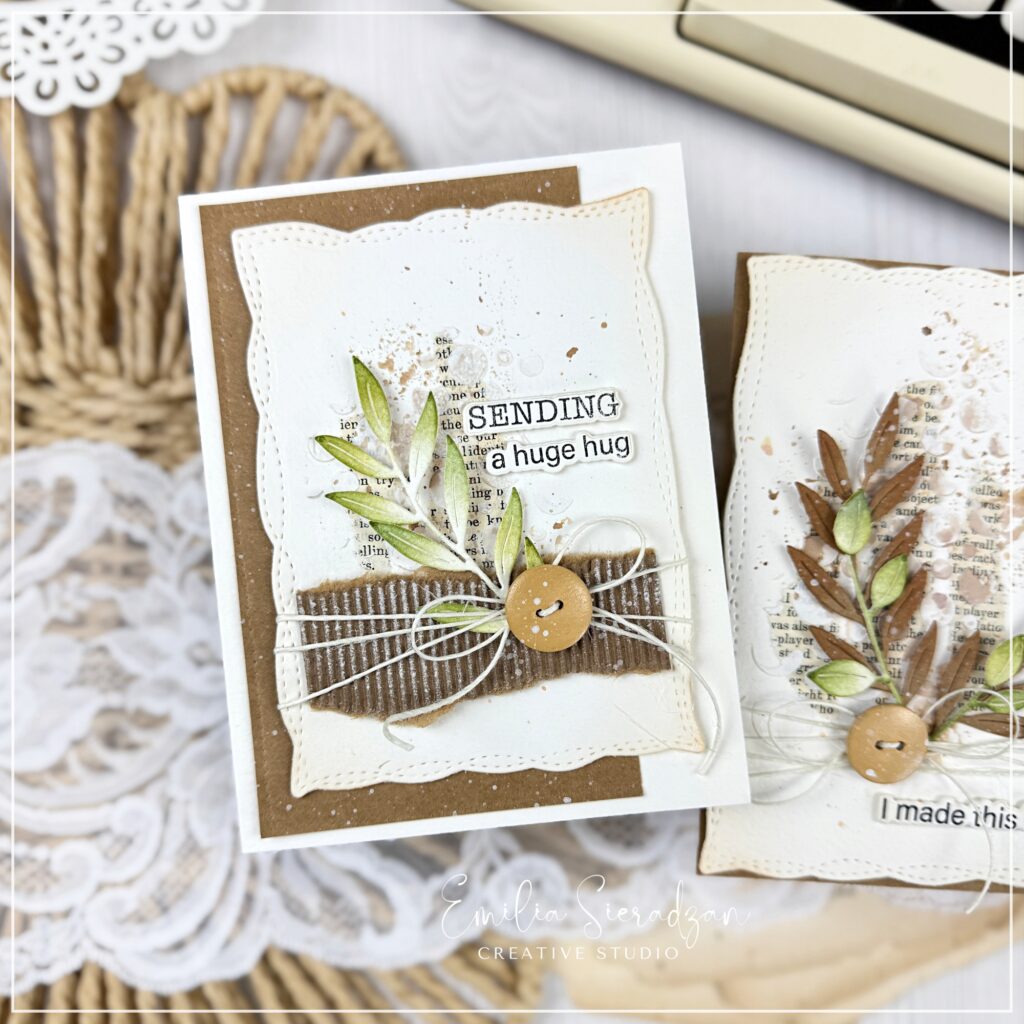
I started by layering a kraft panel behind a decorative ivory die-cut frame to create subtle depth. The background includes a lightly distressed book-print element, which adds a vintage feel without overpowering the design.
Using the Poppy Song dies, I die cut leaves using ivory card and inked it in soft green tones. I love how these dies create such elegant, dimensional foliage with minimal effort. The leaves were arranged in a small cluster to the left side of the card for a balanced, organic look.
The sentiment, “sending a huge hug,” finishes the card perfectly—simple, heartfelt, and ideal for many occasions.
Card Two: “I Made This for You”
For the second card, I kept the same overall style but switched up the composition slightly for a different feel.
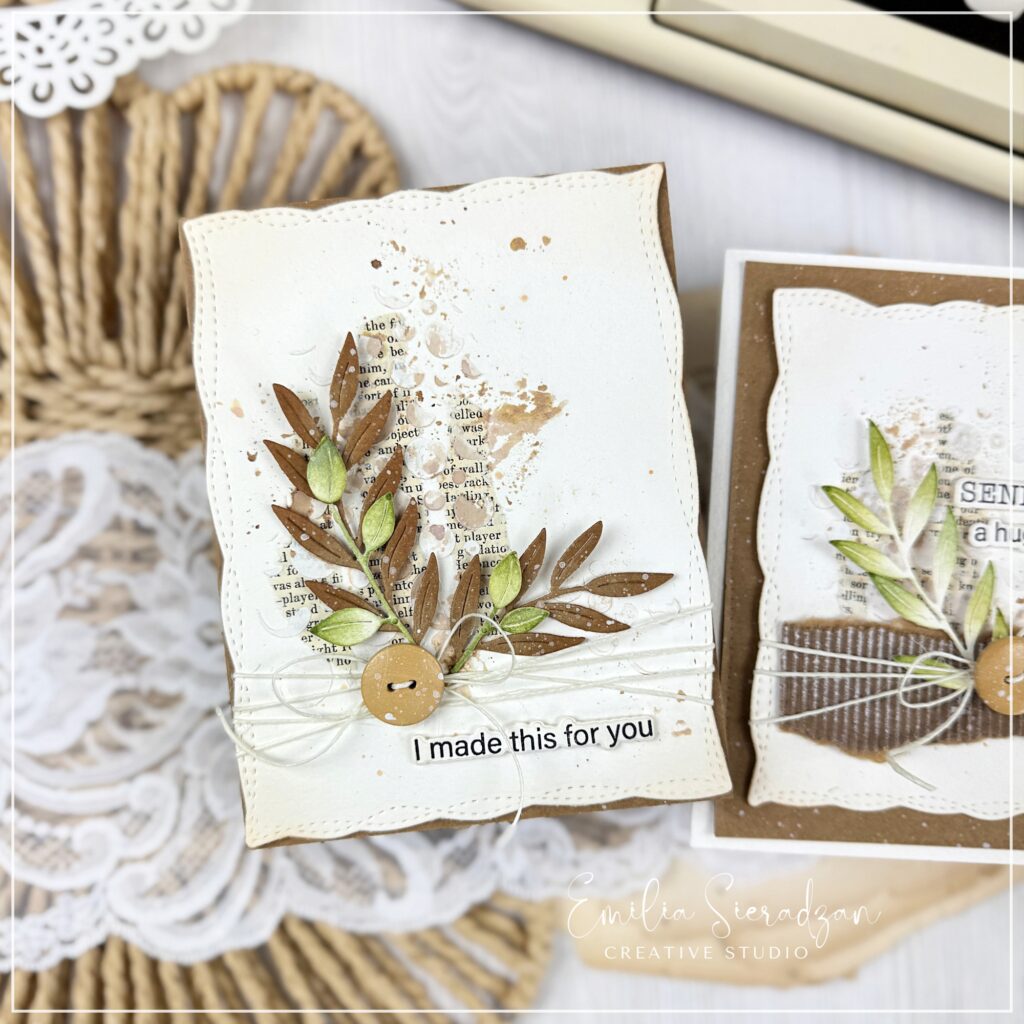
This time, I built the design more vertically, allowing the Poppy Song foliage to take center stage. I mixed warm brown tones with soft greens for the leaves, creating contrast and a slightly more rustic look.
For the background I used old book psge strip of paper and created watercolour splats with ink. Also barely visible but it is there! a texture I made using Spellbinders stencil and texture paste.
The same button-and-twine detail appears here as well, tying the two cards together as a cohesive set. I love repeating elements like this across projects—it creates harmony while still allowing each card to feel unique.
The sentiment “I made this for you” adds a personal, handmade touch that makes the card feel extra special.
Step-by-Step Reel
If you’d like to see how one of these cards came together, I’ve created a step-by-step reel walking you through the process—from layering the background to assembling the die-cut foliage and finishing touches.
It’s a great way to see how all the elements come together and to pick up a few tips along the way!
Let me know which card you like best—and if you recreate one, I’d love to see your version!
Thanks for visiting!