3 Viral Background Techniques You Need to Try Right Now
If you’ve been hanging out on Instagram lately, you’ve probably seen those mesmerising step-by-step tag videos taking over your feed. There’s something so satisfying about watching layers build, textures emerge, and a plain surface transform into a tiny piece of art.
My projects are inspired by the work of my friend Vicky Papaioannou I’ve seen these techniques in her videos and decided to give it a go! Vicky has tons of inspiration on her channel so definitely check it out!
Today I’m breaking down three viral backgrounds—all in one place—so you can recreate them (and put your own spin on them). The focus here is all about technique over product, so feel free to swap in what you have.

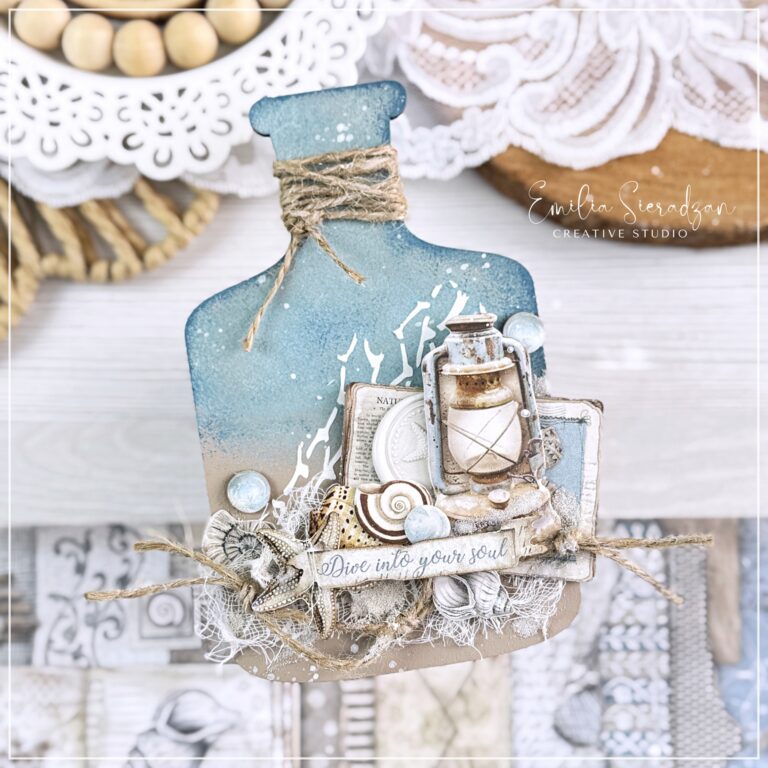
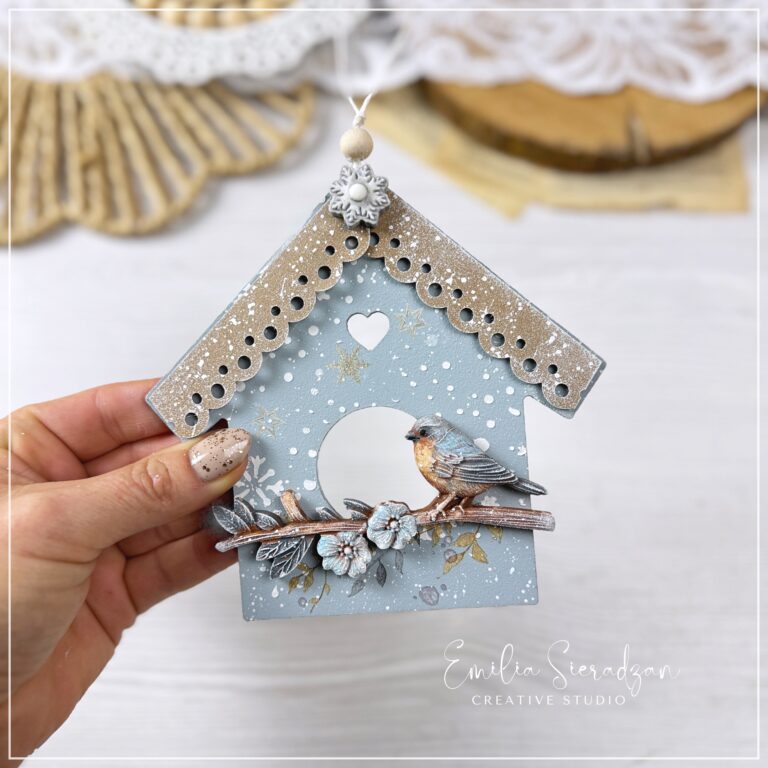
Tag 1 & 2: The Baby Wipe Acrylic Paint Technique (Yes, It’s as Good as It Looks)
Let’s start the baby wipe acrylic background. This technique gives you that soft, blended, slightly grungy look with almost no effort.
What Makes This Technique So Popular?
It’s fast, forgiving, and creates instant texture without needing advanced blending skills. Perfect for reels and quick content.
Step-by-Step:
- This works on watercolour, mixed media or primed paper.
- Apply acrylic paint
Choose 2 or more colors. - Blend with a baby wipe
This is the magic step. Use a baby wipe to gently blend the paint:- Light pressure = soft blending
- Dabbing = texture
- Swiping = smooth gradients
- Let dryL
- Add interest
Try stamping, splattering, or subtle stencilling over the background.
Why It Works:
The baby wipe slightly lifts pigment while spreading it, giving you that dreamy, diffused look that’s hard to achieve with a brush alone.

Tag 3: Soft Pink Background with Distress Sprays
For the third tag, I switched things up and went for a romantic pink background using distress sprays. This technique is more fluid and unpredictable—in the best way.
Step-by-Step:
- I’m working on watercolor paper.
- Spray your colors
Use distress sprays directly on the tag. - Add water
Lightly mist with water to encourage movement and blending. - Move the pigment
Tilt your tag or dab with a paper towel for organic flow and texture. - Dry.
- Optional texture
Add splatters, stamping, or mark-making for that finished mixed media look.
Why It Works:
Distress sprays react with water in a way that creates natural gradients and subtle variations, making every background completely unique.

Bringing It All Together
While the final embellishments differ, all three tags rely on one key idea:
👉 The background sets the entire mood.
Whether you’re:
- blending acrylics with a baby wipe for a soft, layered effect
- or letting distress sprays flow freely for organic texture
…the goal is the same: build depth without overcomplicating the process.
Final Thoughts
You don’t need a huge stash or complicated methods to create something beautiful. Sometimes, all it takes is:
- a baby wipe
- a few paints or sprays
- and the willingness to experiment
If you try any of these techniques, I’d love to see what you create.
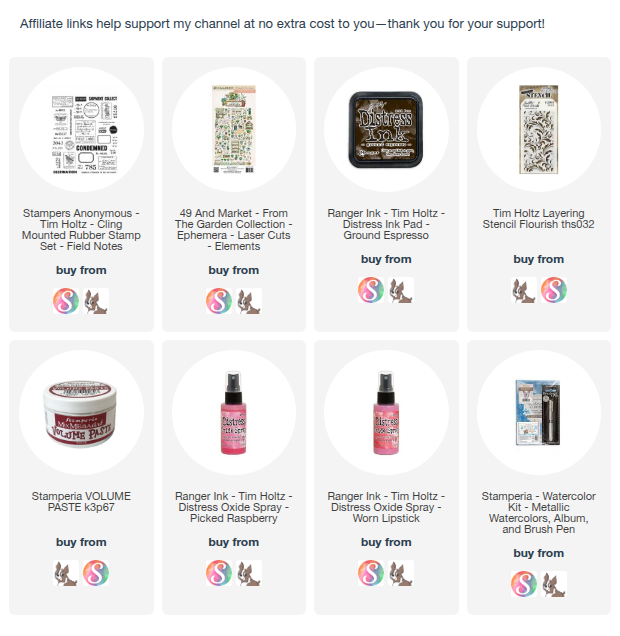
TAG 1 supplies:
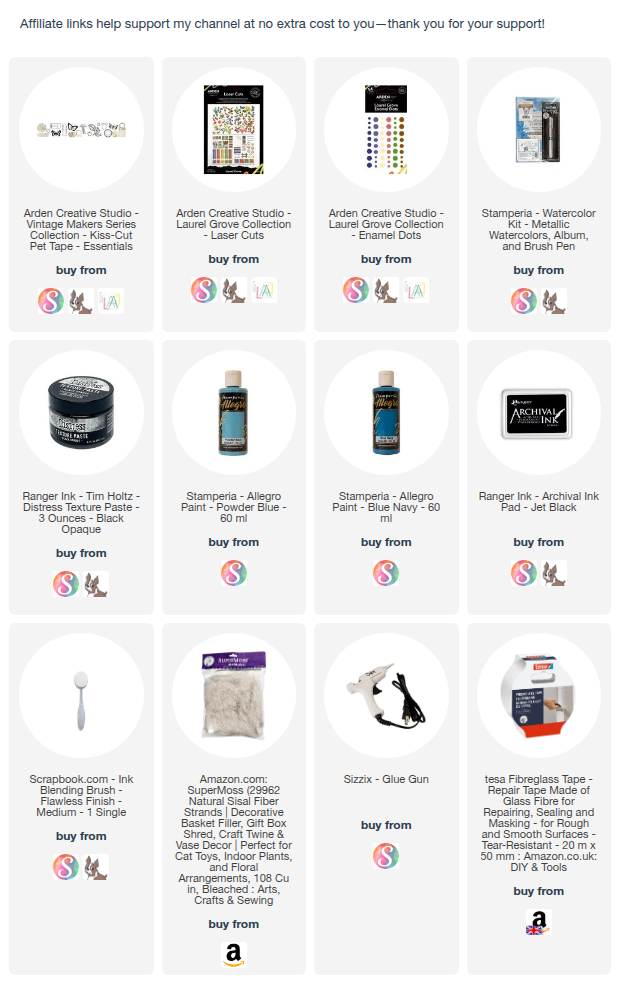
TAG 2 supplies:
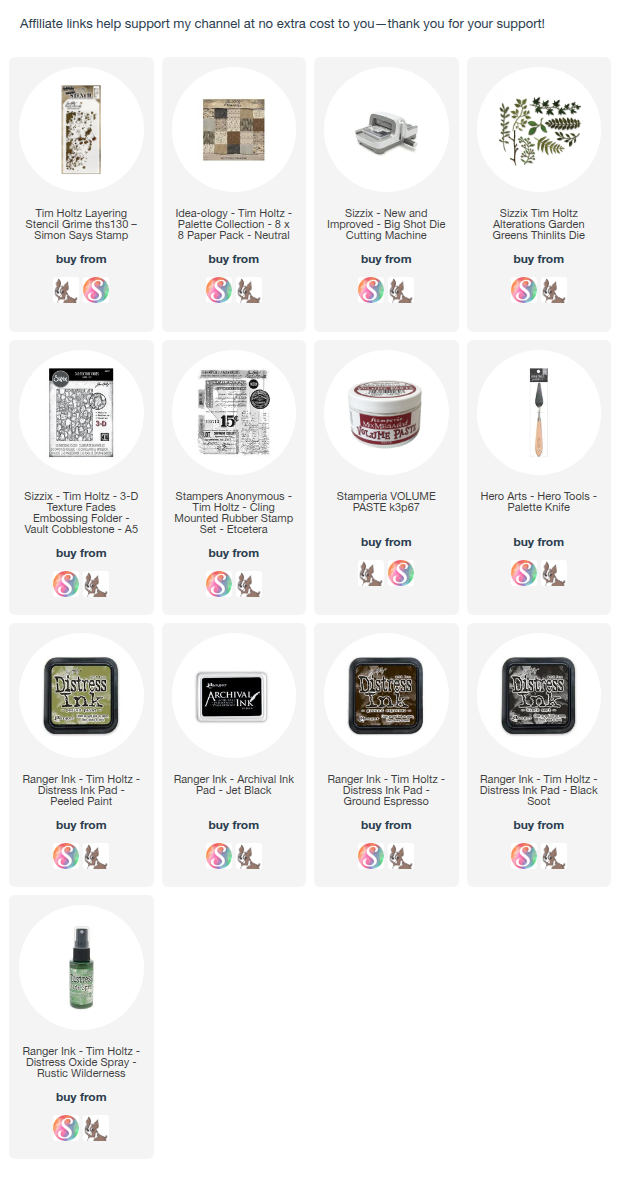
TAG 3 supplies: